October 27, 2016
Back Deck Makeover
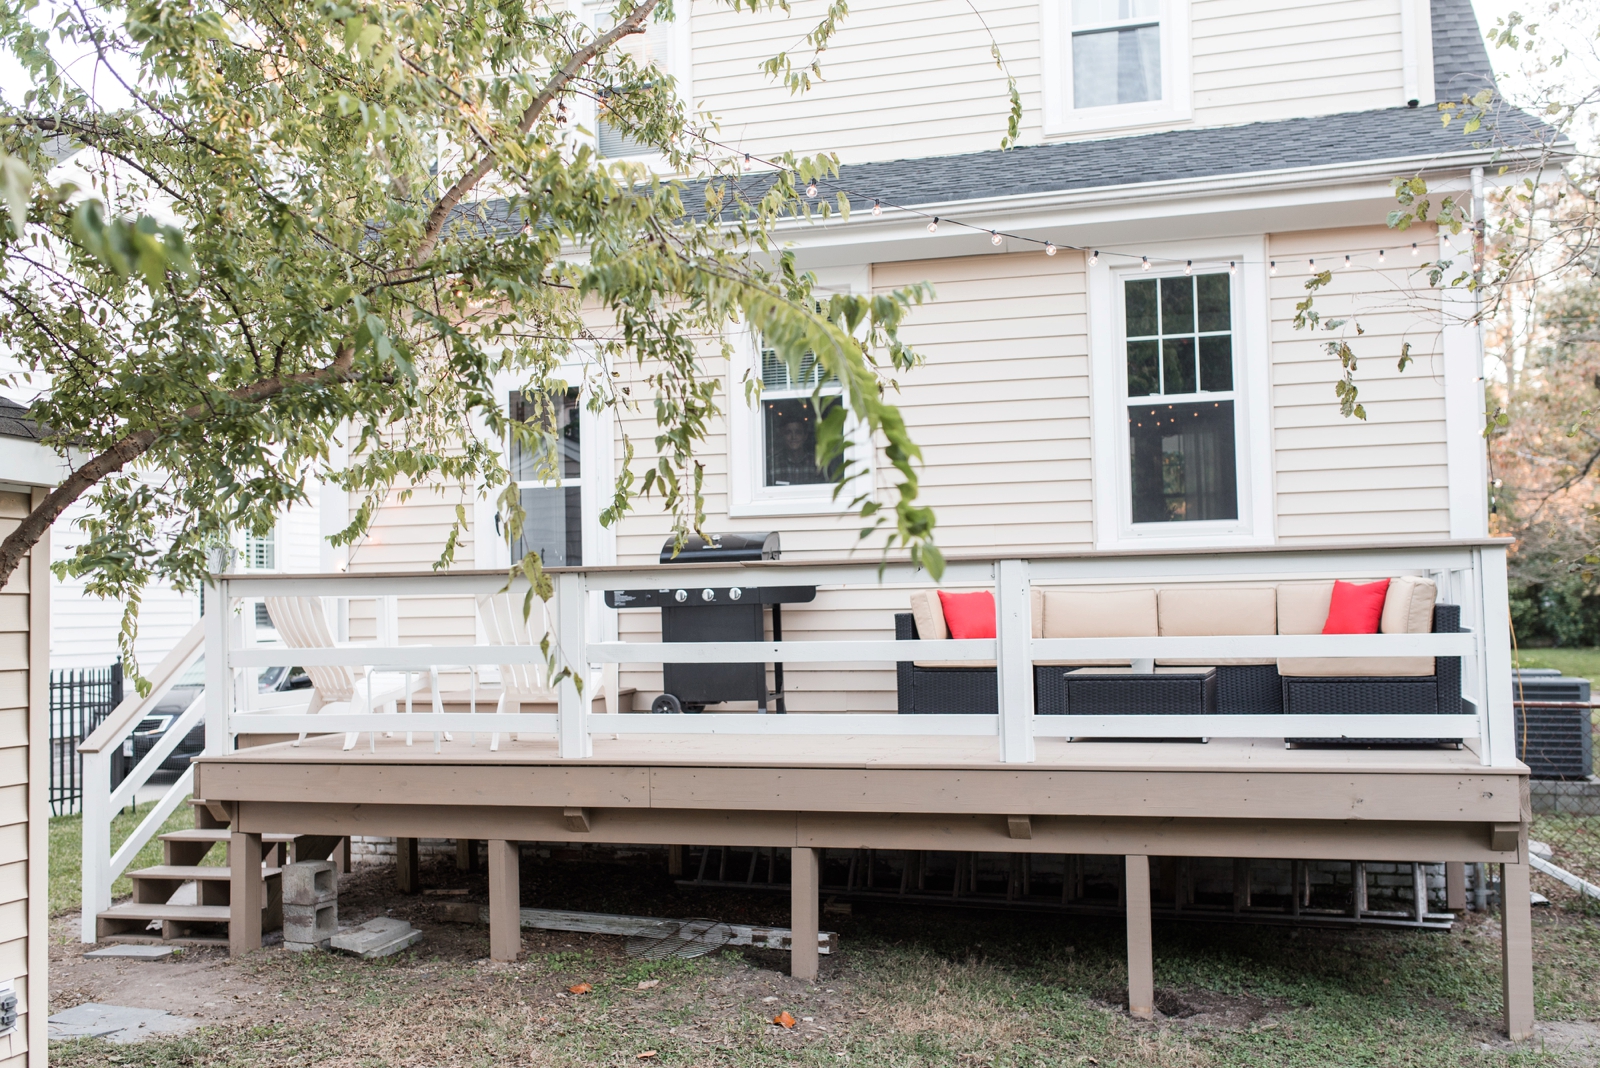 Ever since buying and moving into this house back in May, we really hit the ground running when it came to projects. I knew that there were certain things I wanted done ASAP when we were first getting settled in or else we would never do them. We started with painting all the walls (goodbye yellow and red walls!), then buying furniture and decorating, then making a dining room table, then redoing landscaping in the front and back yard and now finally redoing the back deck!
When we first bought the house, we knew that the current deck was something that we would want to replace at some point. It wasn’t in the best shape, it was really small and awkwardly tall. So we decided to go ahead and get the ball rolling on it ASAP so we could have it done before winter. We are really blessed and lucky to have my uncle Tony be willing to basically build this deck for us. Tony is the ultimate handyman (even though he’s actually an engineer by trade!) and the family member that everyone wishes they had! He has lent a hand to the entire family on projects like this countless times. He built the shed, playground AND fence at my parents house. We have home videos of a little one-year-old running around (me!) while he and my dad put together the shed at my parents house. And now here I am, all grown up with a house of my own, and Tony is helping us with yet another project!
We carved out 2 weekends that Branden had off so he and Tony could knock out creating this new deck from scratch. We wanted the new deck to be bigger and lower to the ground than the previous deck. So we doubled the square footage and dropped it about 12 inches. Having the deck lower made the stairs much less steep and made the yard feel bigger since you aren’t so high up off the ground. So here’s a play-by-play on how the whole project went down! The photos are a mix of phone and real camera pics- hopefully you can tell which is which! haha!
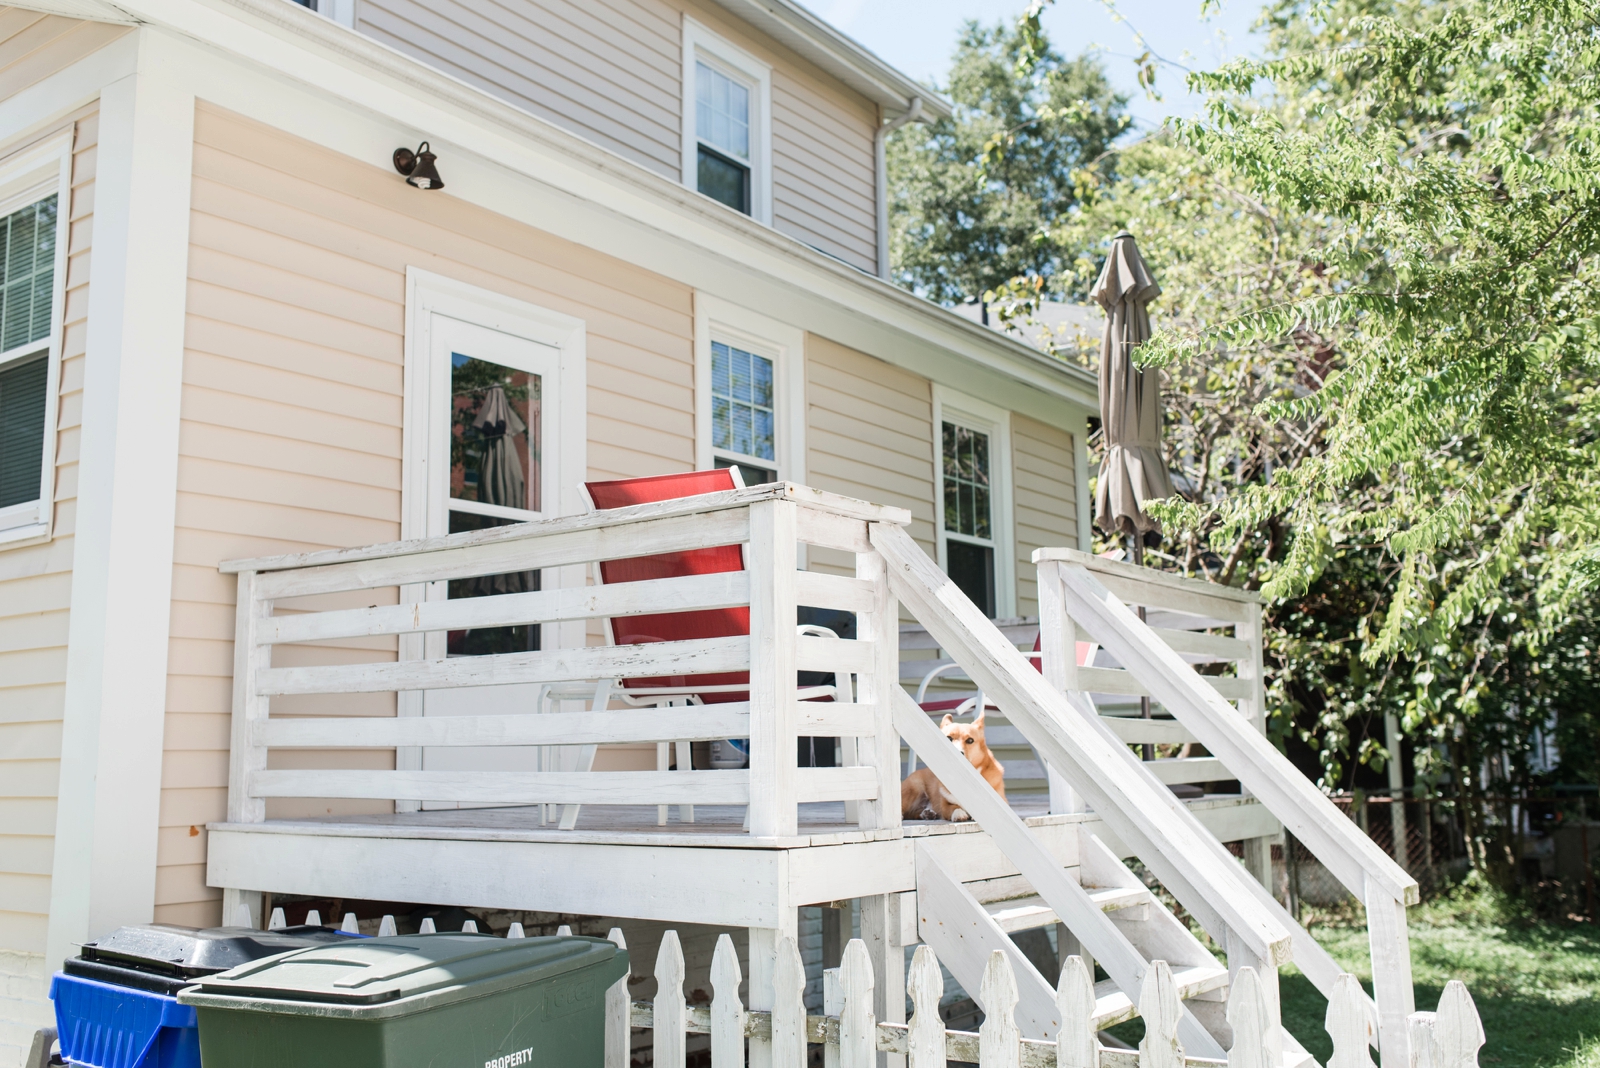
Here’s the original deck. Pretty small, wood wasn’t in great shape and stairs were really steep and falling apart (notice the cement blocks holding one step up). Also notice the handsome corgi that was proudly posing for this shot!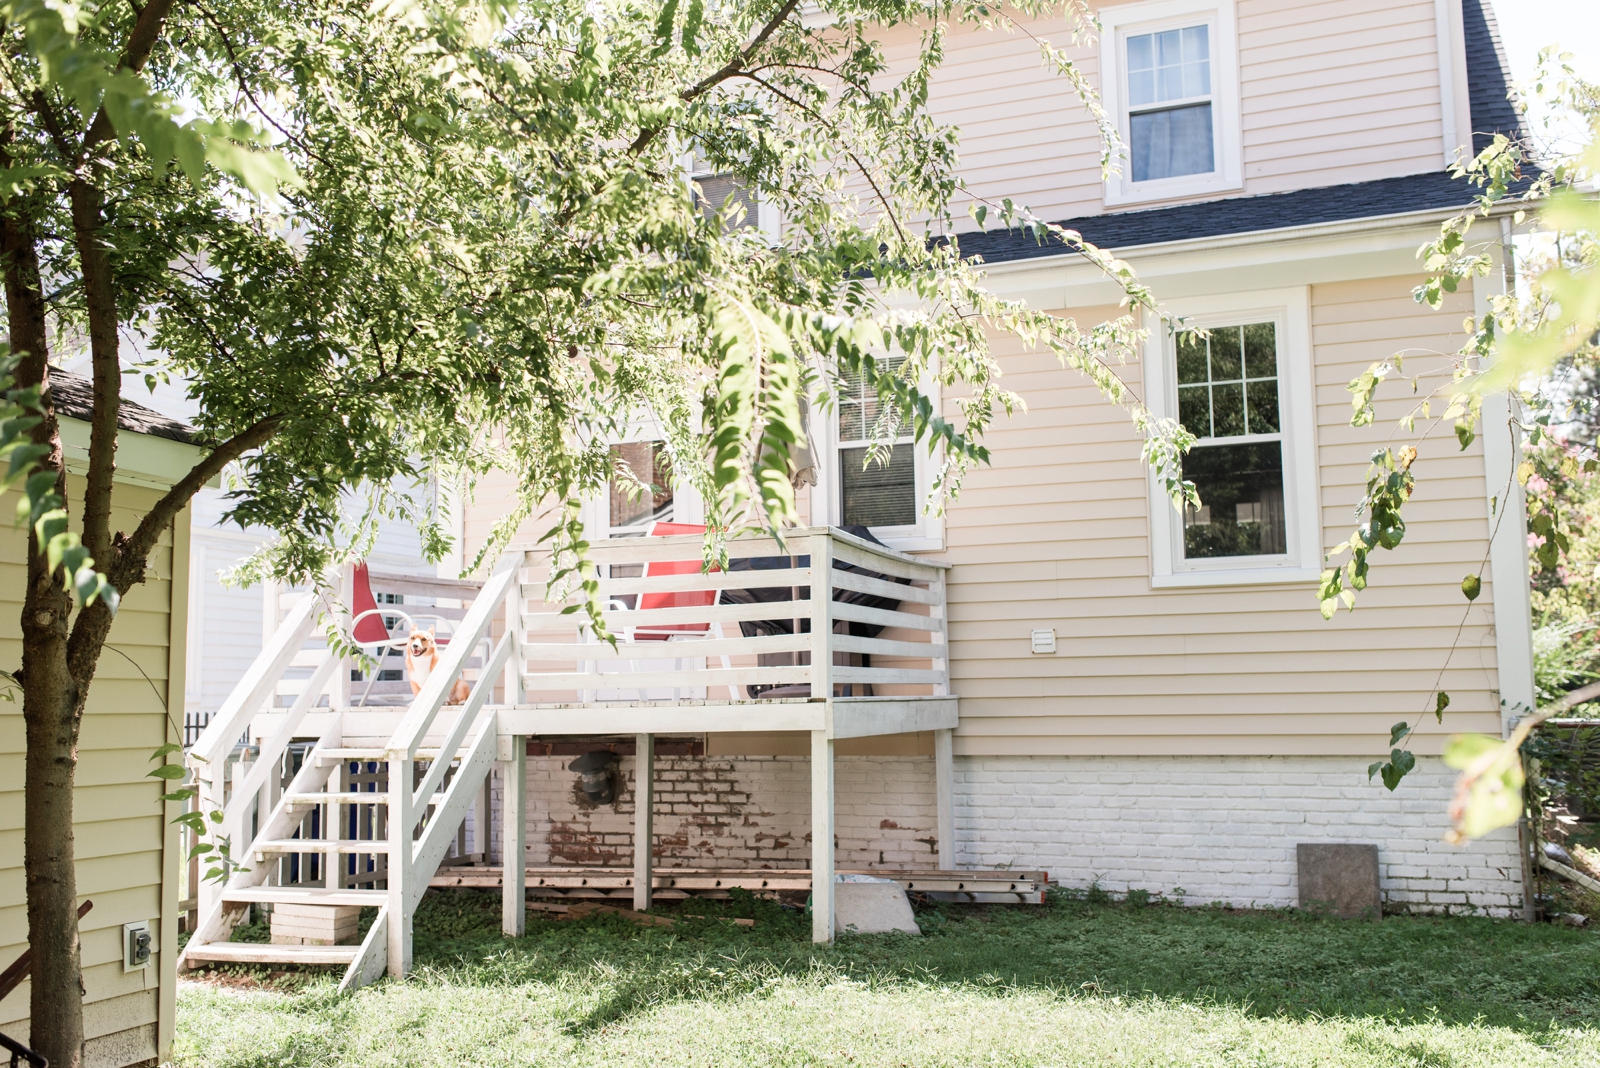
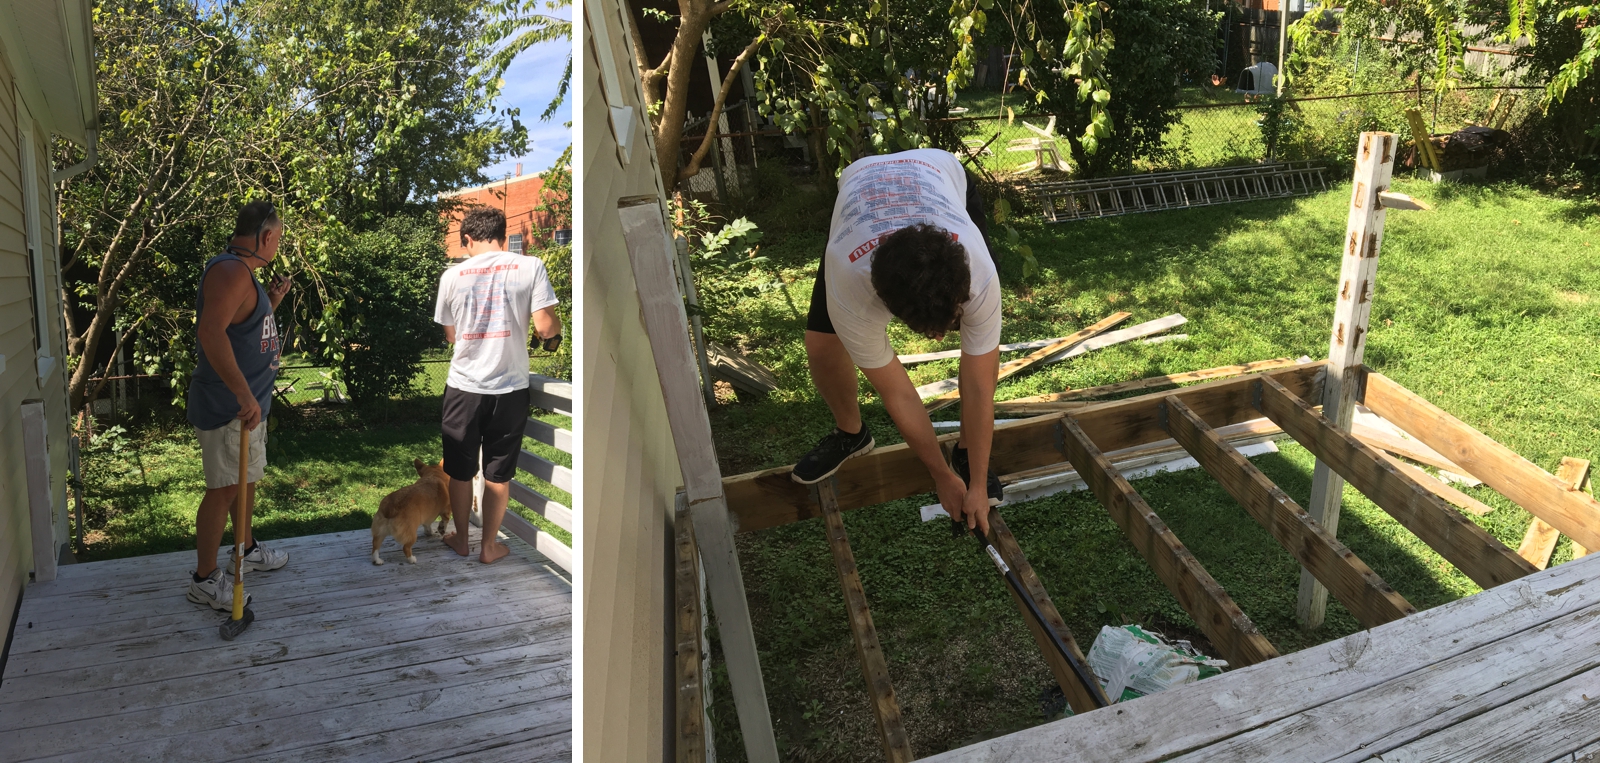
 First step was tearing down the old deck. This was the easy part. Branden and his dad knocked it out in a few hours.
  Then all the boards arrived for the new deck! Having to carry them one-by-one to the back yard was NO fun. Meanwhile, Tony did all the measuring and prepping so they could start building the next morning.
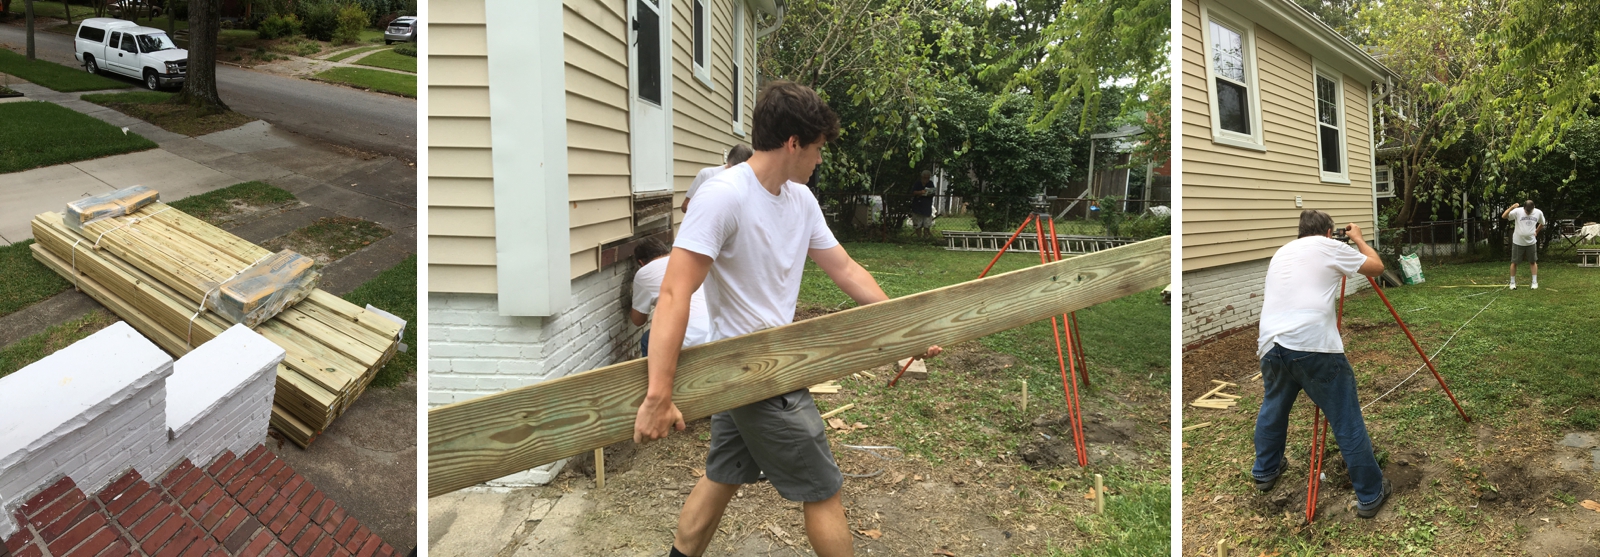 Then they dug the holes for the posts and laid down cement. After the cement dried overnight, they started putting it together!
 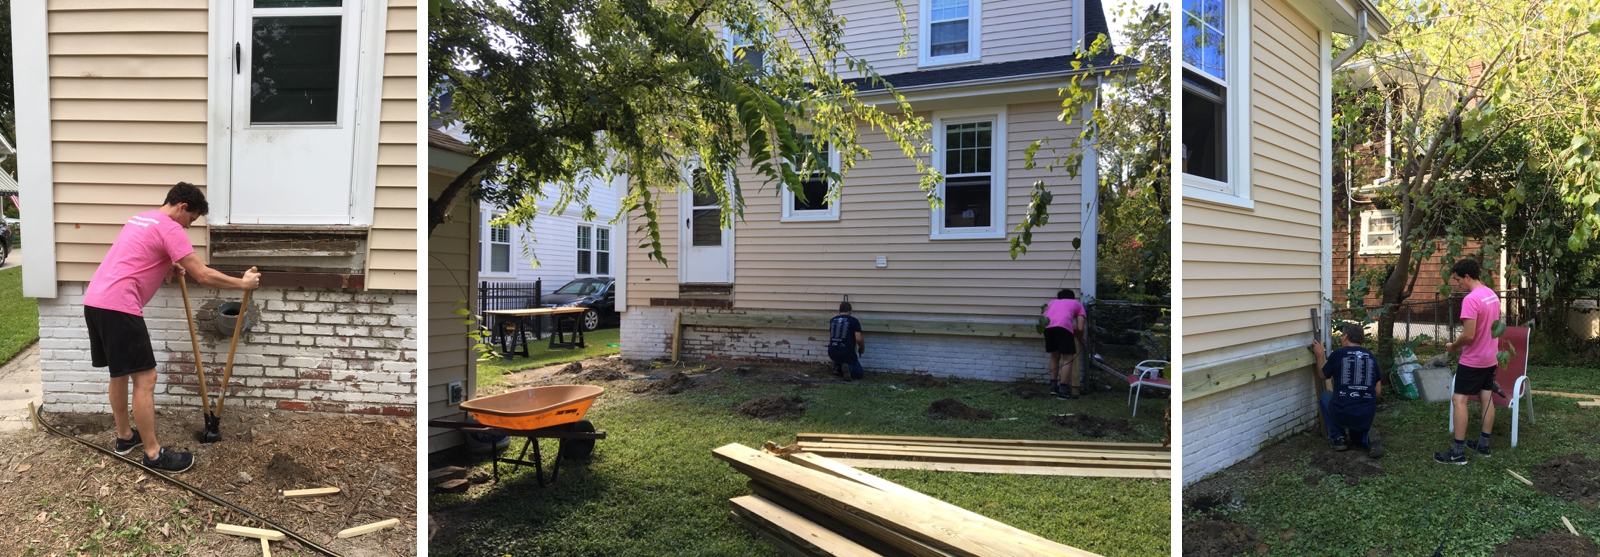 The first weekend that they spent putting it together was actually a double header wedding weekend for me. So I wasn’t around to see much of the progress in between. When I left on Saturday it looked like the above pictures and when I came back on Monday, it looked like this! Whoa!!
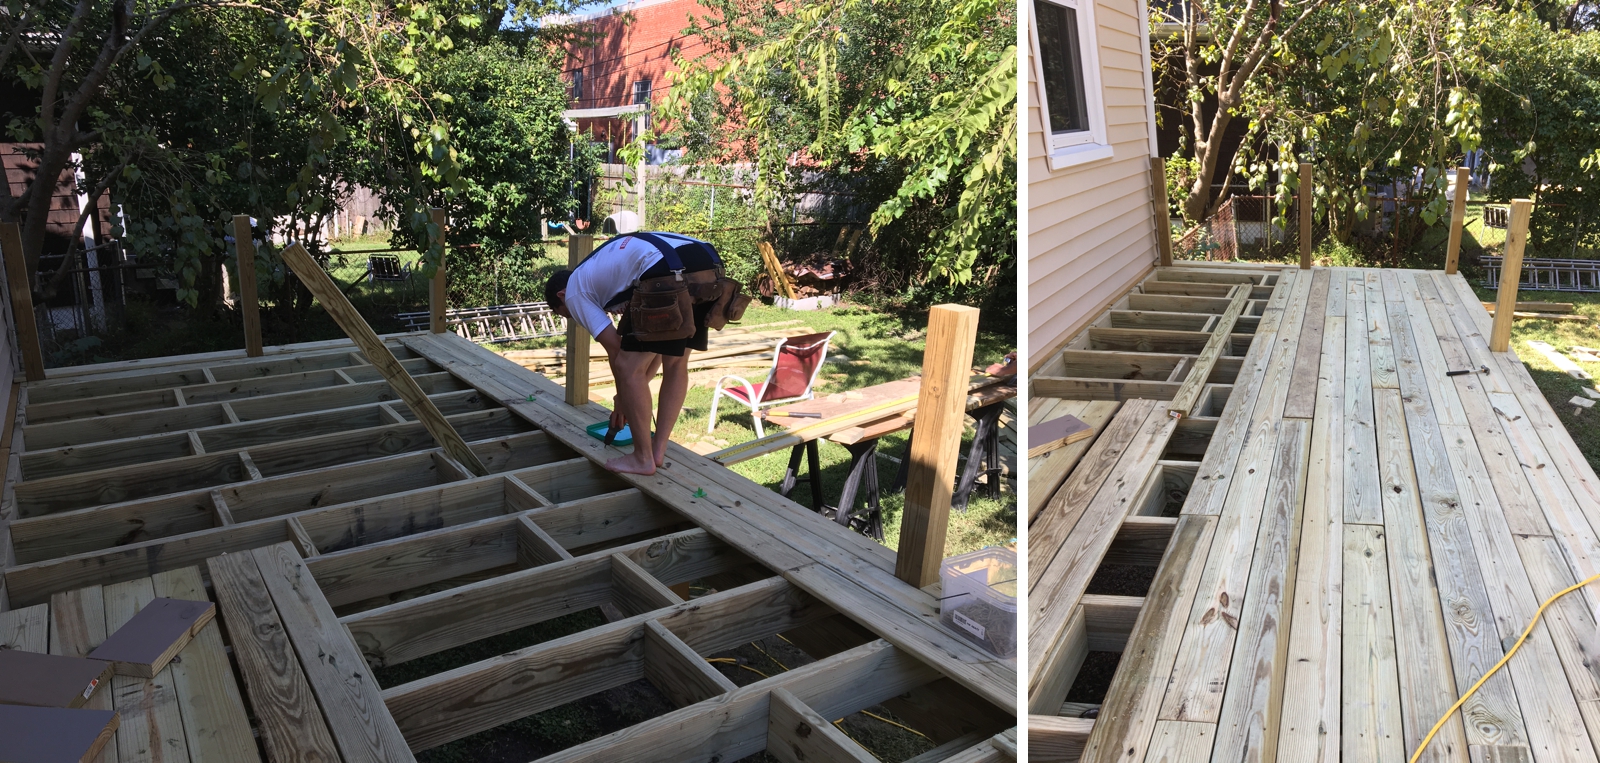 Then the next weekend they did the railing and finishing touches!
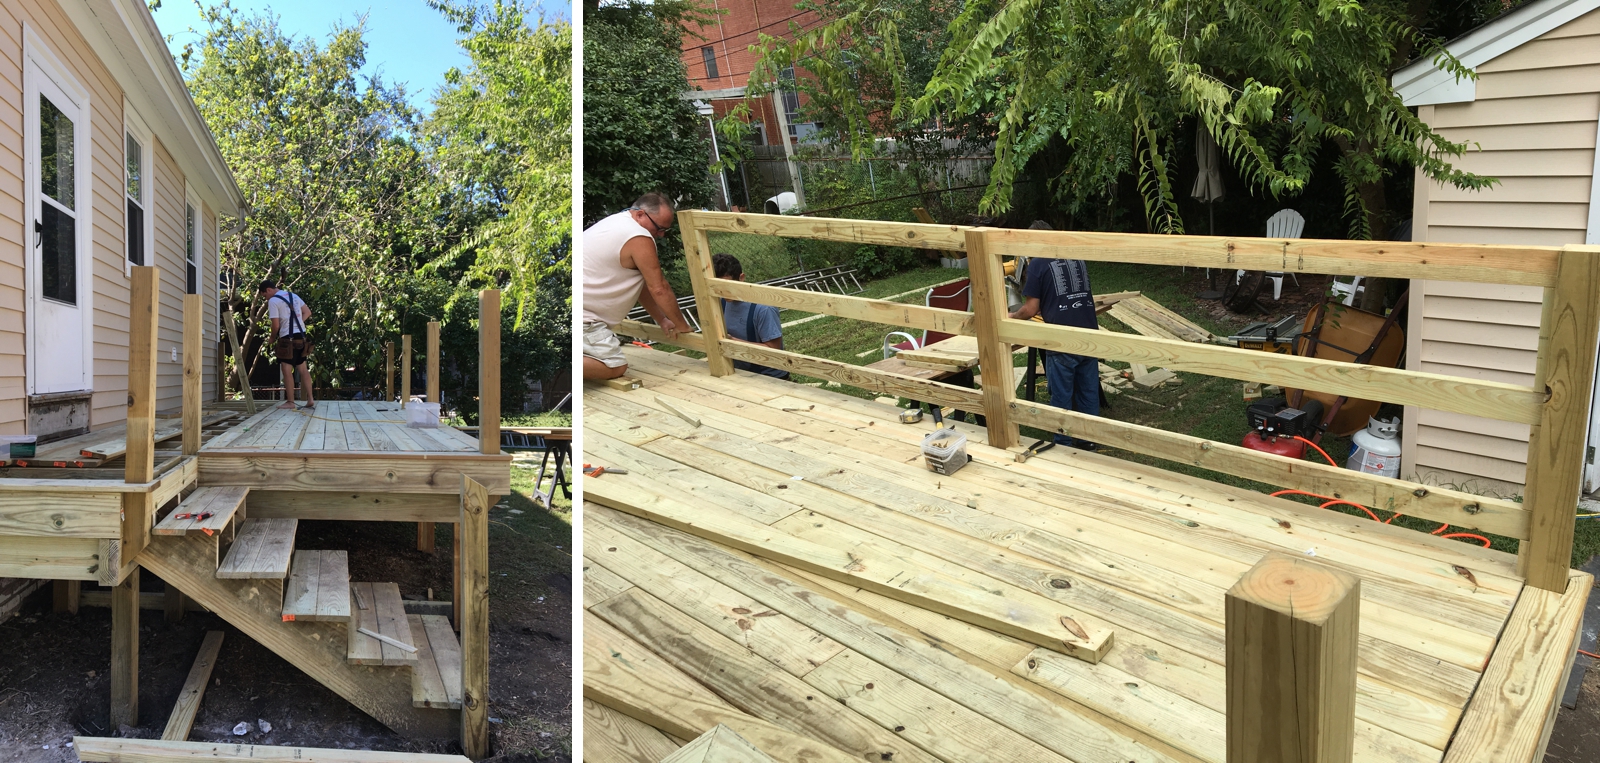 DONE!!! Well, at least the building part.
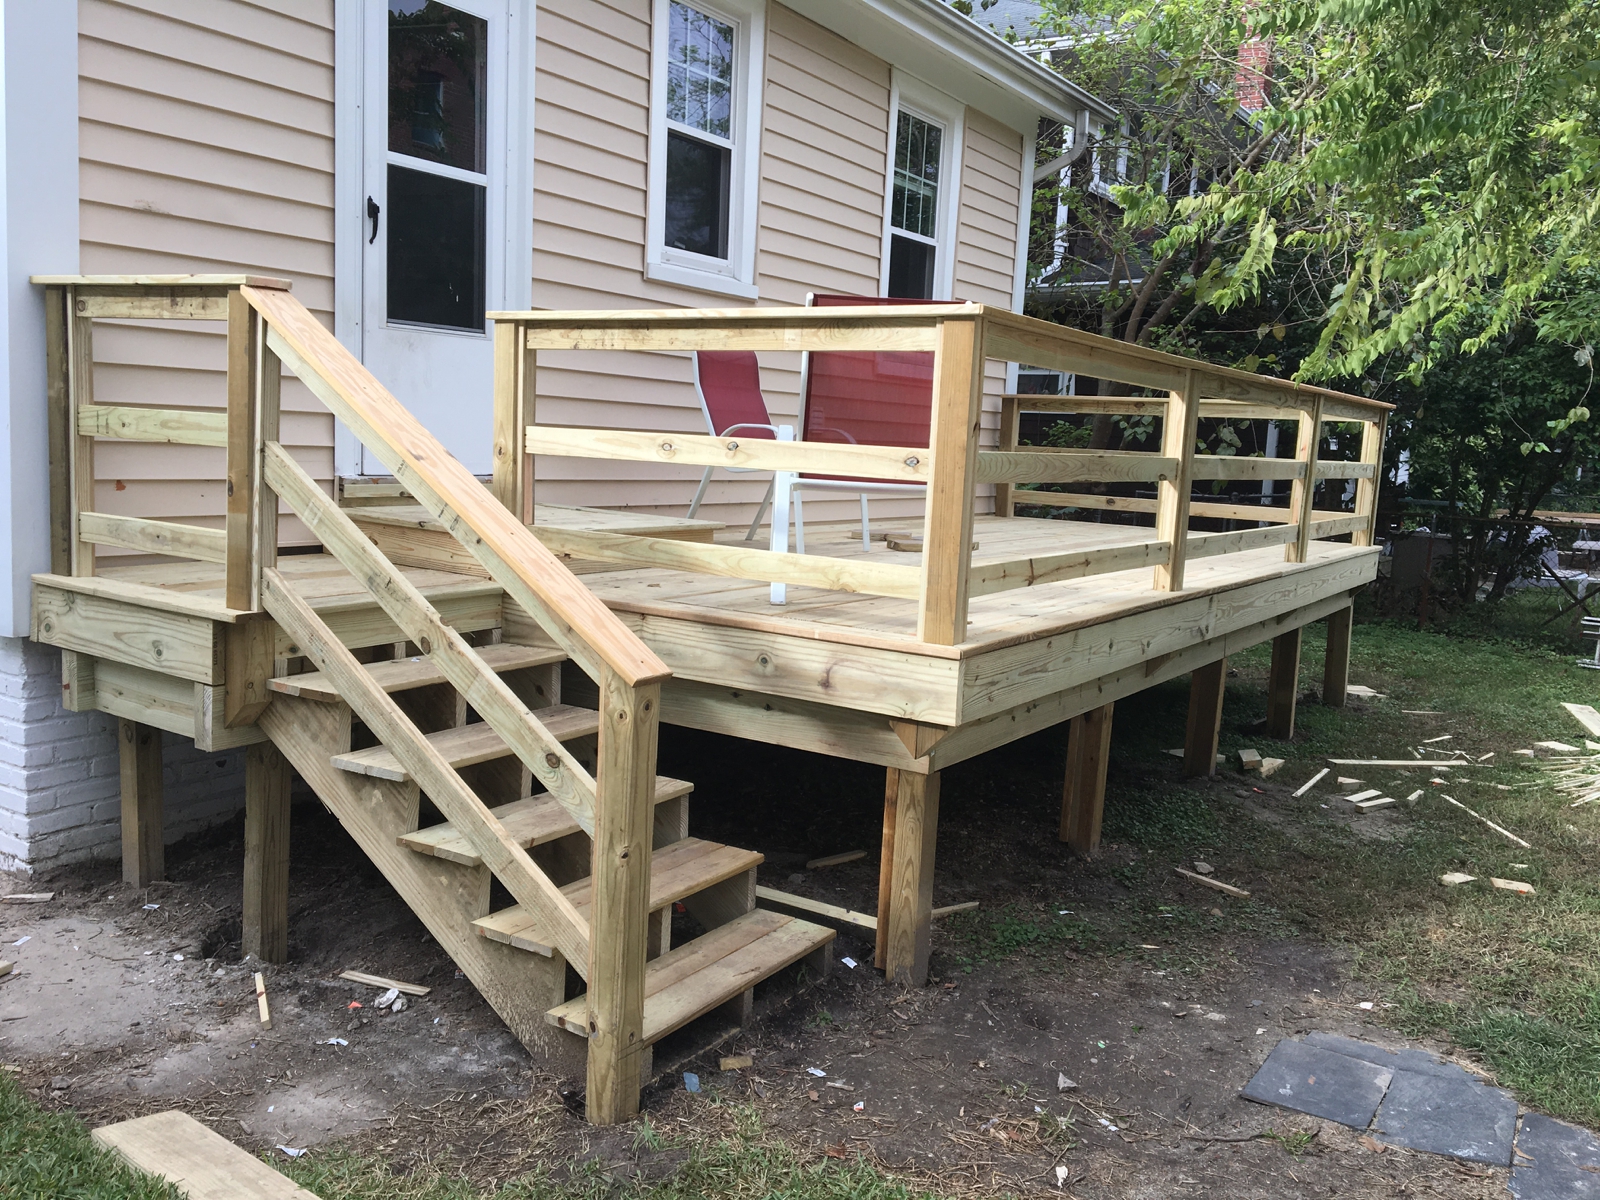 Now it’s time to paint. After slaving for weeks on the finish of our DIY dining room table, I vowed that I would never take on such a time consuming task like that again, or at least take a break from them! But here I am again with another huge wood project that needs to be finished! Oy!
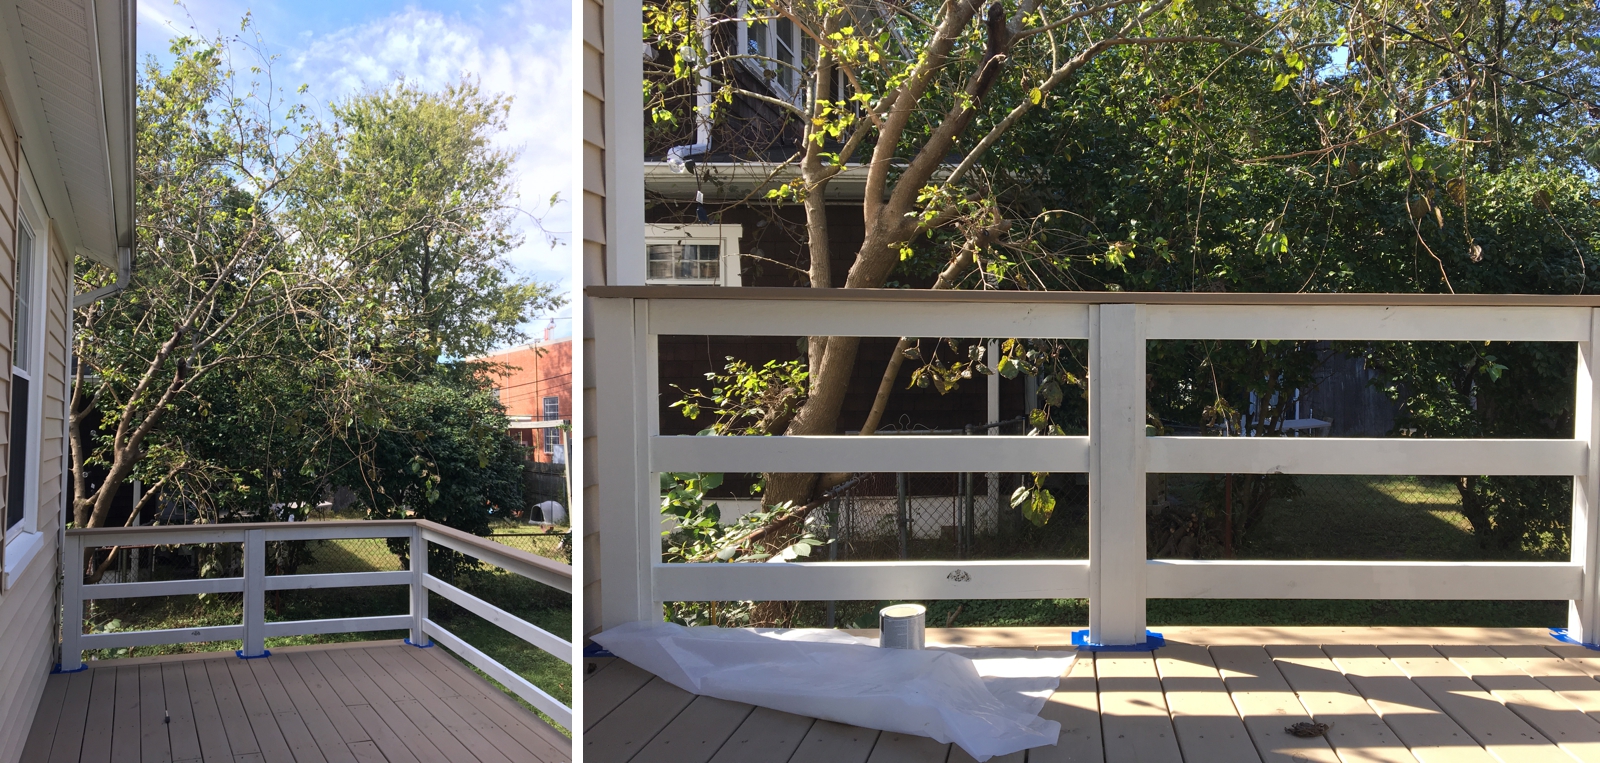
And just like with the table, we went back and forth on how we wanted to stain/paint the deck. In the end we decided to do a solid stain (so basically a paint) to hide lot of the discoloration and writing on the wood. But I like that it still shows the texture of the wood through the paint. After trying a few color samples, we ended up going with Taupe by Olympic. I’m actually really obsessed with this color, it’s really beautiful in person. 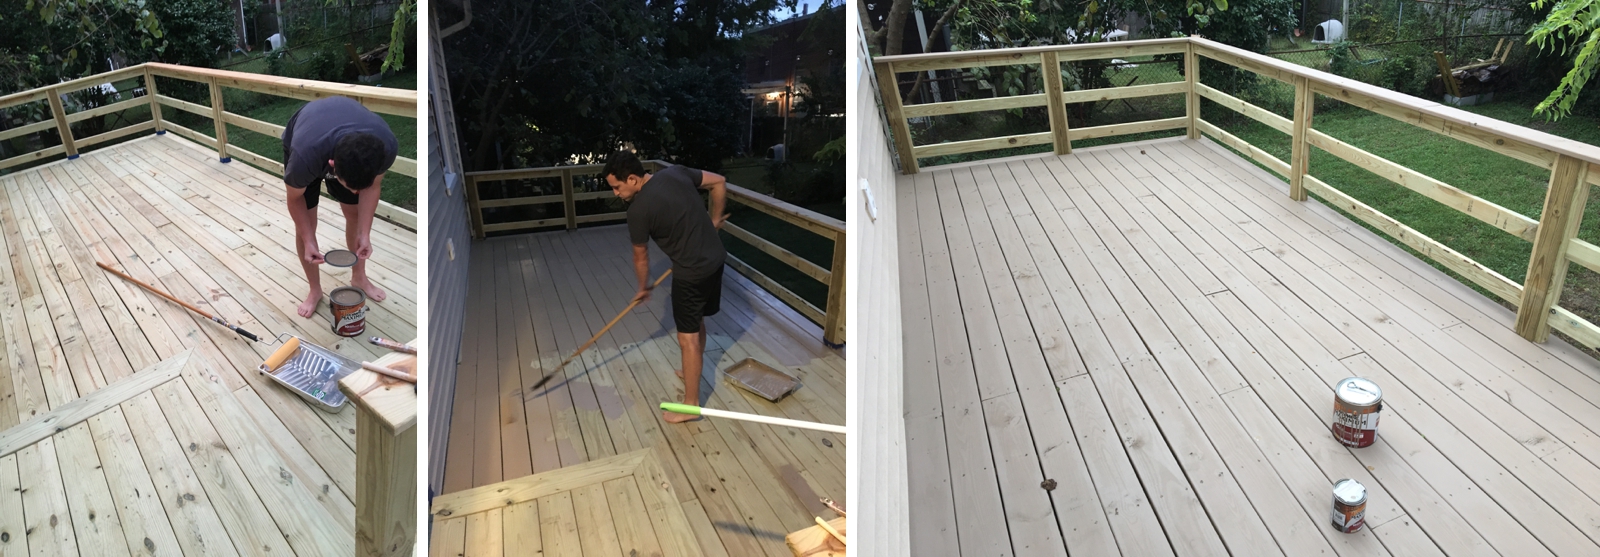 Then I decided that I wanted to make this job as hard on myself as possible by doing the trim in a different color. haha! I wanted to add some contrast while also lightening it up and making it flow nicely with the white trim on the house. So I did the trim of the railings in Outside White by Olympic. It took about 3 coats and 2 solid weeks of painting to do this trim, but I’d say it was SO worth it!
  Once all the painting was done, our new patio furniture arrived! I looked all over online and in stores for the perfect furniture set for the new deck. I had a really hard time finding something nice that wasn’t outrageously expensive. Then I came across this wicker sectional on Walmart.com that was pretty cheap and the perfect size! Yay! And we also added some patio lights above the deck that was really the perfect finishing touch!
 And here she is all completed! Woohoo!!
 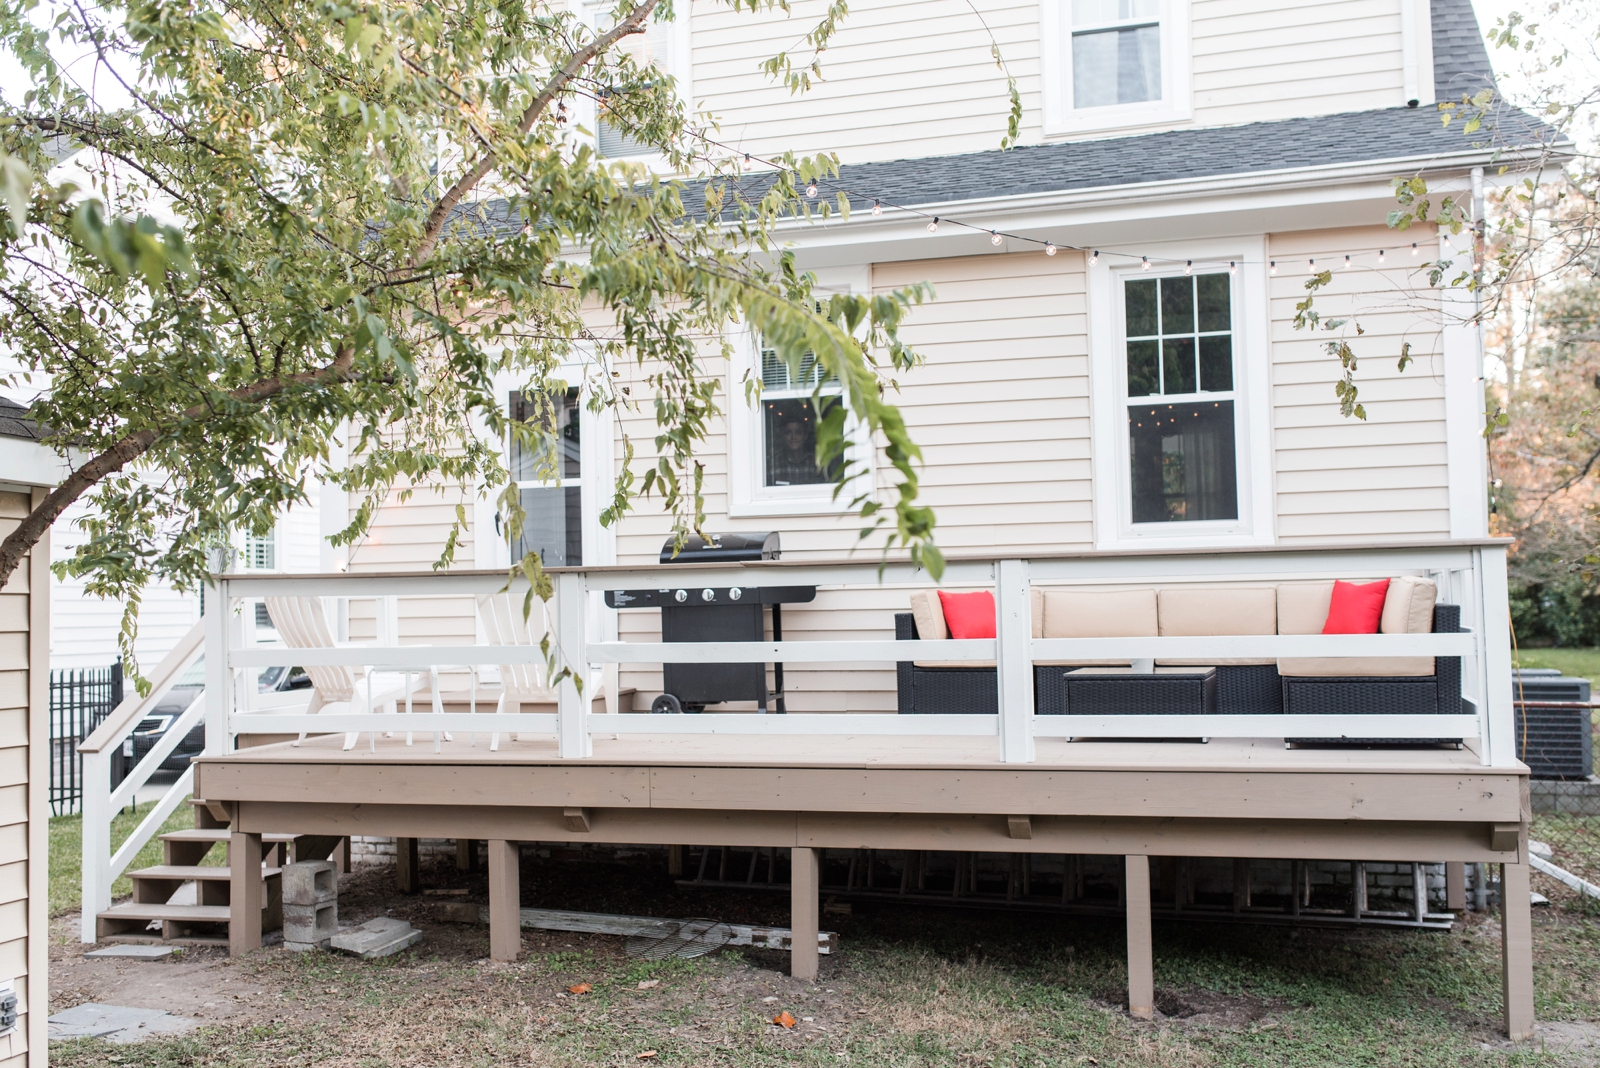 I am so thrilled with how this deck turned out! A lot of hard work and time went into this project, but it was really worth it!
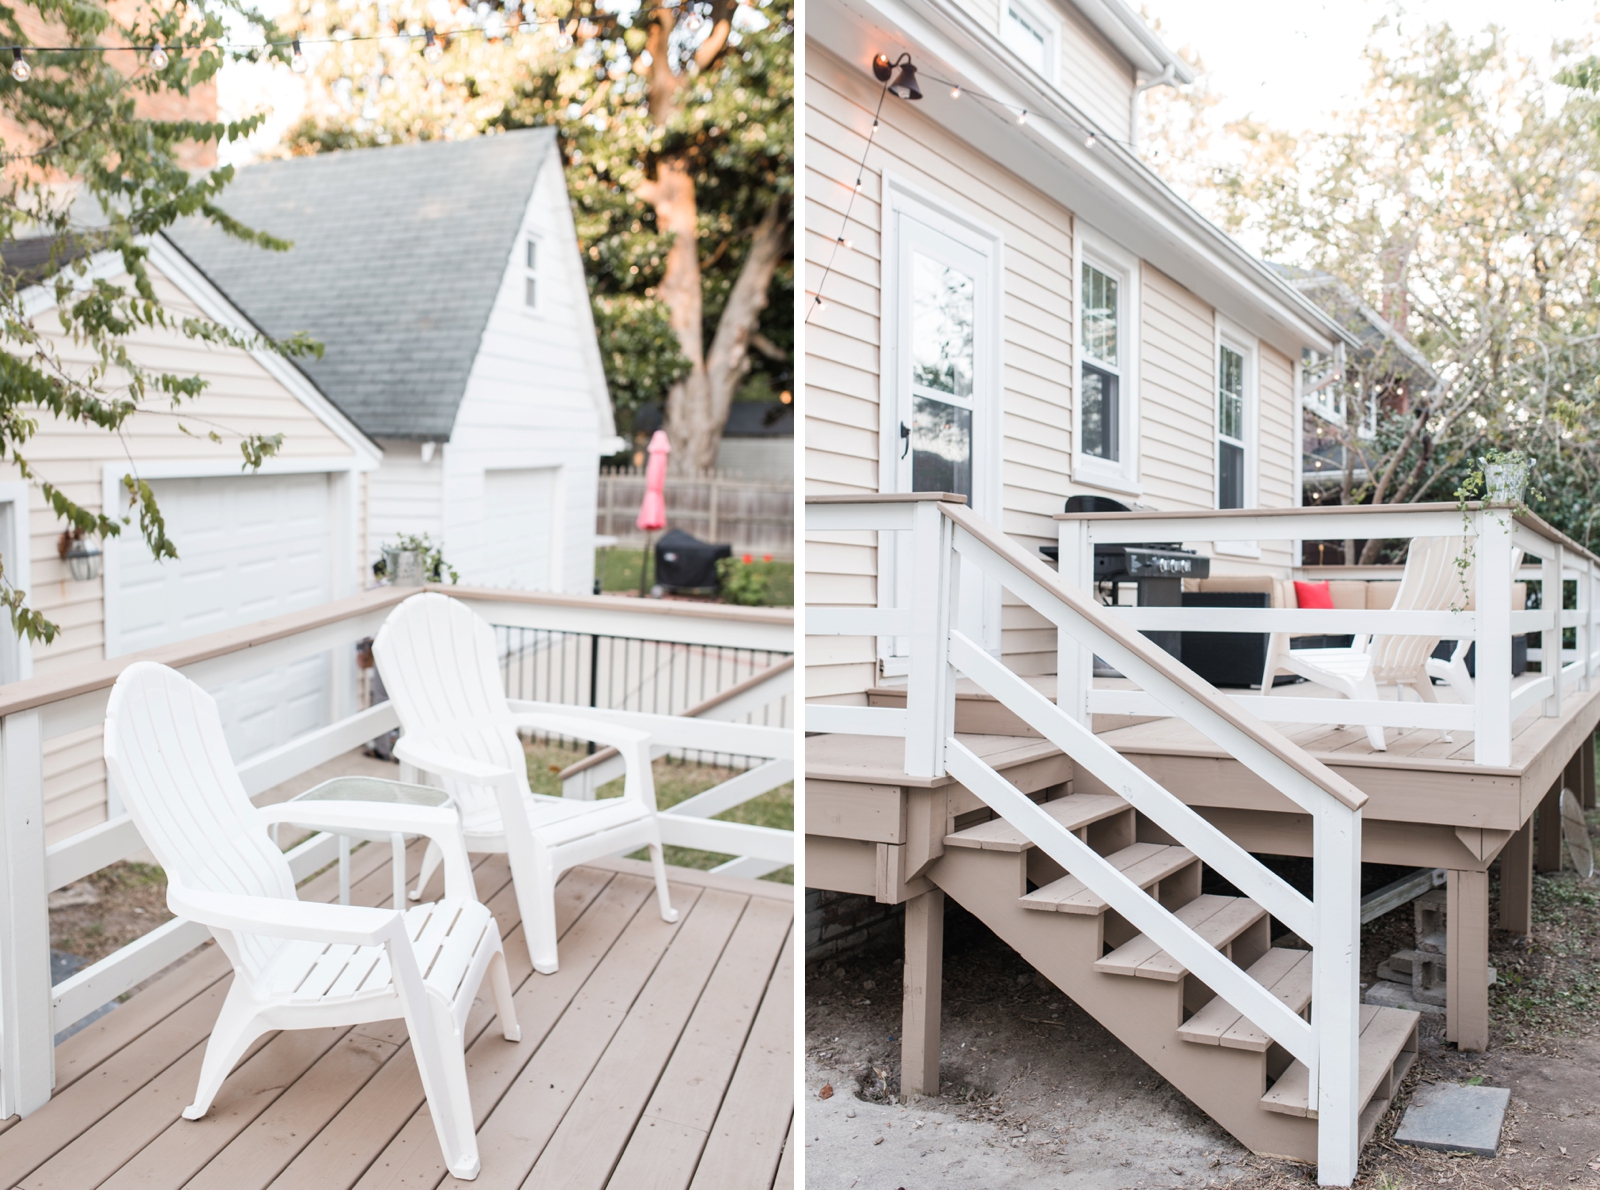
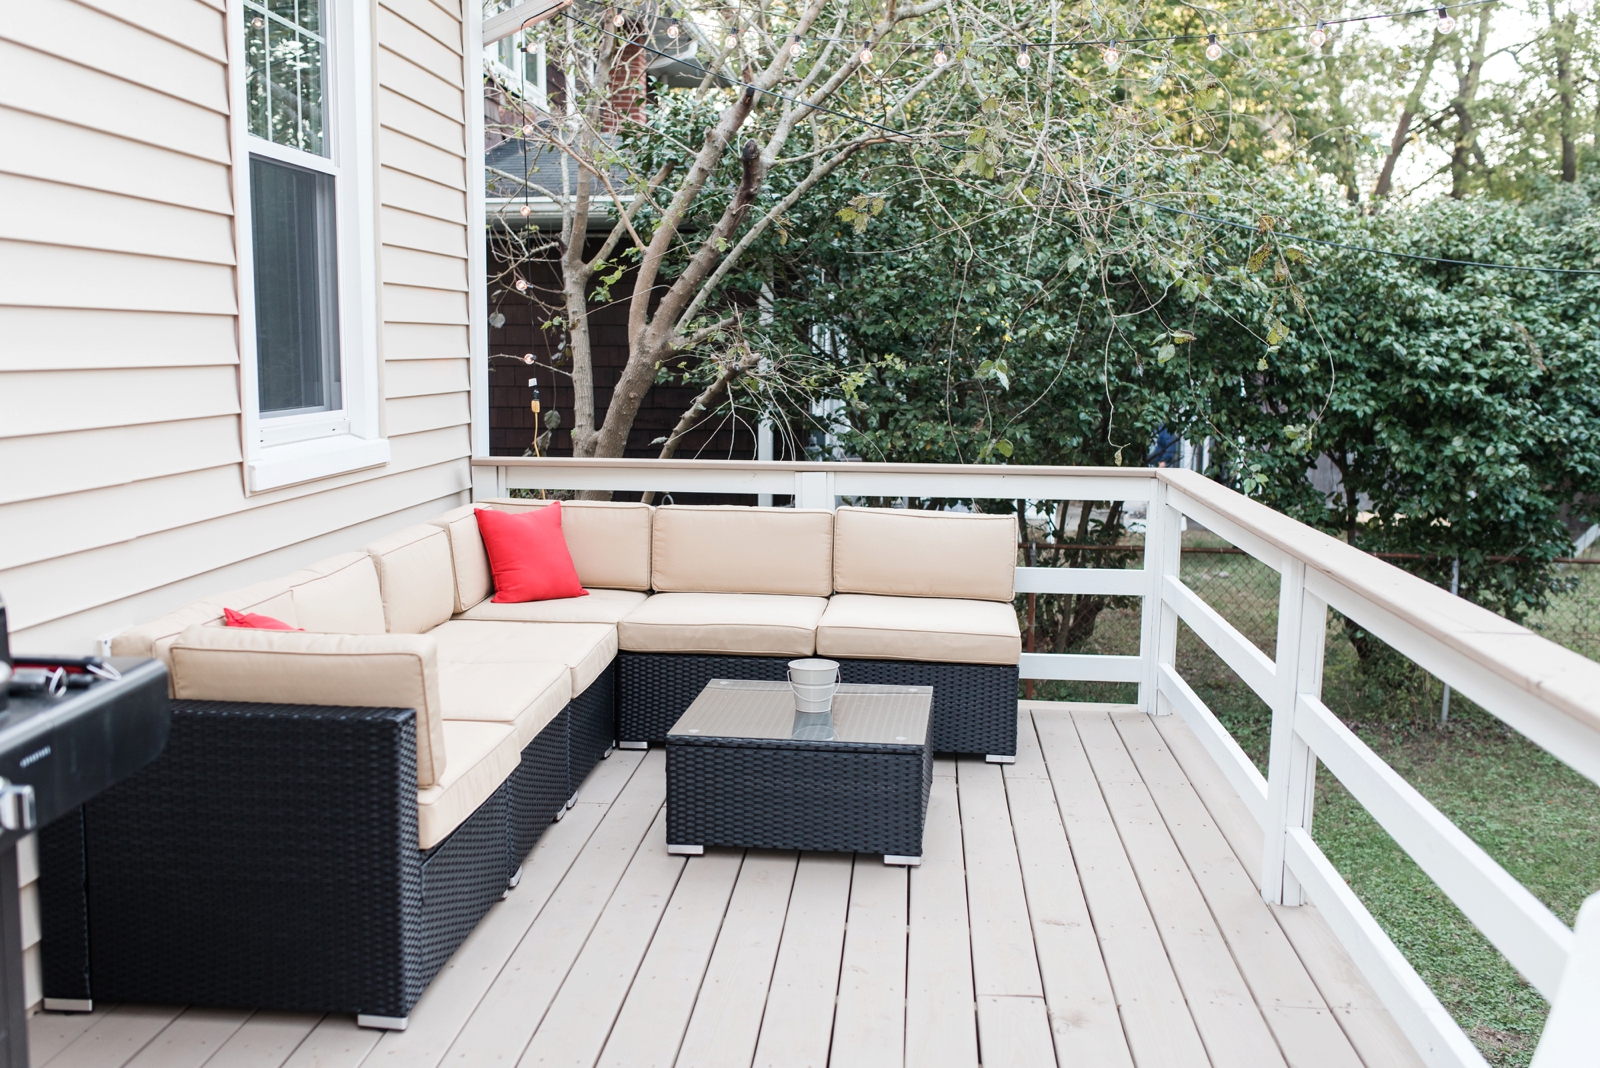
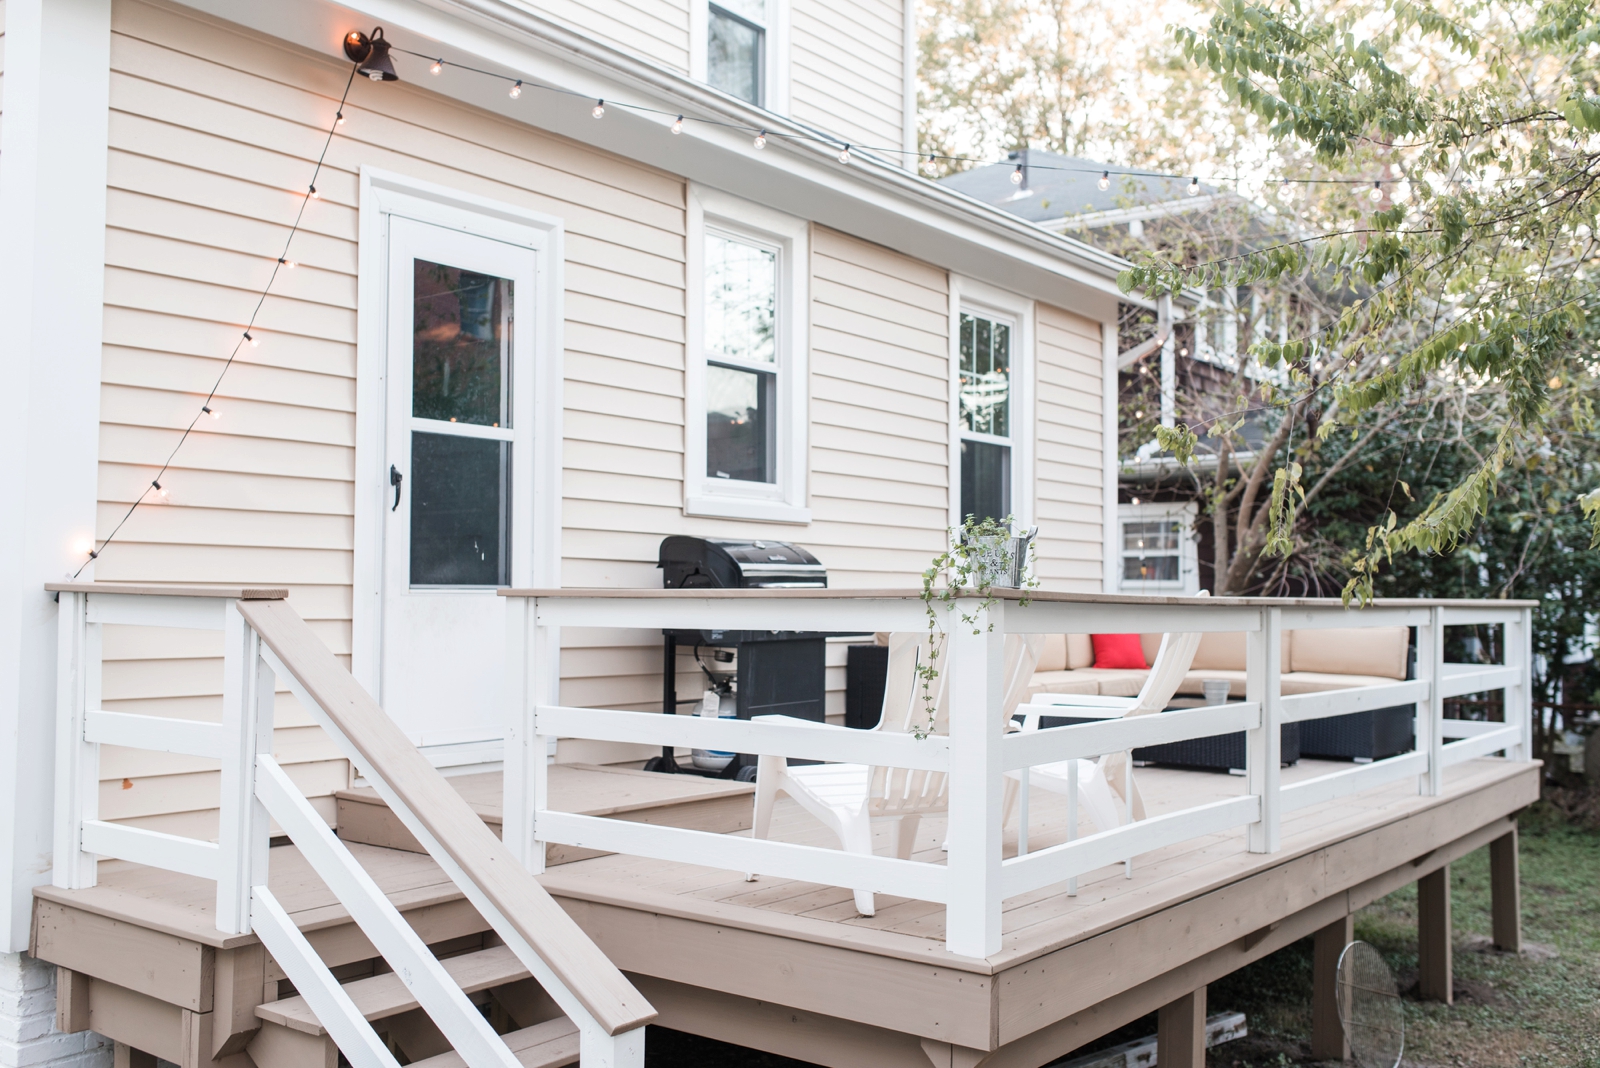 We’ve already been able to host so many friends and family on this new deck and it’s been such a blast! I love having this little outdoor oasis to share with friends and family, or even just myself and my laptop during the day! And just like our dining room table, the best part about it is that we built it with our own two hands and that is just priceless!
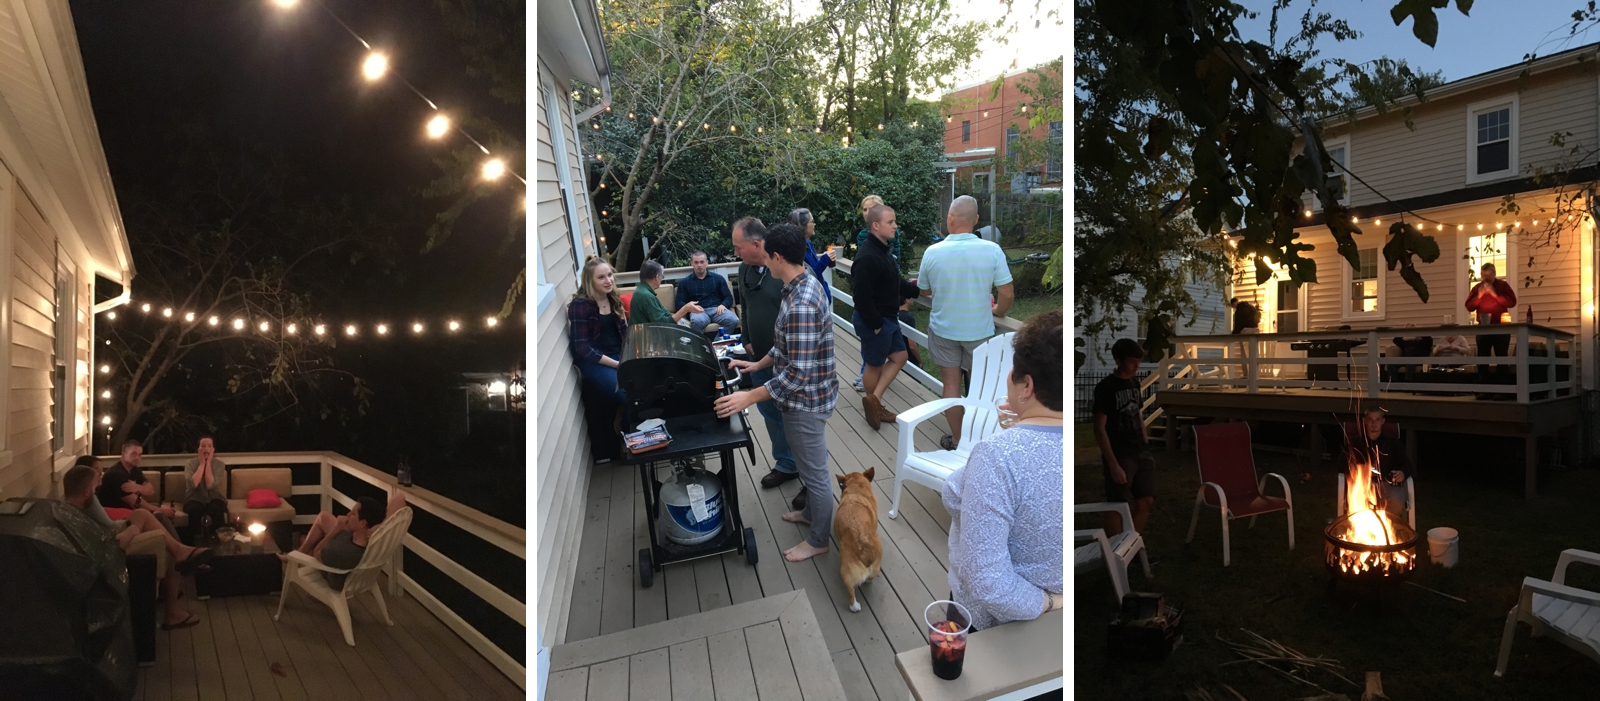 Now we are taking a break from house projects and just enjoying our home with friends and family. I can’t believe how far we’ve already come in the few months we’ve lived here! Our next task is probably to tackle to the upstairs… which is still in boxes and hasn’t changed since we moved in.. Oops! One step at a time!