


")


November 17, 2016
5 Tips For Nailing the Ring Shot
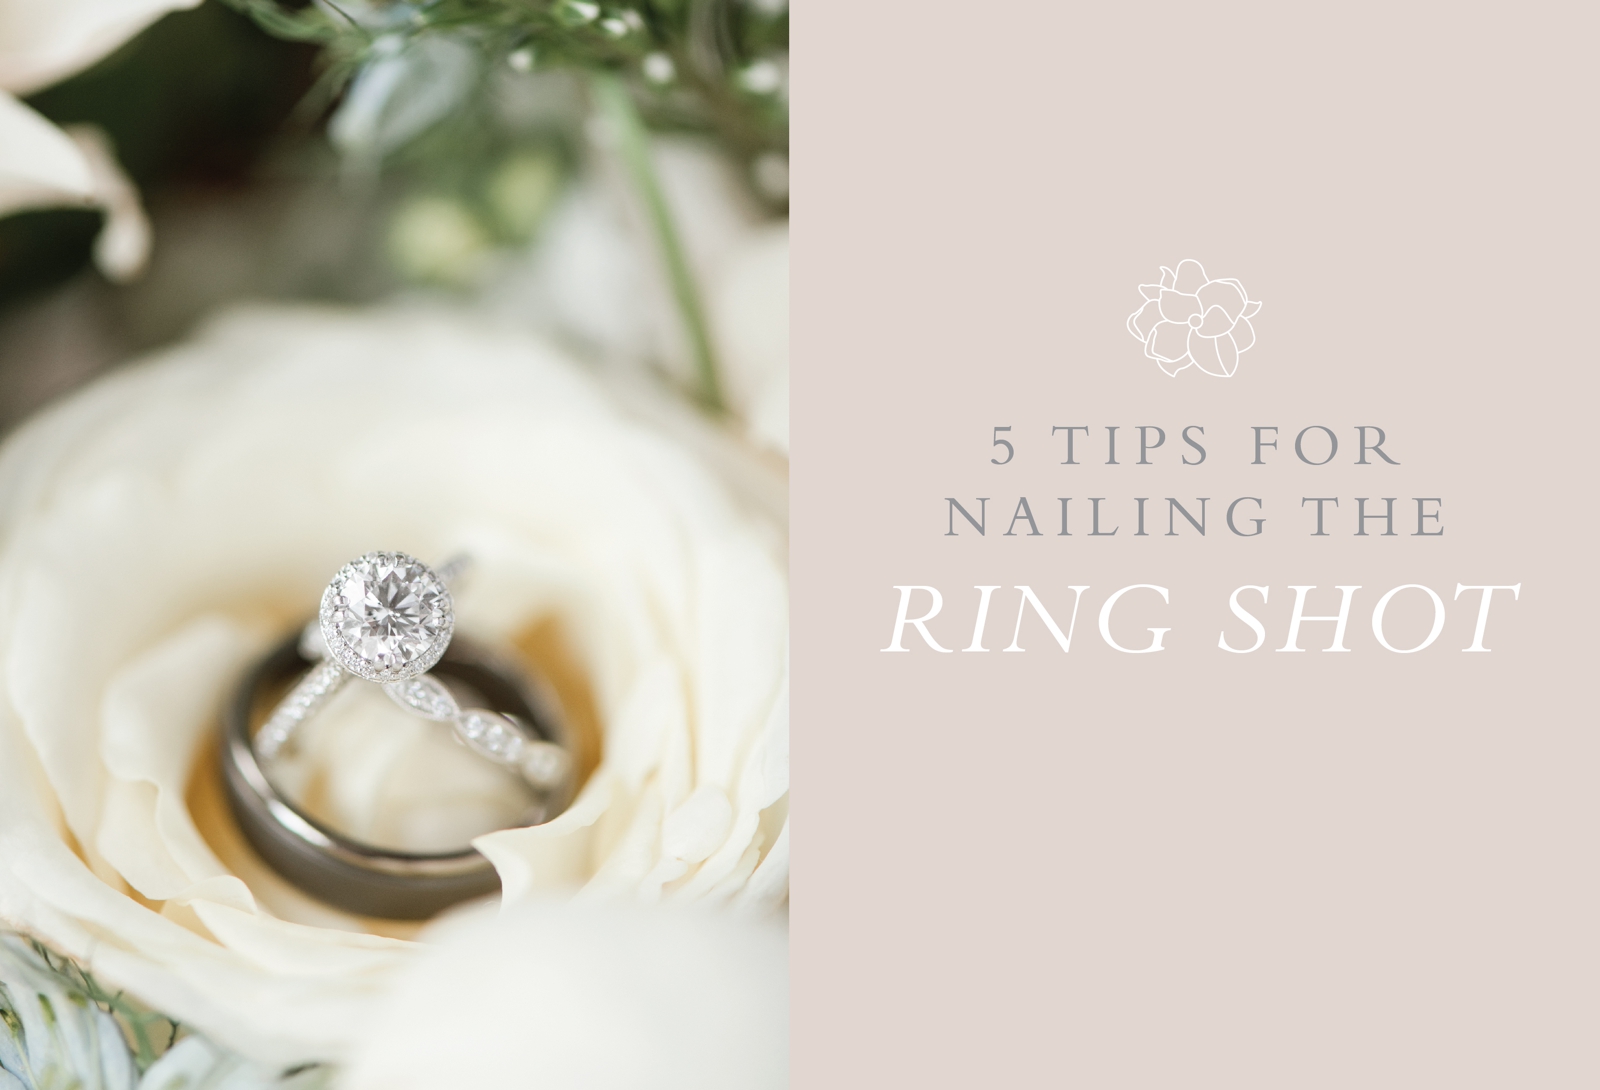 As a wedding photographer, you are tasked with photographing many different elements surrounding a wedding. The bride and groom, their families, the wedding party, the ceremony, the party and the bridal details which includes that nice sparkly engagement ring! Most girls dream about the ring their future husband will give them one day. The ring they’ll look down at for the rest of their life! So capturing that symbol of marriage in all it’s beauty is an important part of wedding photography!
Photographing an engagement ring takes a lot of practice and patience. From the lighting, to the equipment to the post-processing, there is a lot that goes into creating that perfect ring shot. But one you get all the basics down, there’s no reason why you can’t nail that ring shot every time! Here are some tips to help you get there!
Use a Macro Lens. This first tip is the most obvious one. In order to get those super close shots of small items like a ring, you’re going to need a macro lens. These lenses will allow you to get super close to those rings showing off every little detail and making them look larger than life! If you are a Nikon shooter, I would recommend the 105mm 2.8 macro lens and if you shoot Canon, then you’ll want the 100mm 2.8 macro lens. Use manual focus. There aren’t many reasons to shoot in manual focus on a wedding day or at an engagement shoot, but this is one. When you’re shooting really close to an object and trying to focus on something that is sparkly and doesn’t have much contrast, your camera is going to have a hard time getting the focus just right. In most cases, it’s better to go ahead switch into manual focus and get the focus right yourself. This will give you much more control allow you to get it perfectly in focus. Which brings me to my next point.
  Focus on the prongs, not the diamond. In macro photography, the focal plane is going to very very short. Like paper thin. So that means that you will need to be very intentional about where you choose to have that focal plane lie. I find that it is best to focus on the prongs of the diamond as opposed to the diamond itself. Since the prongs are the closest part of the ring to the camera (depending on the angle you are shooting), having them in focus will be pleasing to eye and make the whole ring seem in focus.
 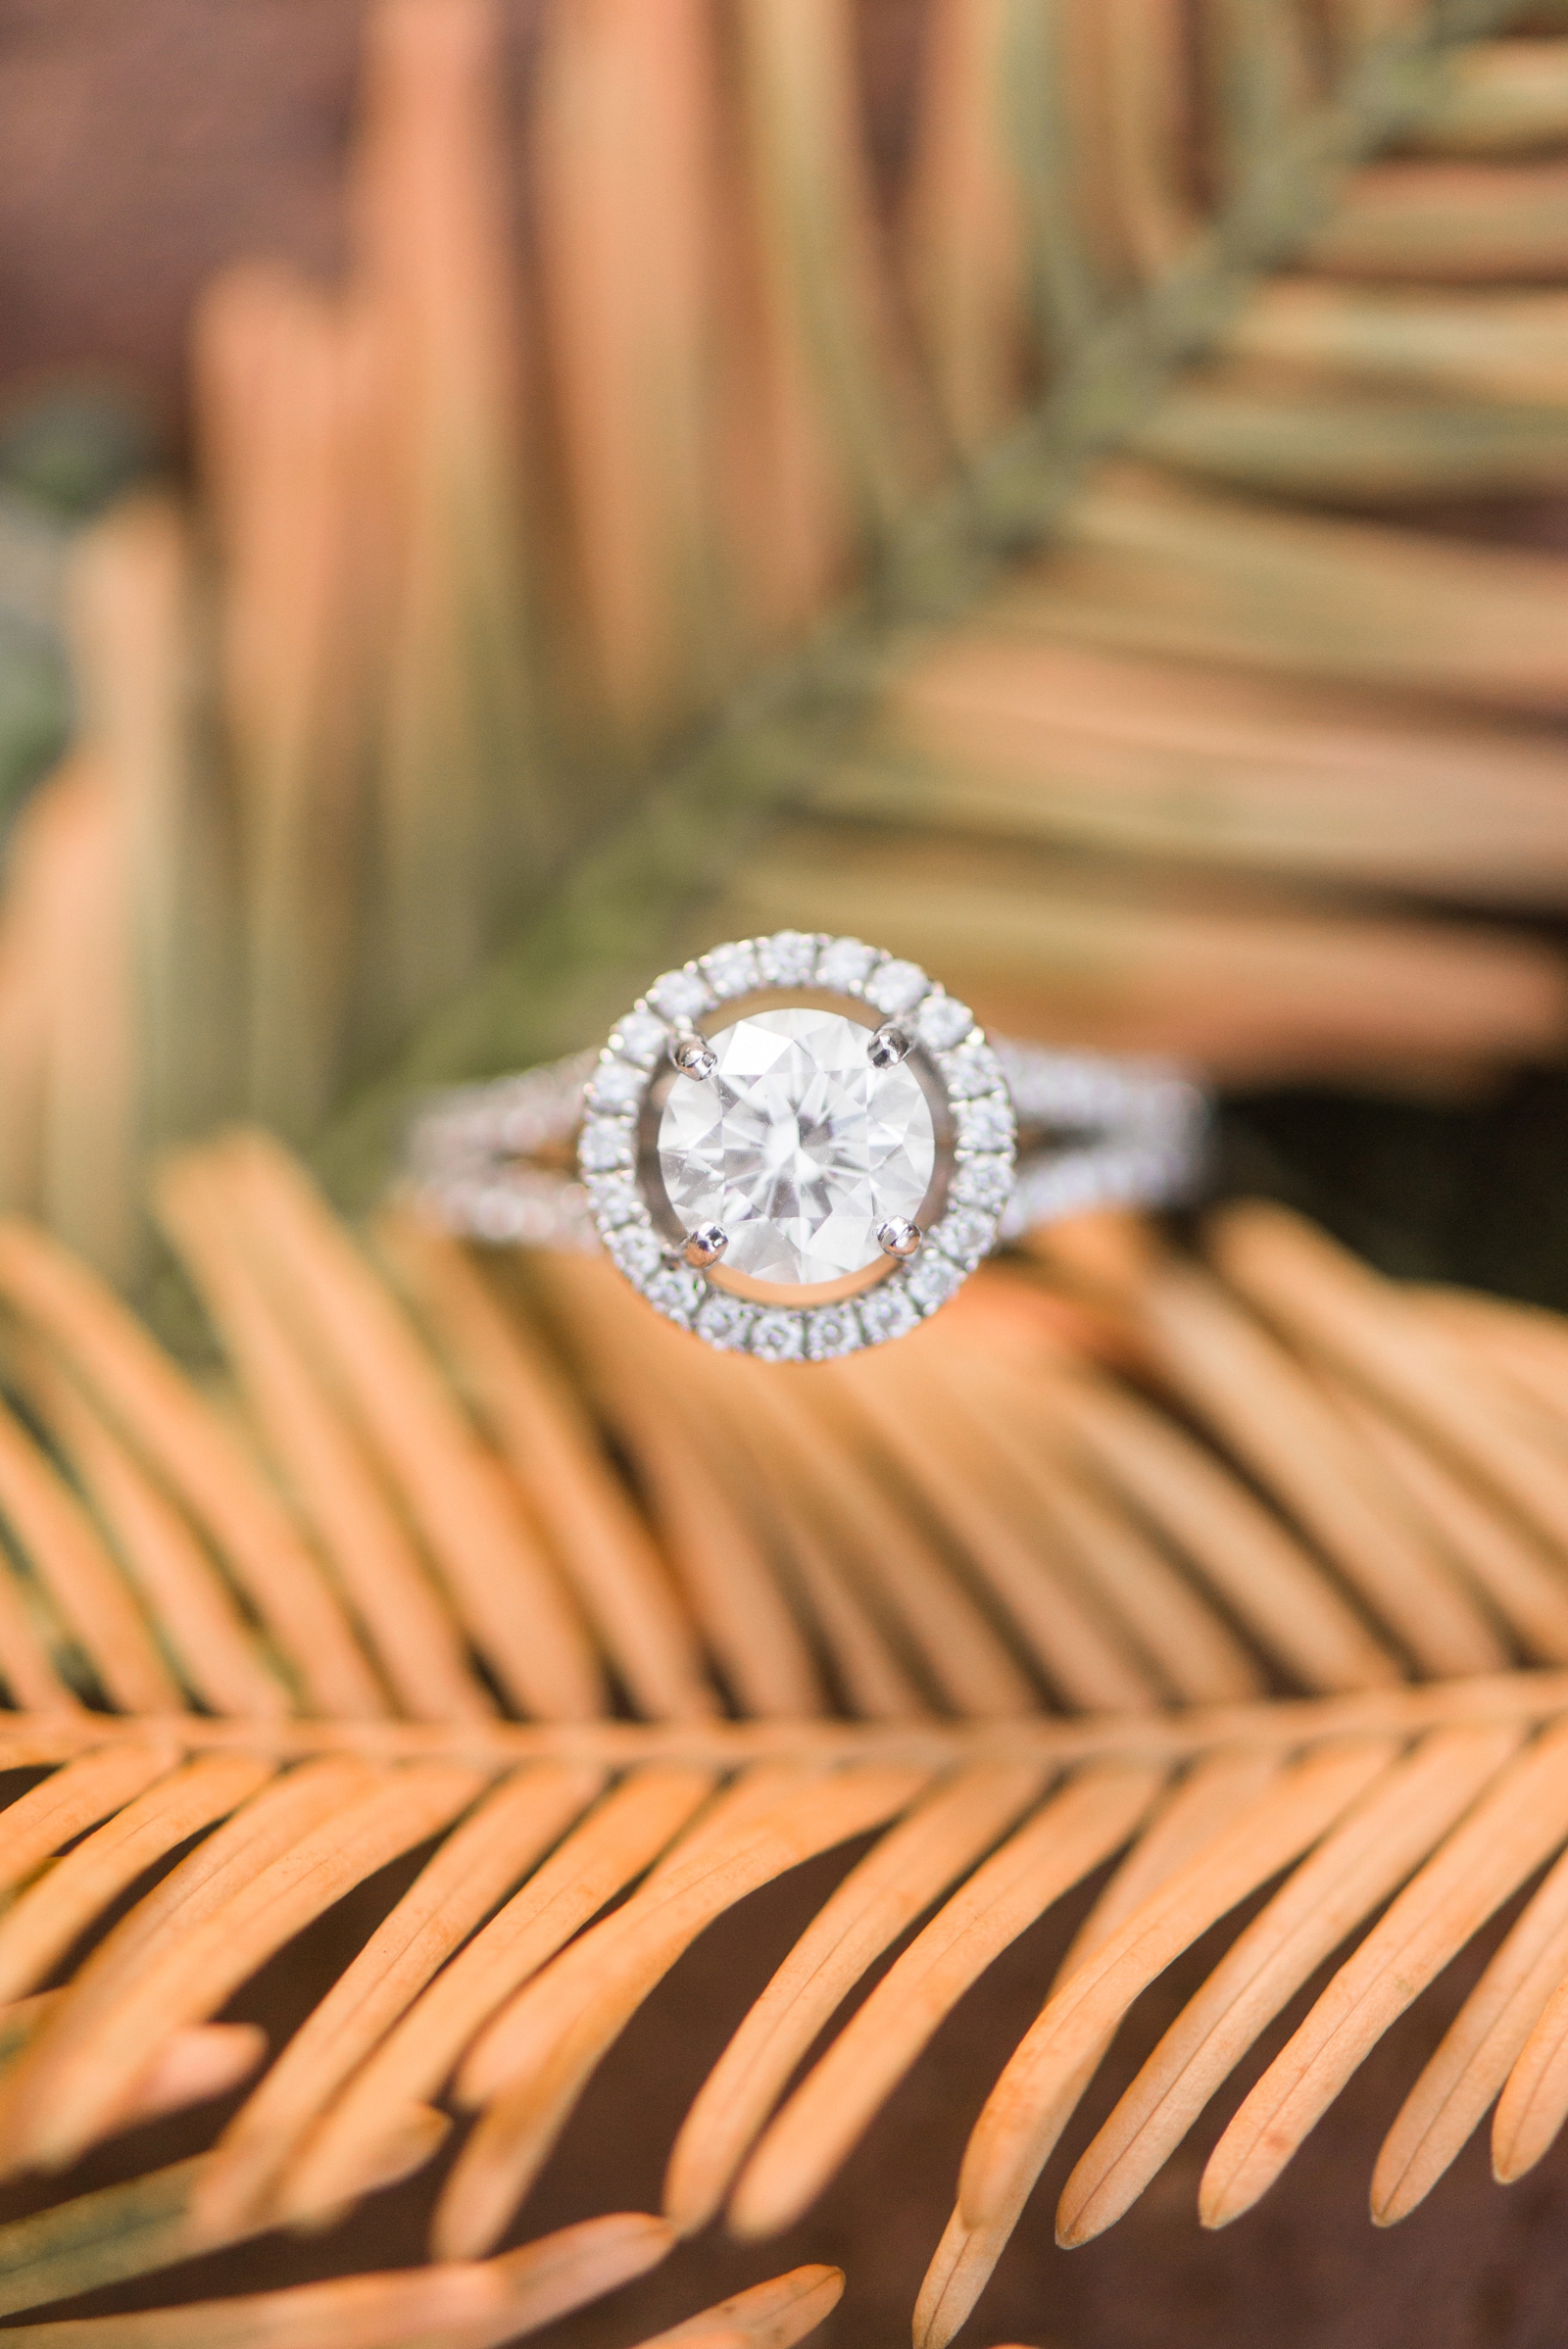 Use a reflector. This is the best tip I can give for making those ring shots really pop! Using a simple little white reflector (I use the timeline that I print for each wedding!), will cause the diamond to pick up all the white reflected light and really shine! Next time you’re shooting a ring and the diamond is looking a little dull, grab a piece of white paper and put it up next to it as close as you can and I promise you’ll be pleased with the results! So simple!
 Clean up with post-processing. Diamonds are naturally going to pick up all the light around them and no matter what you do, not all that light is going to be clean and white. But no worries, you can clean that up in Lightroom! Using the brush tool in Lightroom, you can strip the color from the diamond without affecting the rest of the image. This is also a good opportunity to brighten the stone just a tad, if it’s needing a little more pop. But be careful not to overdo it, or it will look fake and over-edited. I will usually pull the saturation down to about -60 and I’ll pull up the sharpening a little bit to enhance the detail of the diamond. Here’s a before and after showing the difference in the diamond after applying the brush edit. The diamond in this shot was picking up the yellow from the leaf it was sitting on, so desaturating the diamond made it all clean and white again! What a difference!
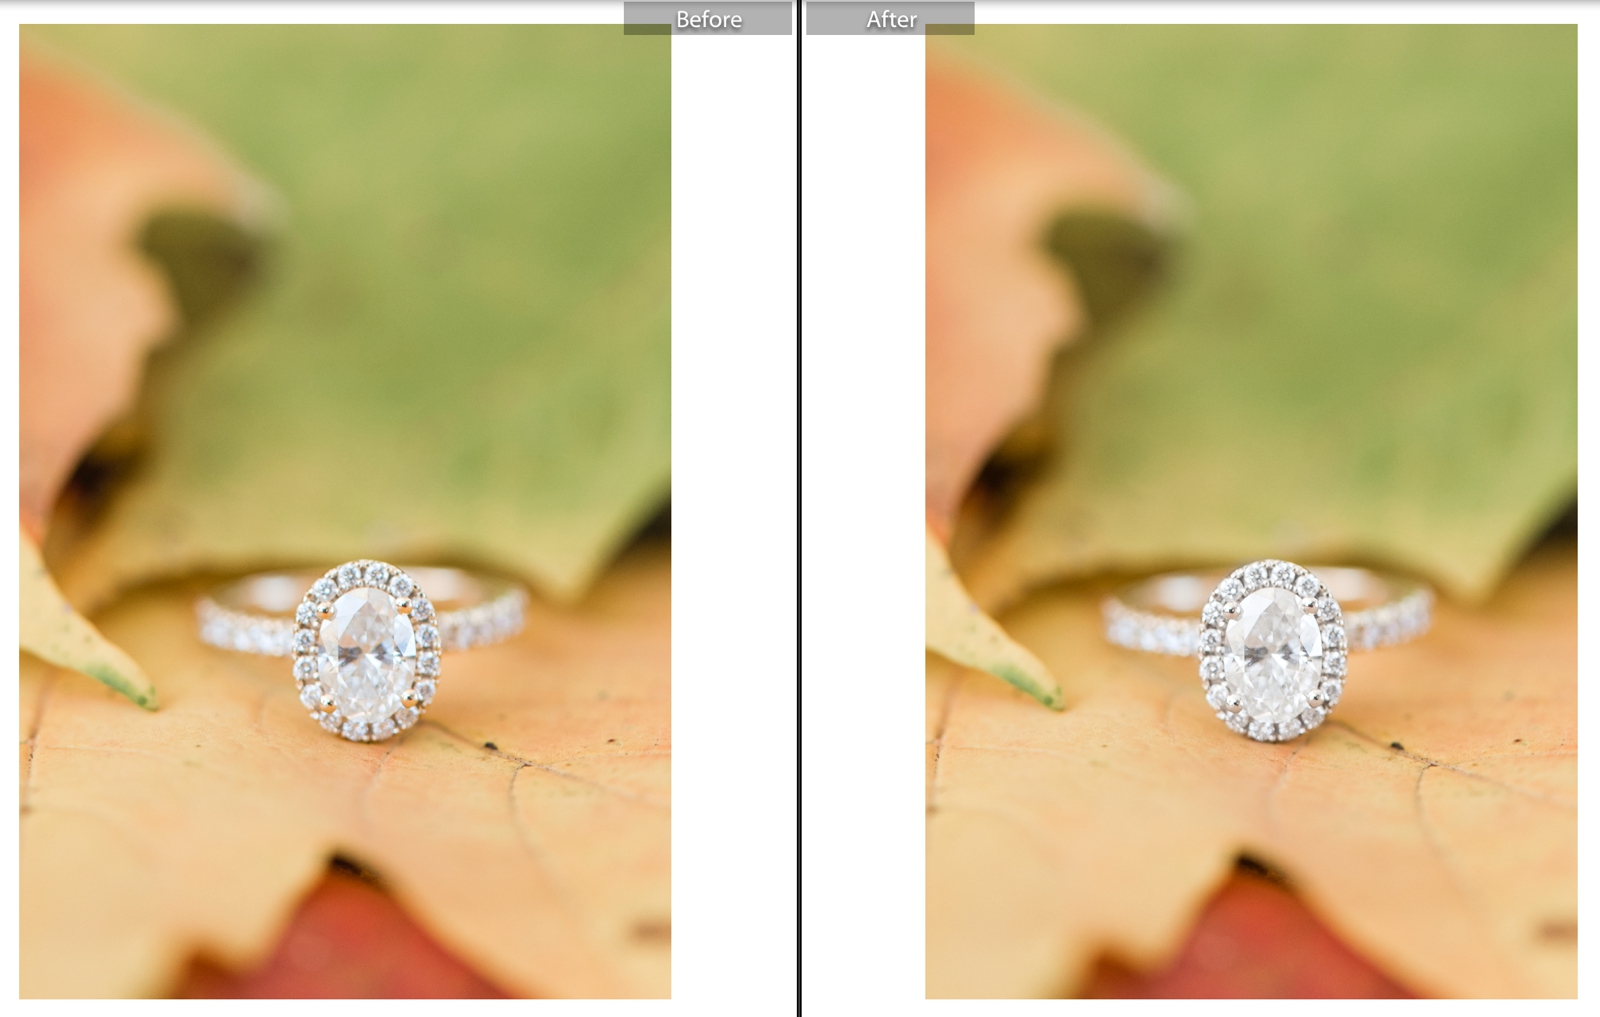
Want to ensure that your brides never forget to have ALL THREE rings ready for you on their wedding day? AND the rest of their bridal detail items? Be sure to grab my FREE bridal details checklist template that you can customize and send to your brides to ensure they have all their bridal detail items ready for you on the wedding day!
Click here to grab the template!
For more photography tips, check out these posts!