February 4, 2016
4 Tips For Better Focus | Ask Anything

While photography is an “art” and there is a lot of creativity that goes into capturing a beautiful image, it is also very technical. There are a lot of not-so-creative elements that go into creating a stunning photo. Aperture, shutter speed, ISO, white balance, etc. Another important aspect of photography is focus! Getting your subject properly in focus can make or break a photo. But there are lot of different factors that go into getting an image in focus. And there are a lot of situations that make getting an in focus picture next to impossible! So today I am sharing a few tips and tricks that will help you get a tack sharp image in any situation!
Back Button Focus. This is a much debated topic in the photography world, but I LOVE using back button focus. This is when you change the settings on your camera so that you are pressing a button on the back of camera (different for Nikon and Canon, but it is a button in the top right of the back of your camera) to focus instead of the shutter button. So that means that you are controlling the focus and the shutter with two different buttons. Normally you would have to press the shutter button down halfway to focus, then once focus is locked you press the button down the second half of the way to take the picture. Having the focus and shutter controlled by two separate buttons gives you SO much more control! So I can focus on a subject, then not have to focus again so long as I am staying the same distance away from my subject! This is very helpful when you are in a situation where your camera is having trouble focusing (dark reception room) because then you don’t have to refocus for each shot! That being said, there are still plenty of amazing photographers that don’t use back button focus, so it’s totally personal preference!
Single Point Focus. On every DSLR camera body, there are a few different focus modes or options. There are several (and sometimes dozens!) different “focus points” that your camera uses to grab focus. Usually the nicer the camera, the more focus points there are. When using the automatic focus modes, the camera is choosing which focus point to use to grab focus. Could be the point in the top right corner of the screen, could be the point right in the middle. It’s up to the camera to decide what it ‘thinks’ you’re trying to focus on. Just like with back button focusing, the more control you have on the focusing mechanism, the more you are in control of the outcome of the image as opposed to the camera. So I would suggest not using the automatic focusing options, but rather the single point focus option (called something different for each camera brand). In this mode, you are selecting the point on the screen where you want the camera to focus as opposed to allowing the camera to choose. This is especially important when you are shooting at wide aperture because the focal plane is so shallow!
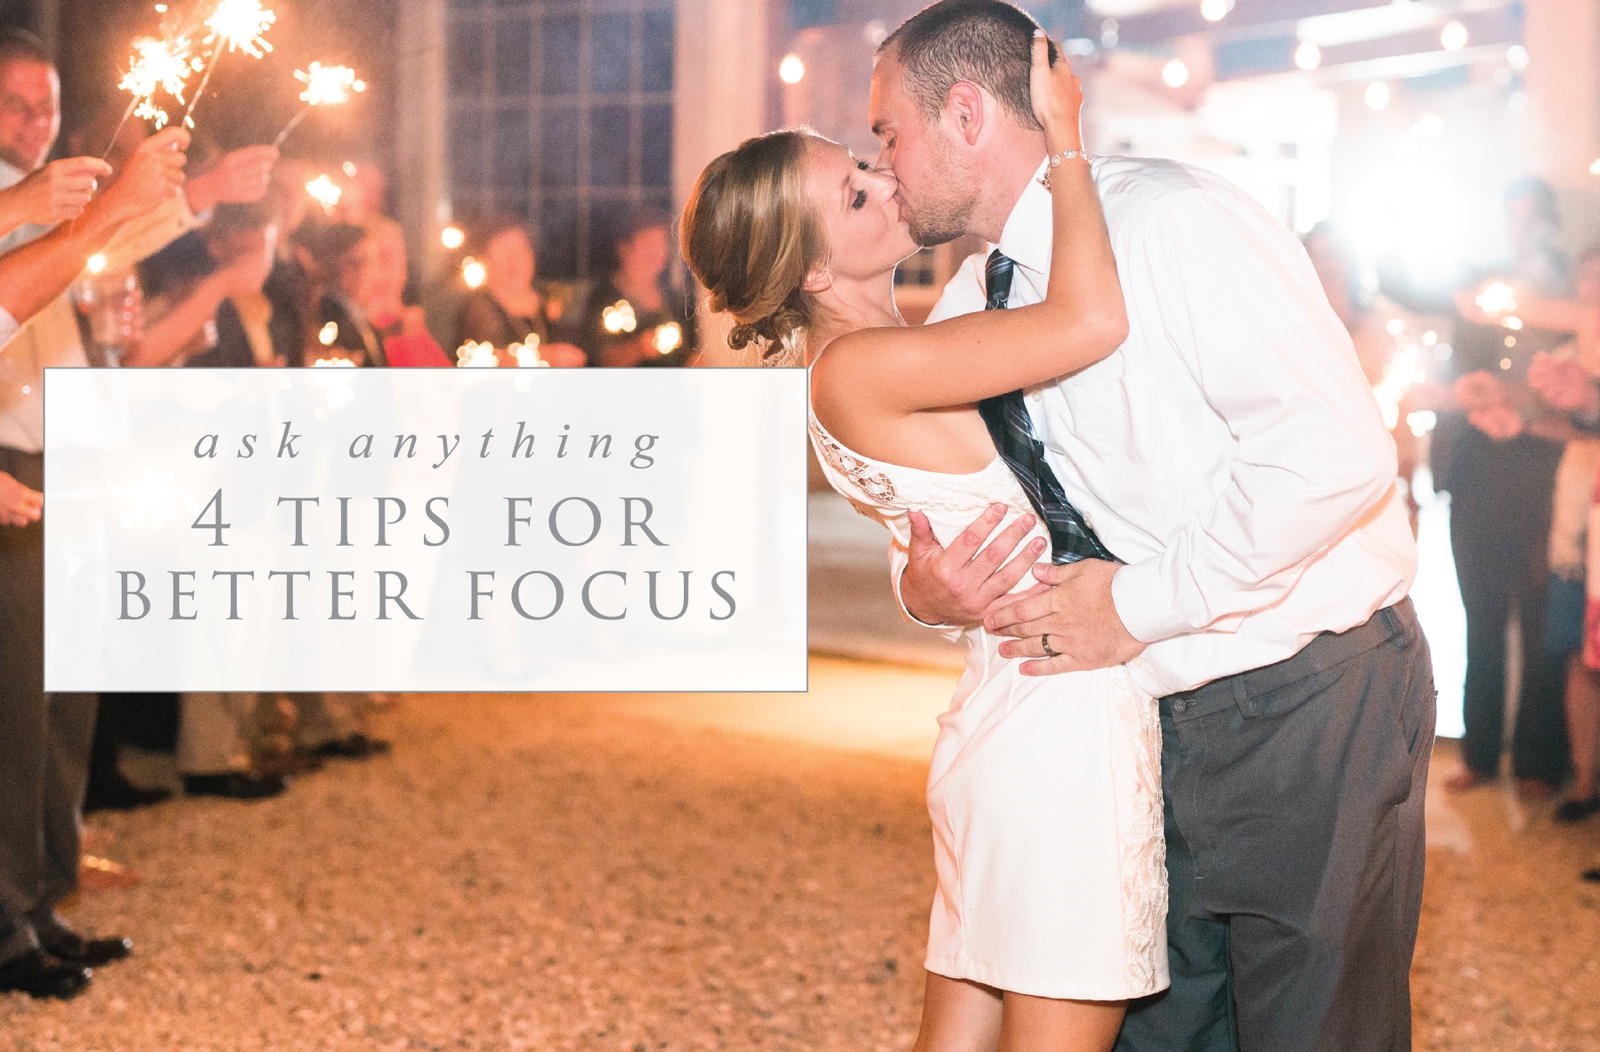
Pick High Contrast Area. When taking a photo of a person, the general rule of thumb is to put the focus point on their eye. This is the most important part of someone’s face to be in focus. But there are some situations where you camera may be having a hard time focusing, particularly in a dark room or outside at night. In this case you will want to pick a more high contrast area to focus on as this will make it easier for you camera to focus. You can start with trying the person’s eyebrow or mouth. If that’s not working you can move to their hairline or even their clothes. Just keep in mind that the farther away your focus point is from their eye, you may need to increase your aperture to allow for a deeper focal plane to ensure that their eyes are still in focus. This tip is especially helpful for on the most difficult focusing situations- sparkler exits! It’s completely dark out and the couple is moving towards you! In this case, picking a narrower aperture (bigger number) and focusing on a point where the groom’s jacket meets his shirt can help!
Focus Assist. When shooting those dark receptions where lights are flashing and everyone is moving all over the place, getting someone in focus can be quite difficult! One saving grace is the focus assist on speedlites! When shooting a reception, you will most likely have a speedlite on your camera. There is a setting within that speedlite that will project a red beam when you are trying to focus in order to “assist” the camera! This can be a total life-saver during receptions!
Check out these past blog posts from the Ask Anything series!
Shooting the Ceremony Inconspicuously
[…] 4 Tips for Better Focus […]
[…] 4 Tips for Better Focus […]