September 15, 2016
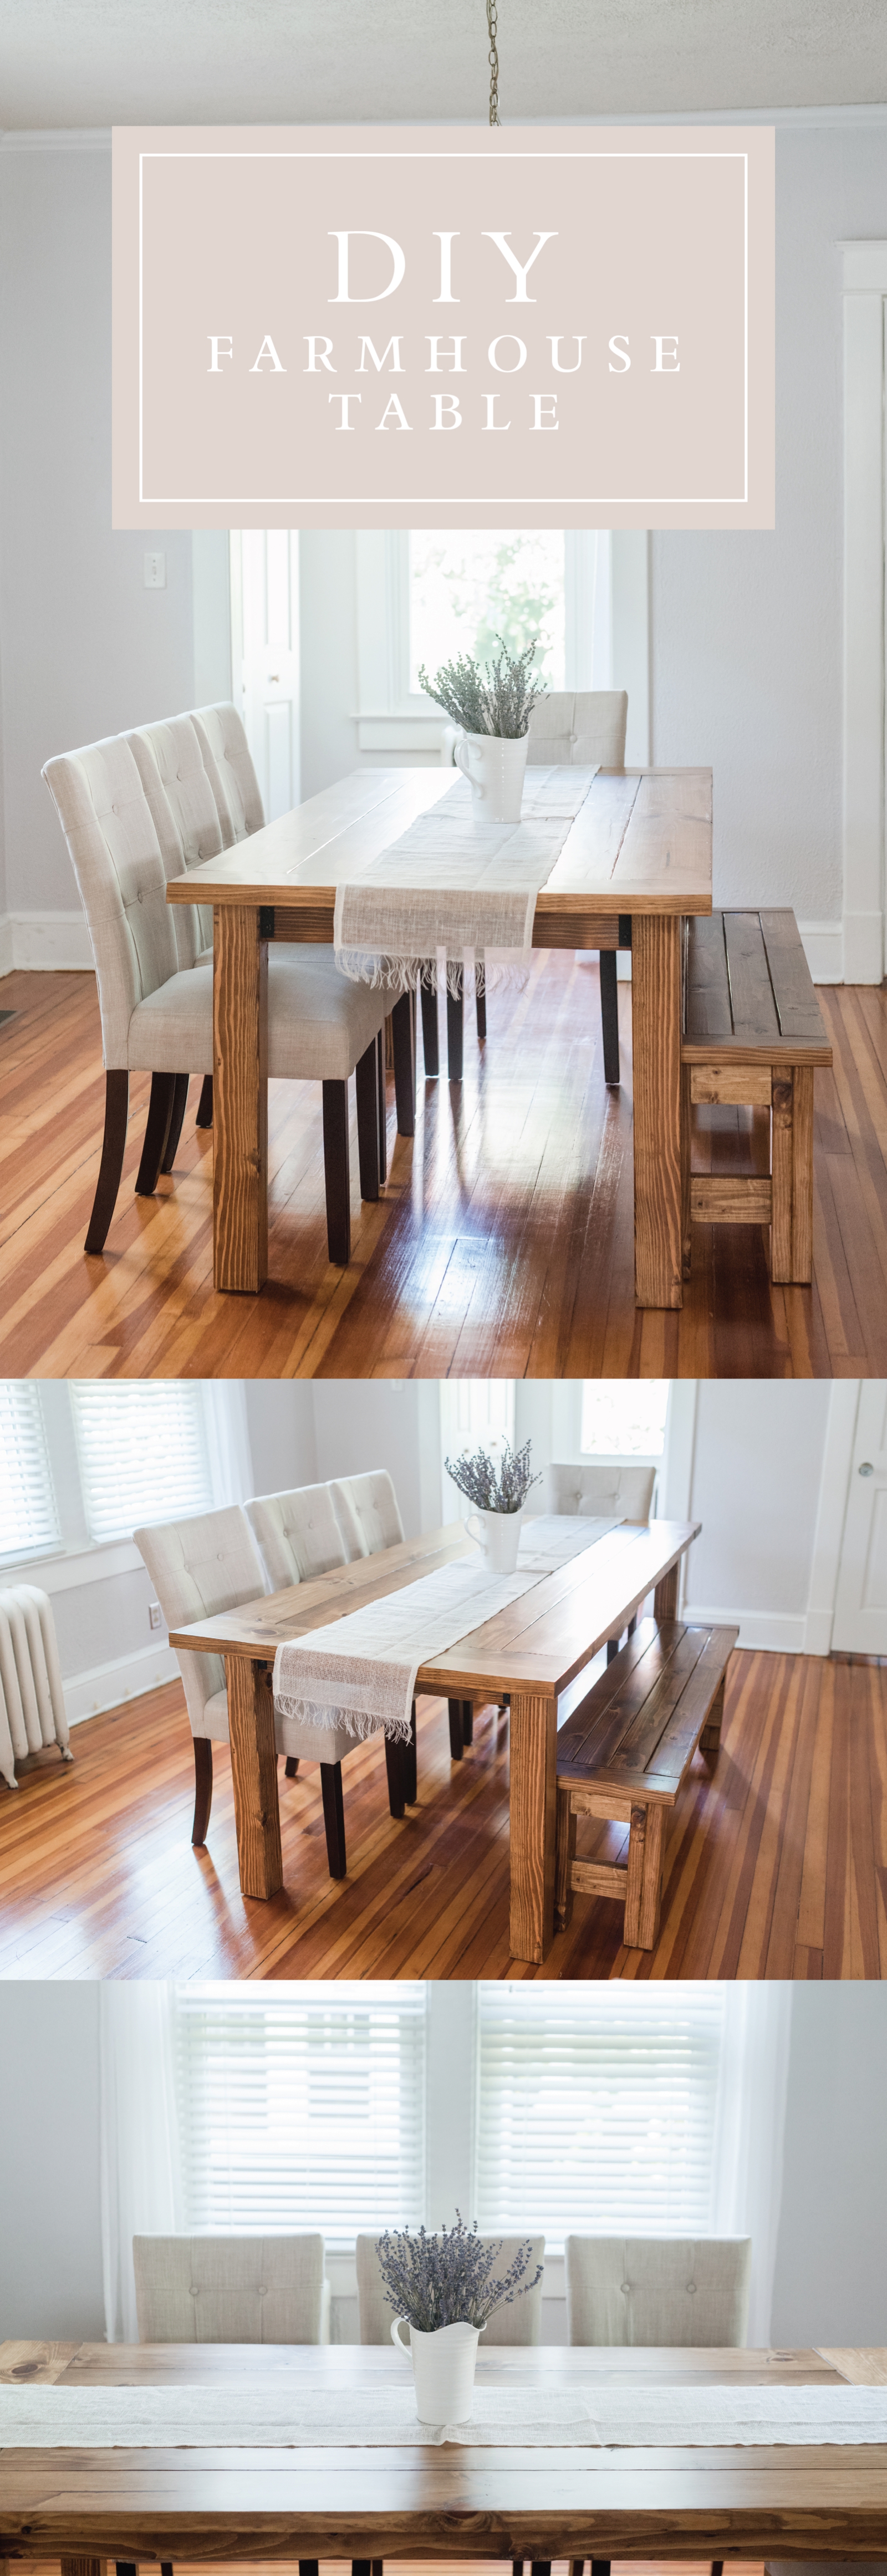
DIY Farmhouse Table
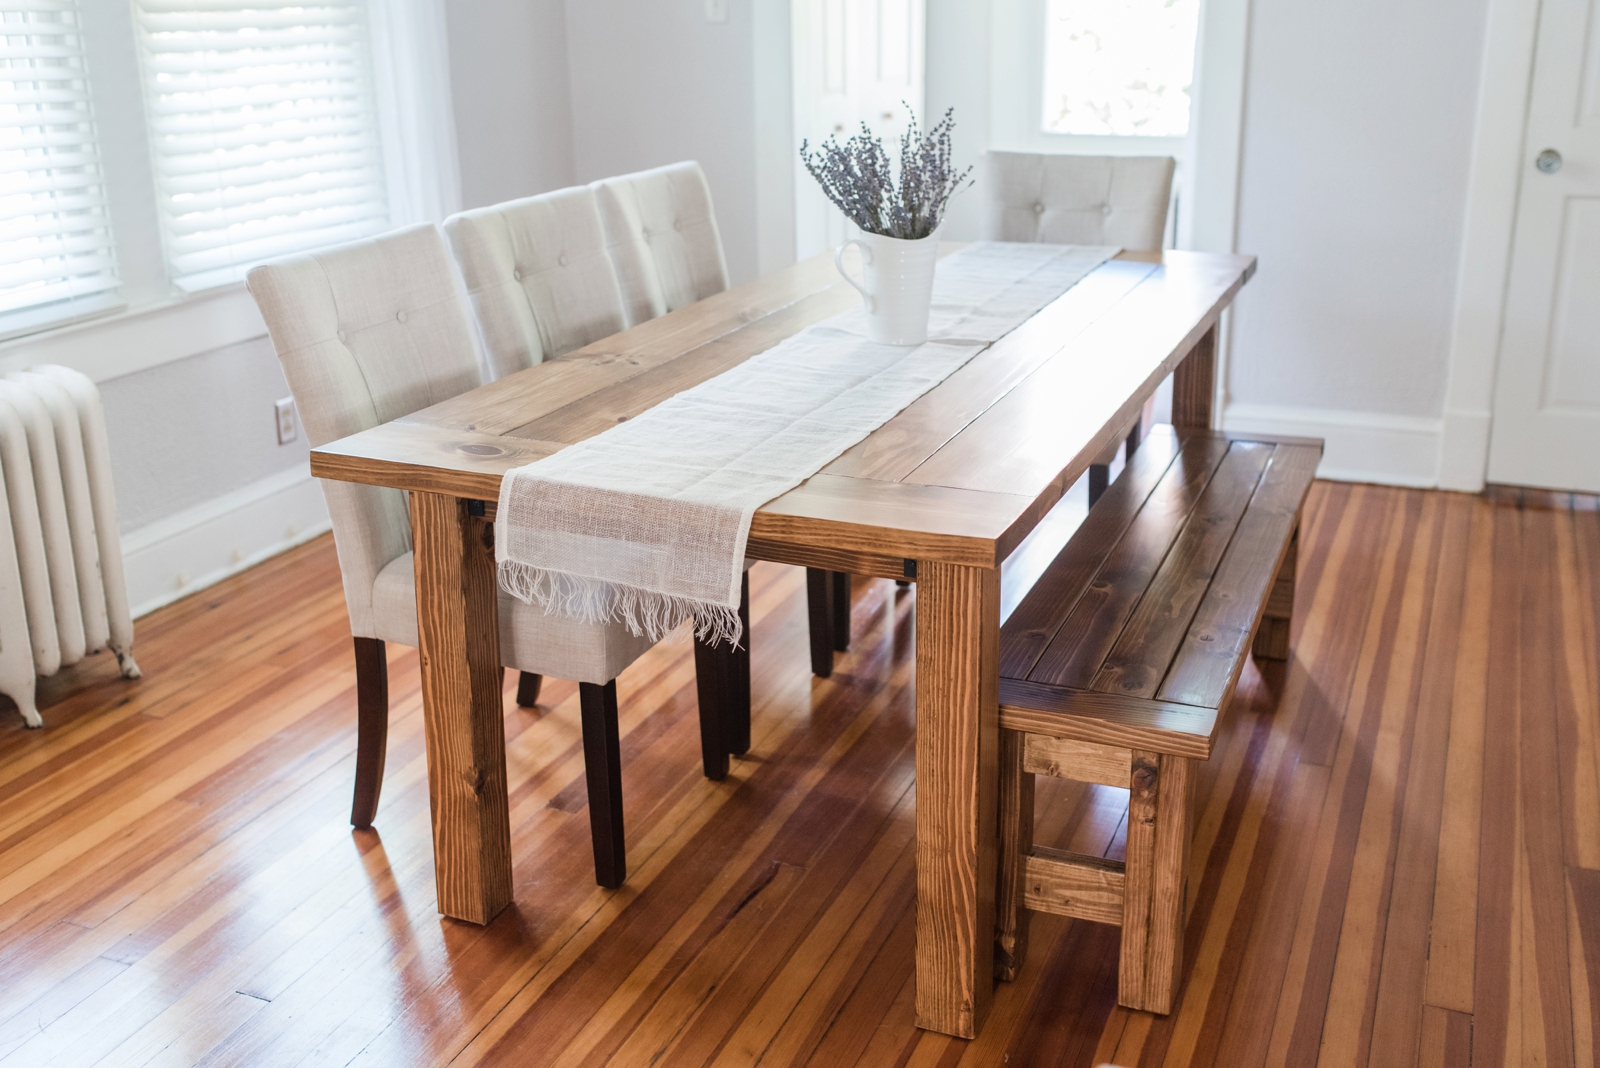 One of the things I hated about living in a tiny one bedroom apartment for 4 years was that we could never host many people, particularly for dinner. I’ve always dreamed of being able to have friends and family over for dinner and sit around a big dining room table together. So when we started looking for houses to buy, one of my top priorities was finding a house with a dining room that could accommodate a decent sized table. So once we found that, the next step was getting that table. I love the look of beautiful solid wood tables from Pottery Barn and Restoration Hardware, but I certainly wasn’t willing to spend thousands of dollars on a table. So we decided to build our own! Super simple, right? Wrong.
I’ve seen all over Pinterest that people are building their own farmhouse tables for super cheap, so I decided to look into it! Our decor style is southern influenced, so I knew a farmhouse table would look great in our dining room. I found a few Ana White plans online and ended up settling on this one. It was a pretty simple design, so I figured it would be the best option for us newbies. In case I haven’t made this clear already, we have never tried to tackle any sort of project like this. When we told people we were going to build a dining room table from scratch, they pretty much looked at us like we were crazy. But when I put my mind to something, I get it done!
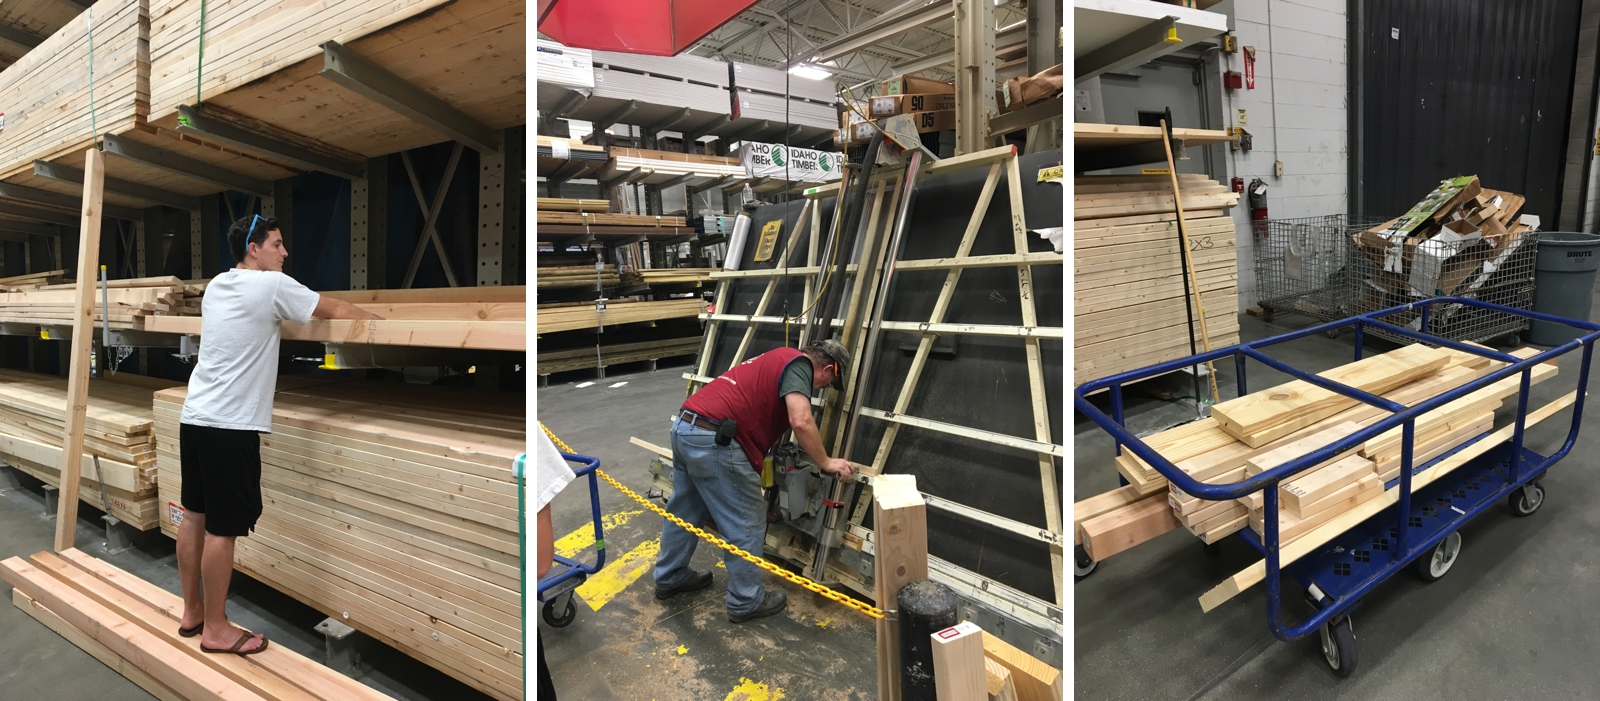
The first step was getting the wood. After reading countless blogs and forums online, people suggested getting wood from a local lumber yard for projects like this. So we went over to a local place near us and got a quote for one of their cheaper woods for this project. $1500. Say what??!! That really defeated the purpose of the project which was to save money, so we decided to get the wood from Lowes instead. I was nervous to go this route because I didn’t want to put all this effort into a nice table with bad wood. But after talking to a bunch of people that have done these types of projects, they assured me that it was fine, but you just have to pick through the piles to find good pieces. So that we did. And guess how much all the wood costed us- $77!!! What a difference!! AND they did all the cuts at the store for FREE!!
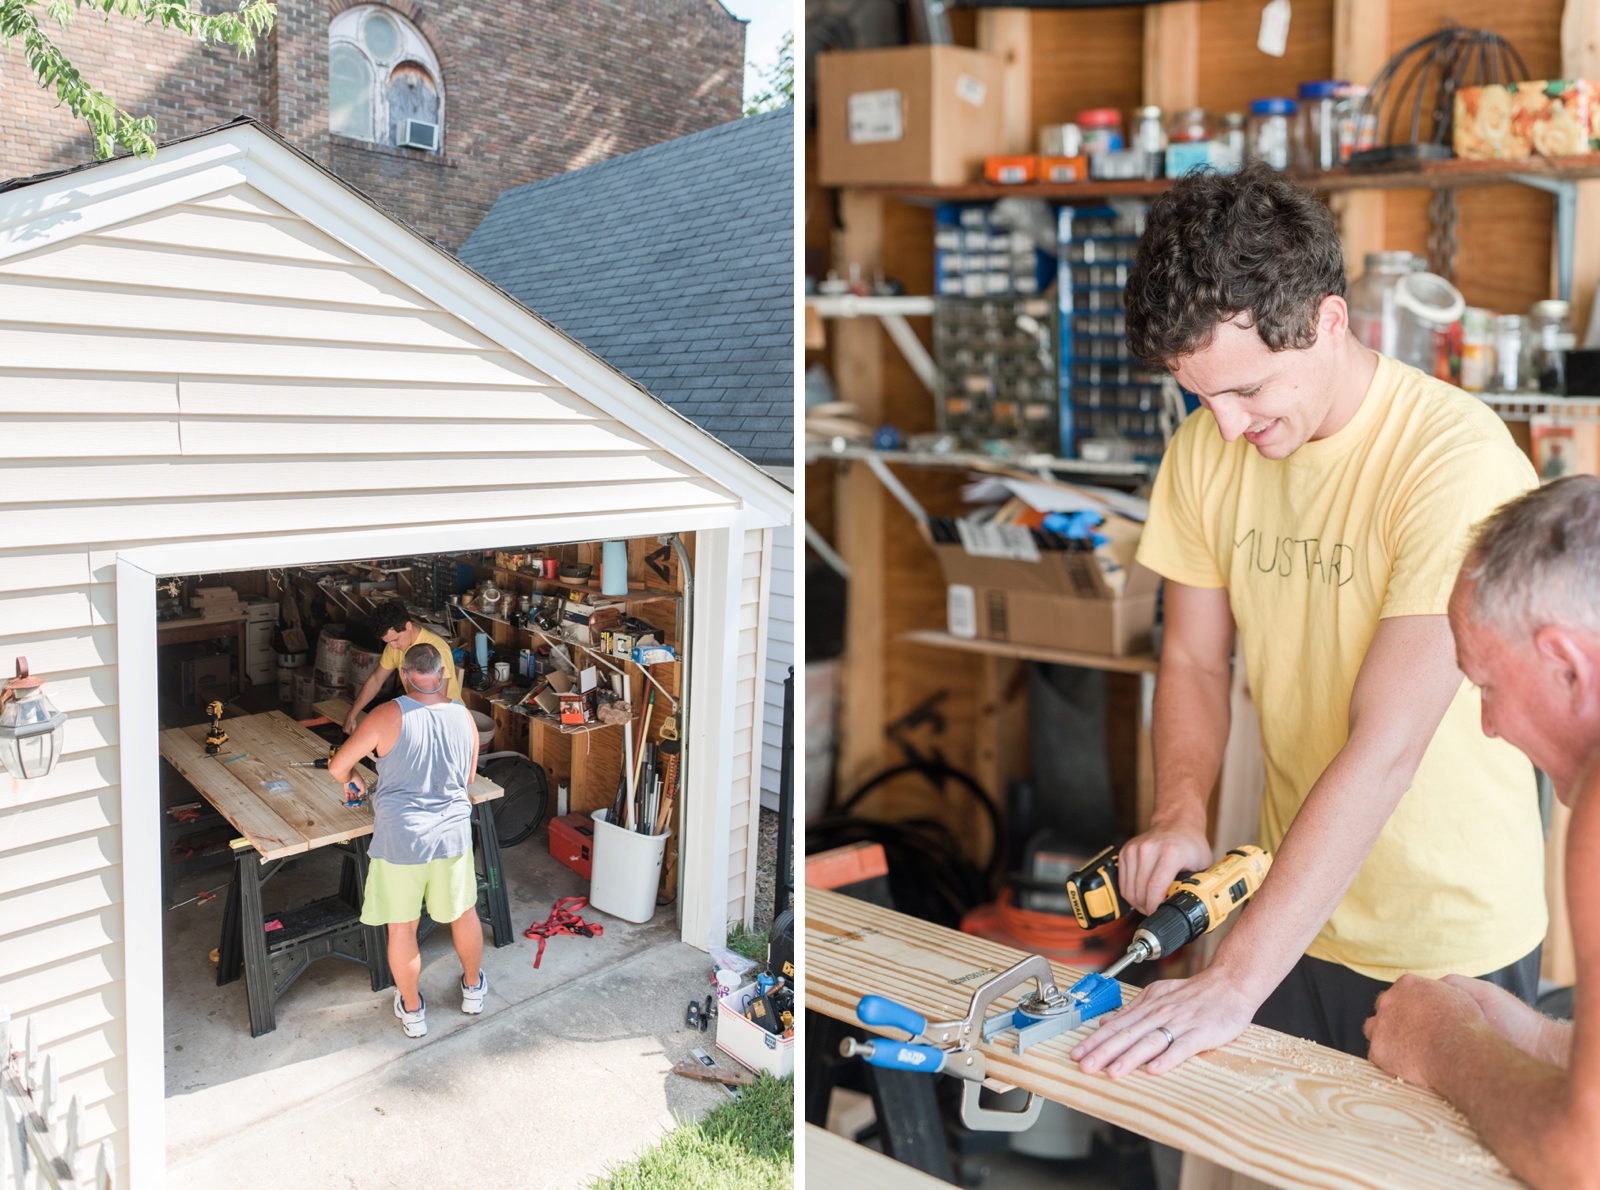
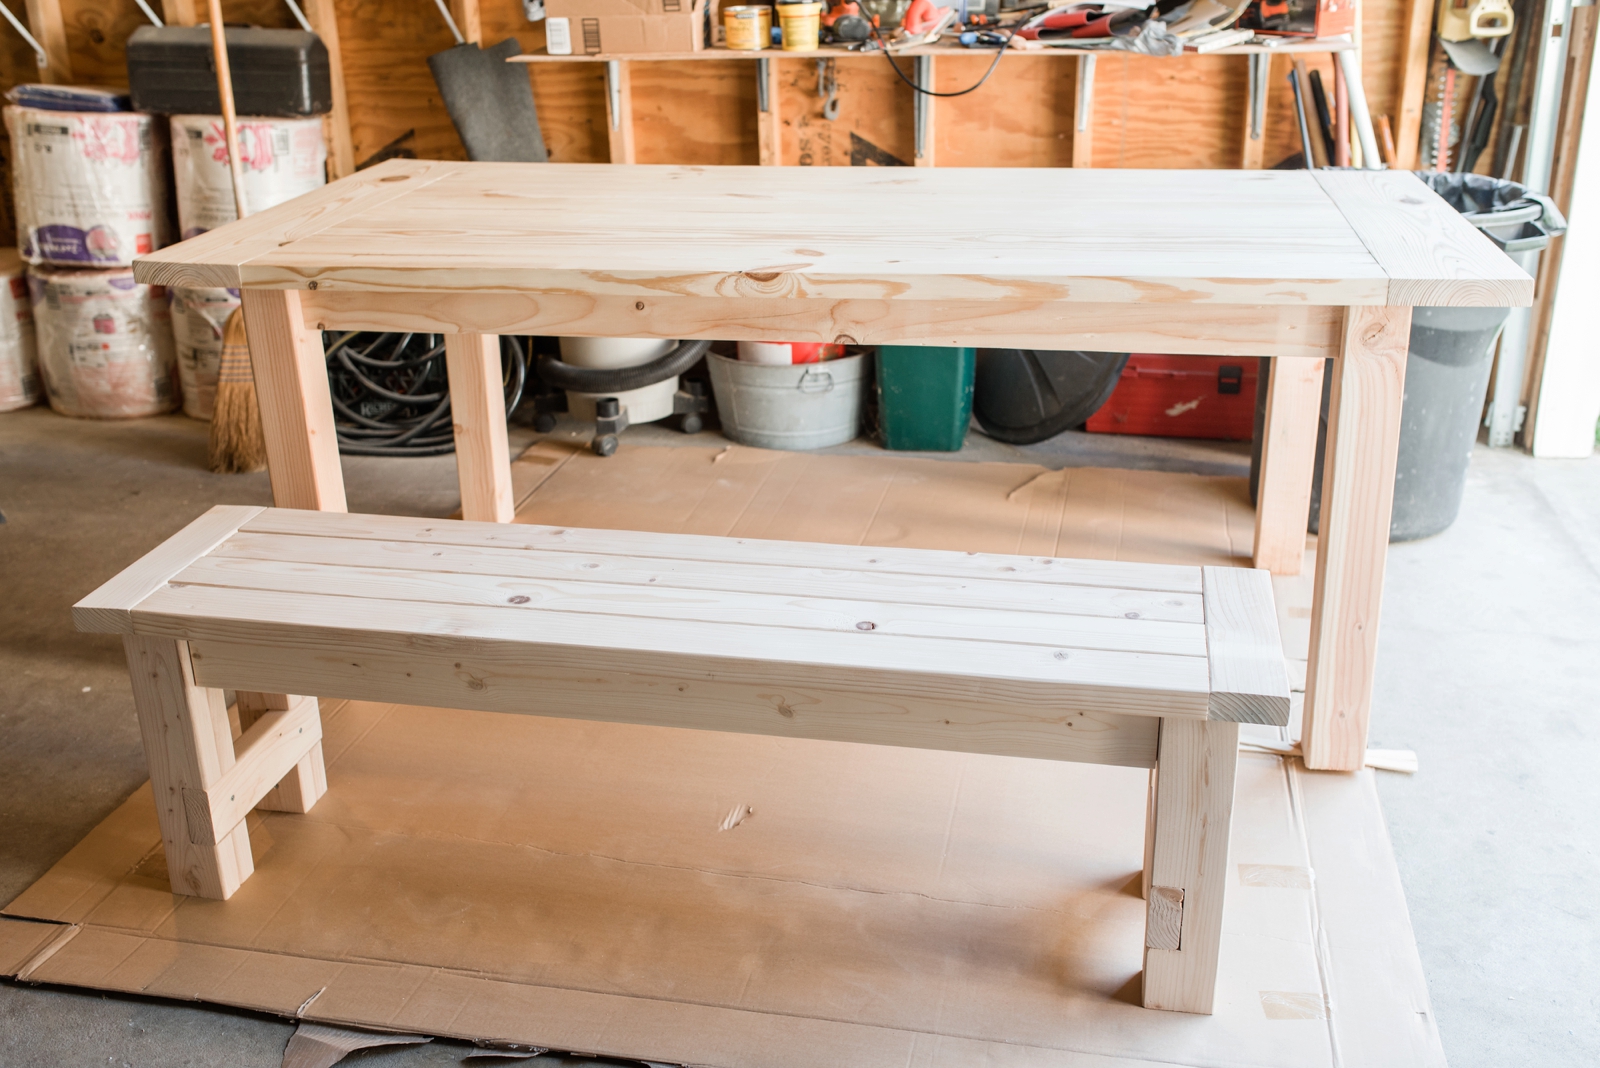
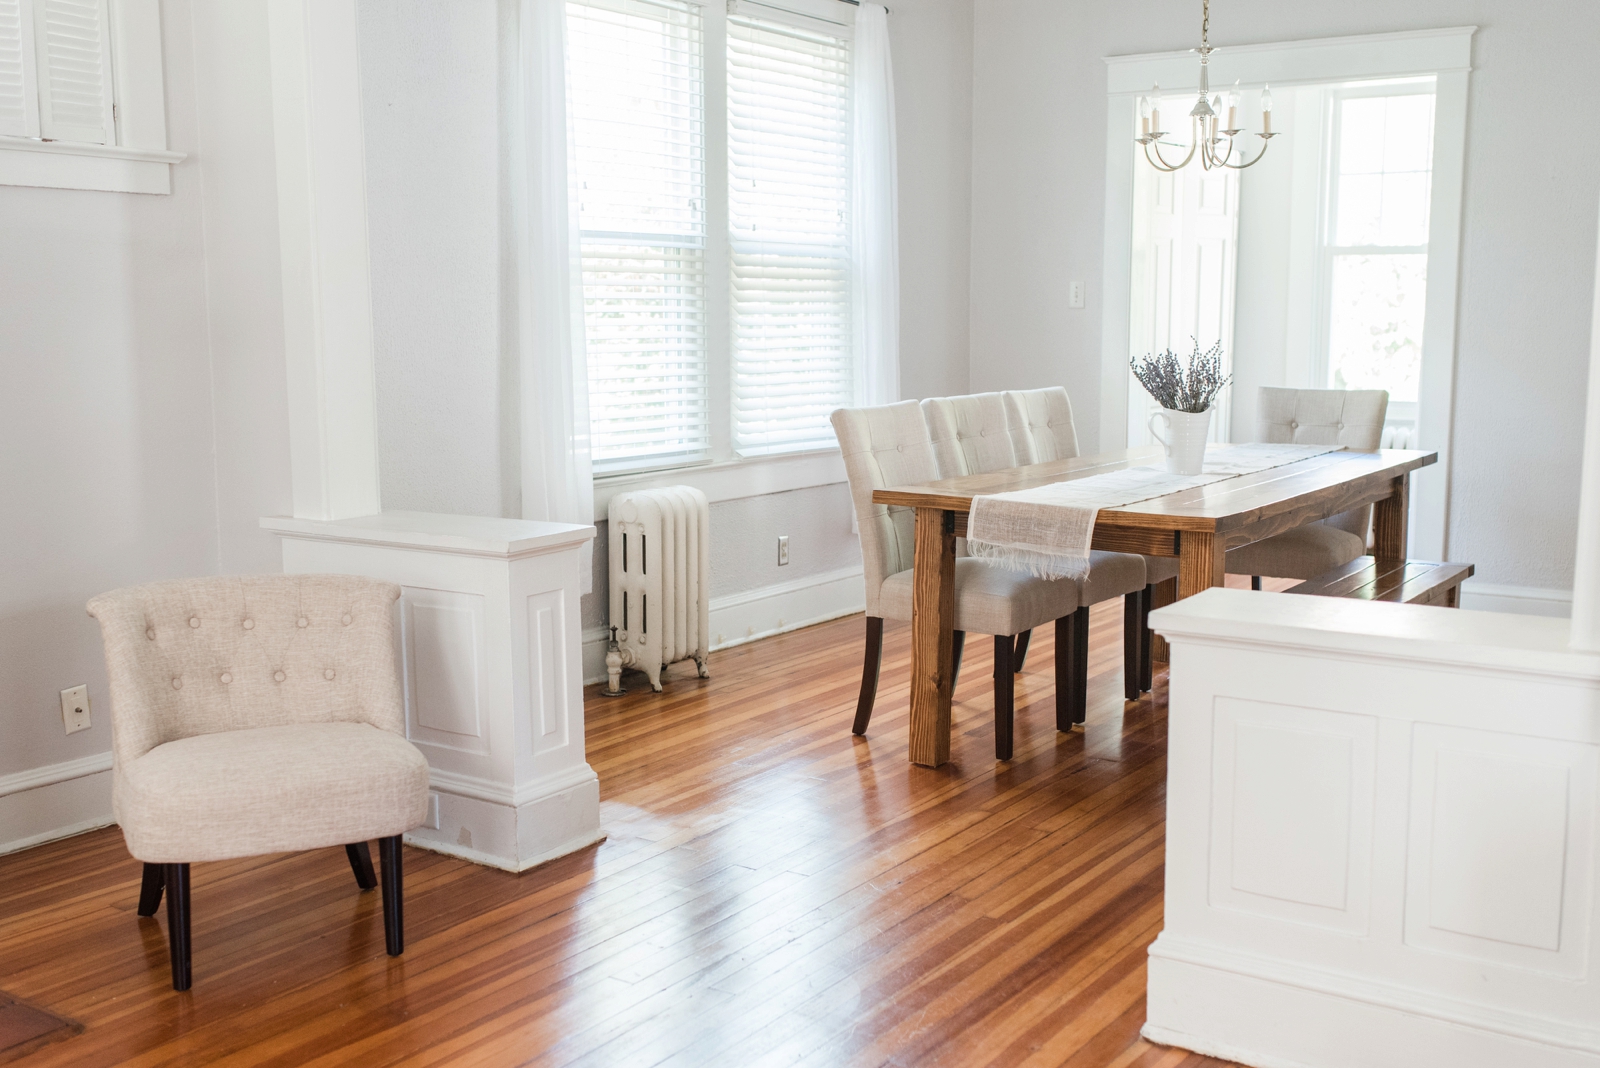
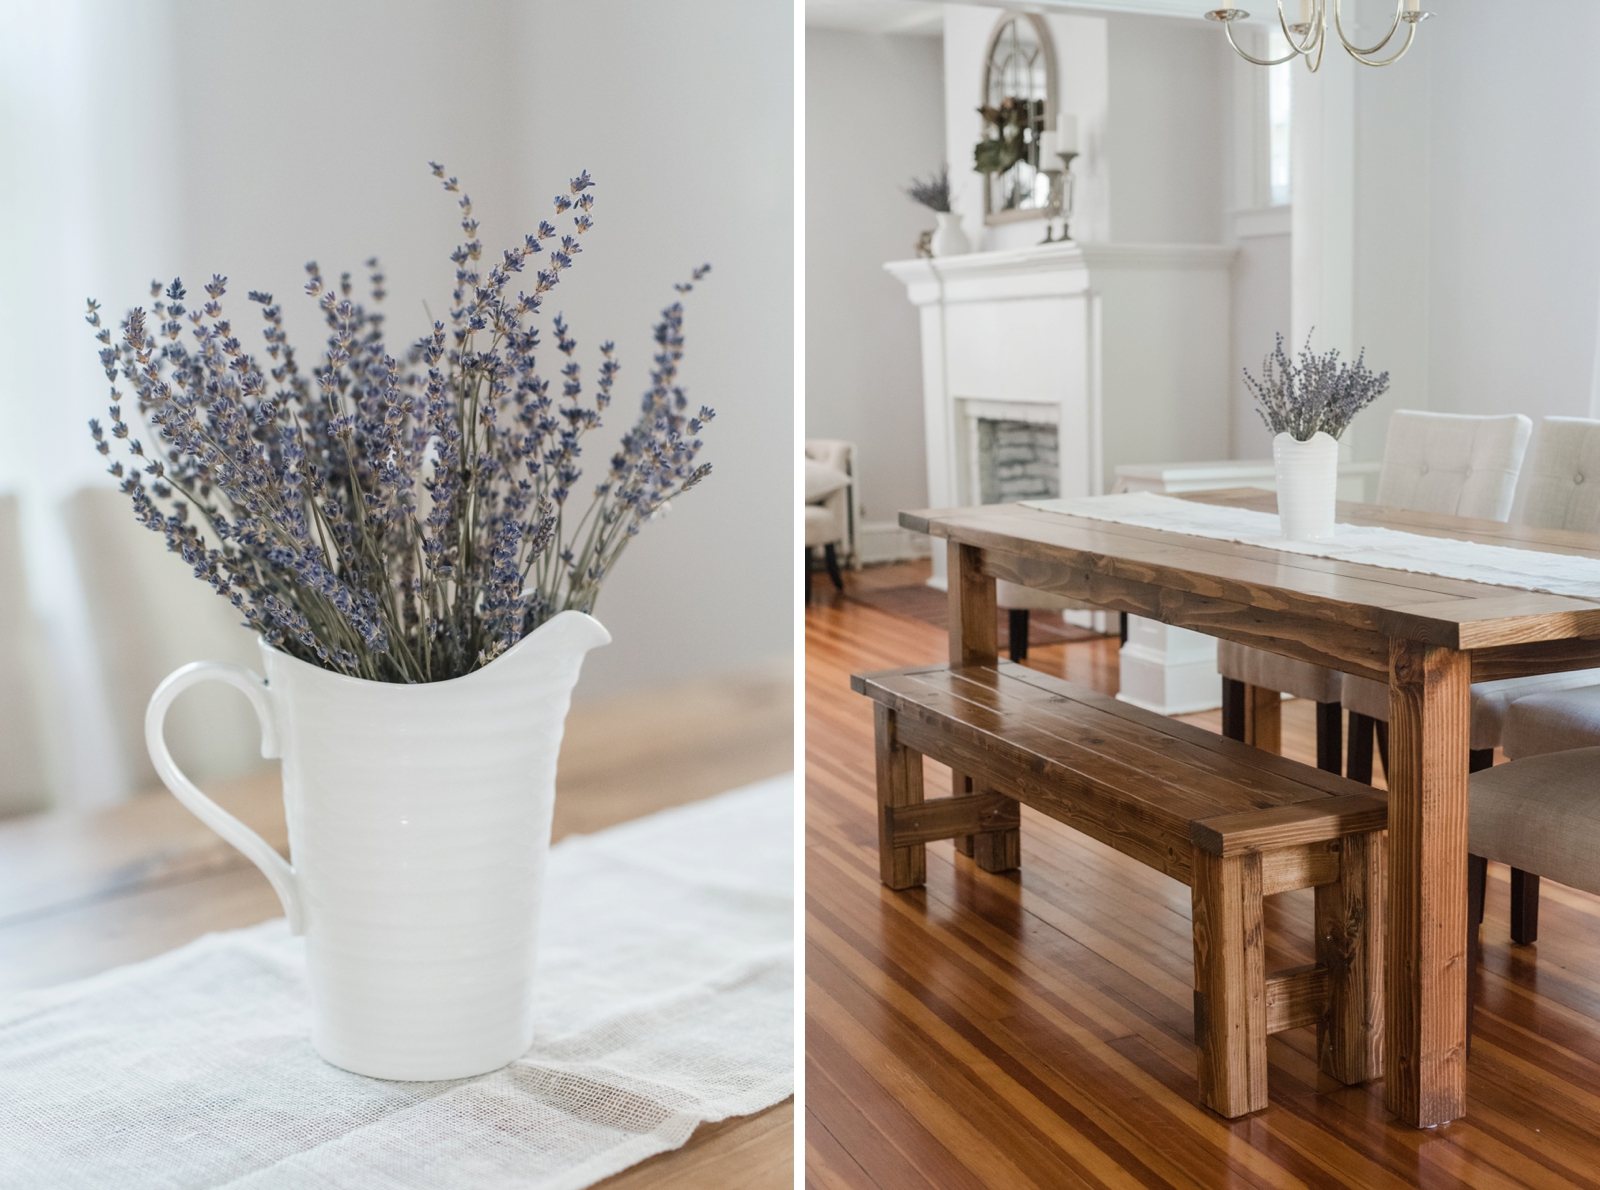
 So once we got all the wood home, it was time to put it together! We had Branden’s dad come over to help since he has a little more experience with this type of stuff. It took them an entire day, but they were able to put together the whole table and bench!
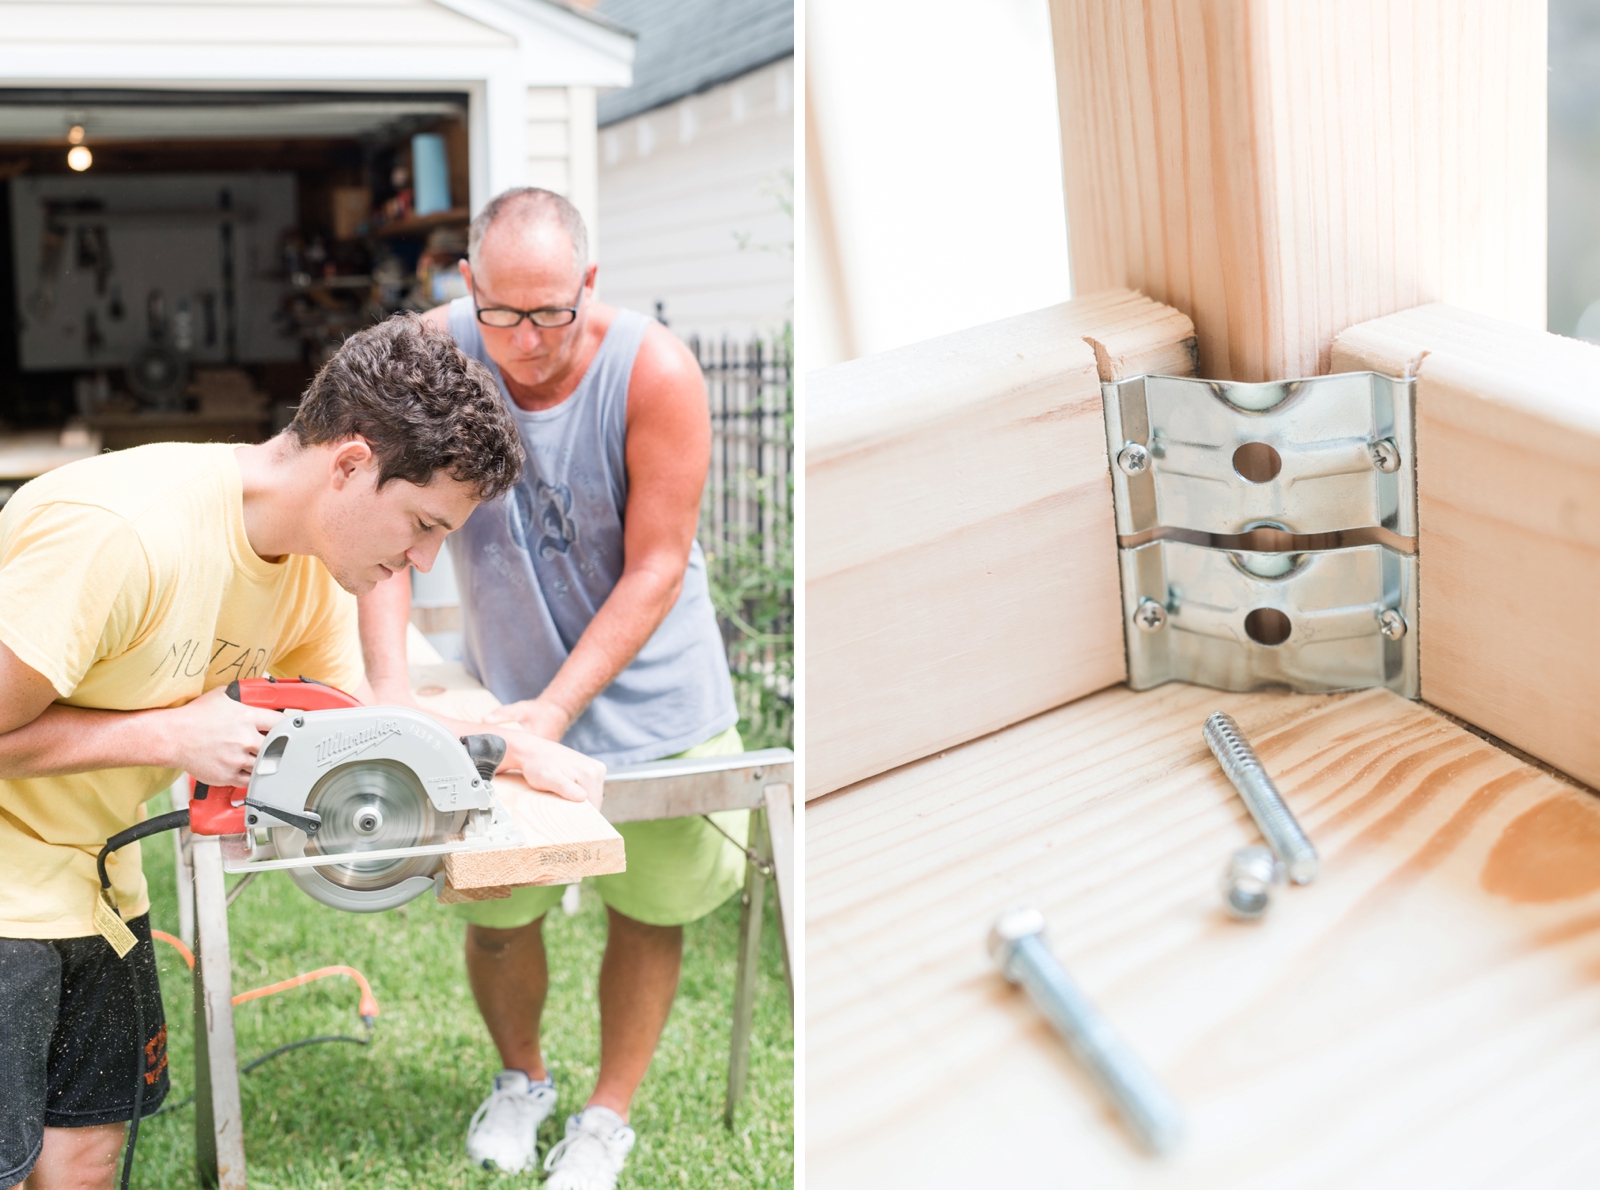
  We made a few modifications from the original Ana White plan. We shortened it by a few inches and left out the stretchers on the bottom of the table so that we could put chairs on the ends of the table. We also didn’t want the table to be one solid piece because it would then be impossible to move it in and out of the house. So we attached the legs to the table using corner plates. To remove the legs, you just unscrew the bolt, so now we’ll be able to take this table with us when we leave this house down the road!
  After everything was put together, it was time to sand. Oh, the sanding. I never thought it would end. Another thing about using cheaper wood is that it needed a more vigorous sanding to get the table top even and to remove any planer marks that would show up when we stained it. We quickly realized that we were going to need something more heavy duty than our palm sander, so we decided to rent a belt sander from Home Depot to do the heavy lifting. That really did the trick!
 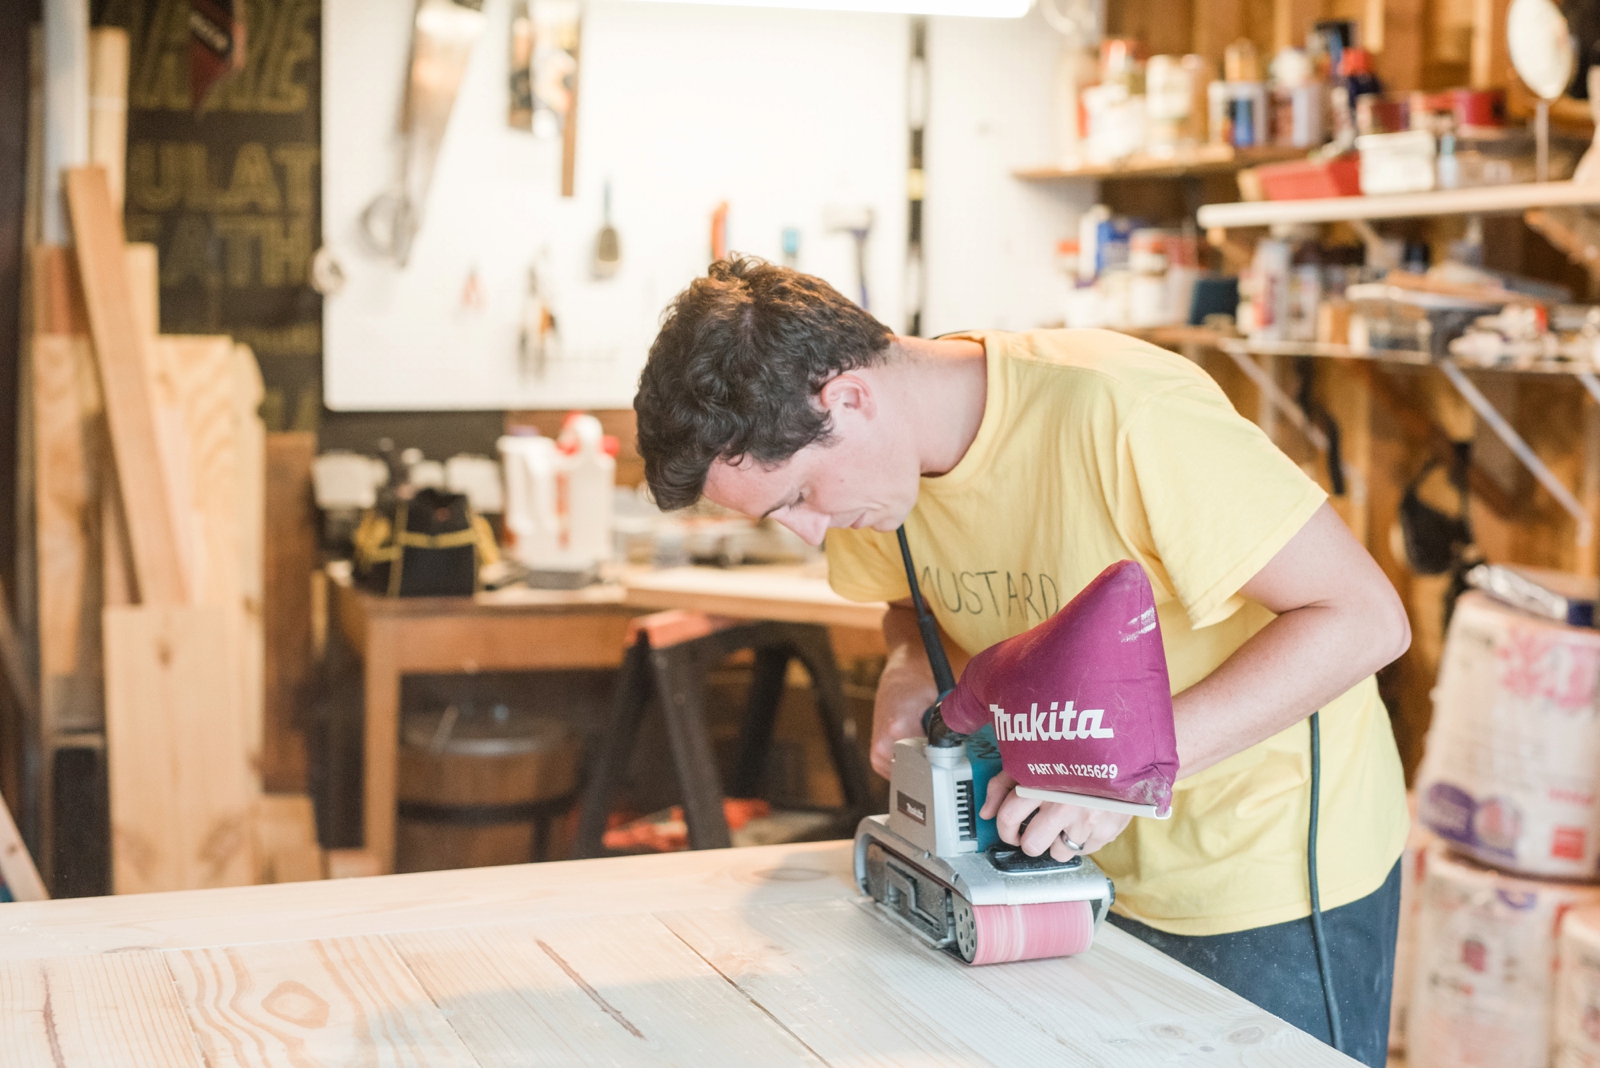 After using the belt sander to get it all level and smooth, we went back over it with our hand and palm sanders at 150 grit, then again at 220. After about a week of this, she was all smooth and ready to be stained!
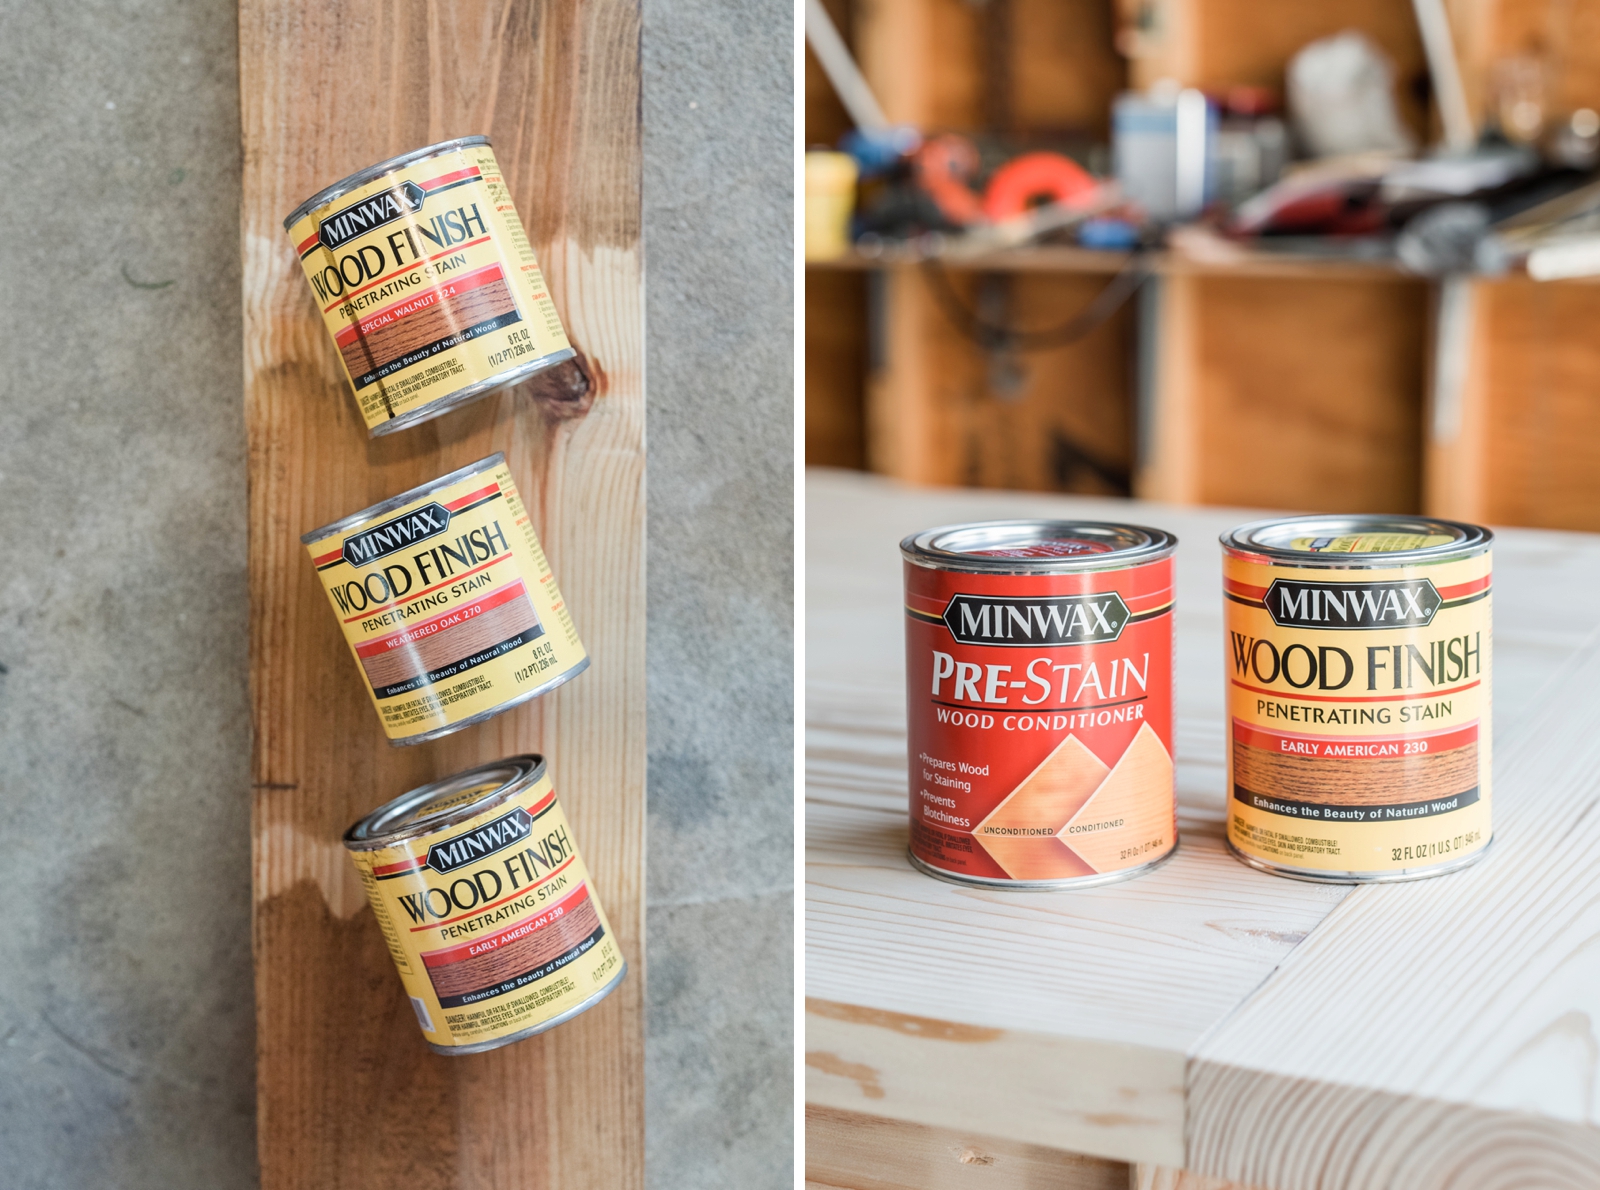
  The staining and sealing process was something I toiled over for a long time. What color to use, water vs oil based, application methods, etc. There are so many different ways to approach it and everyone on the internet has their own opinion about what is best, so it’s hard to know the best way to go about it. For the stain, I tested a few different colors on several test blocks (I was very picky about the color) and ended up settling with doing 2 coats of Minwax Early American oil stain. Before staining, I applied the pre-stain conditioner everywhere which really helped with preventing blotchiness. I then applied two coats of the stain with an old t-shirt.
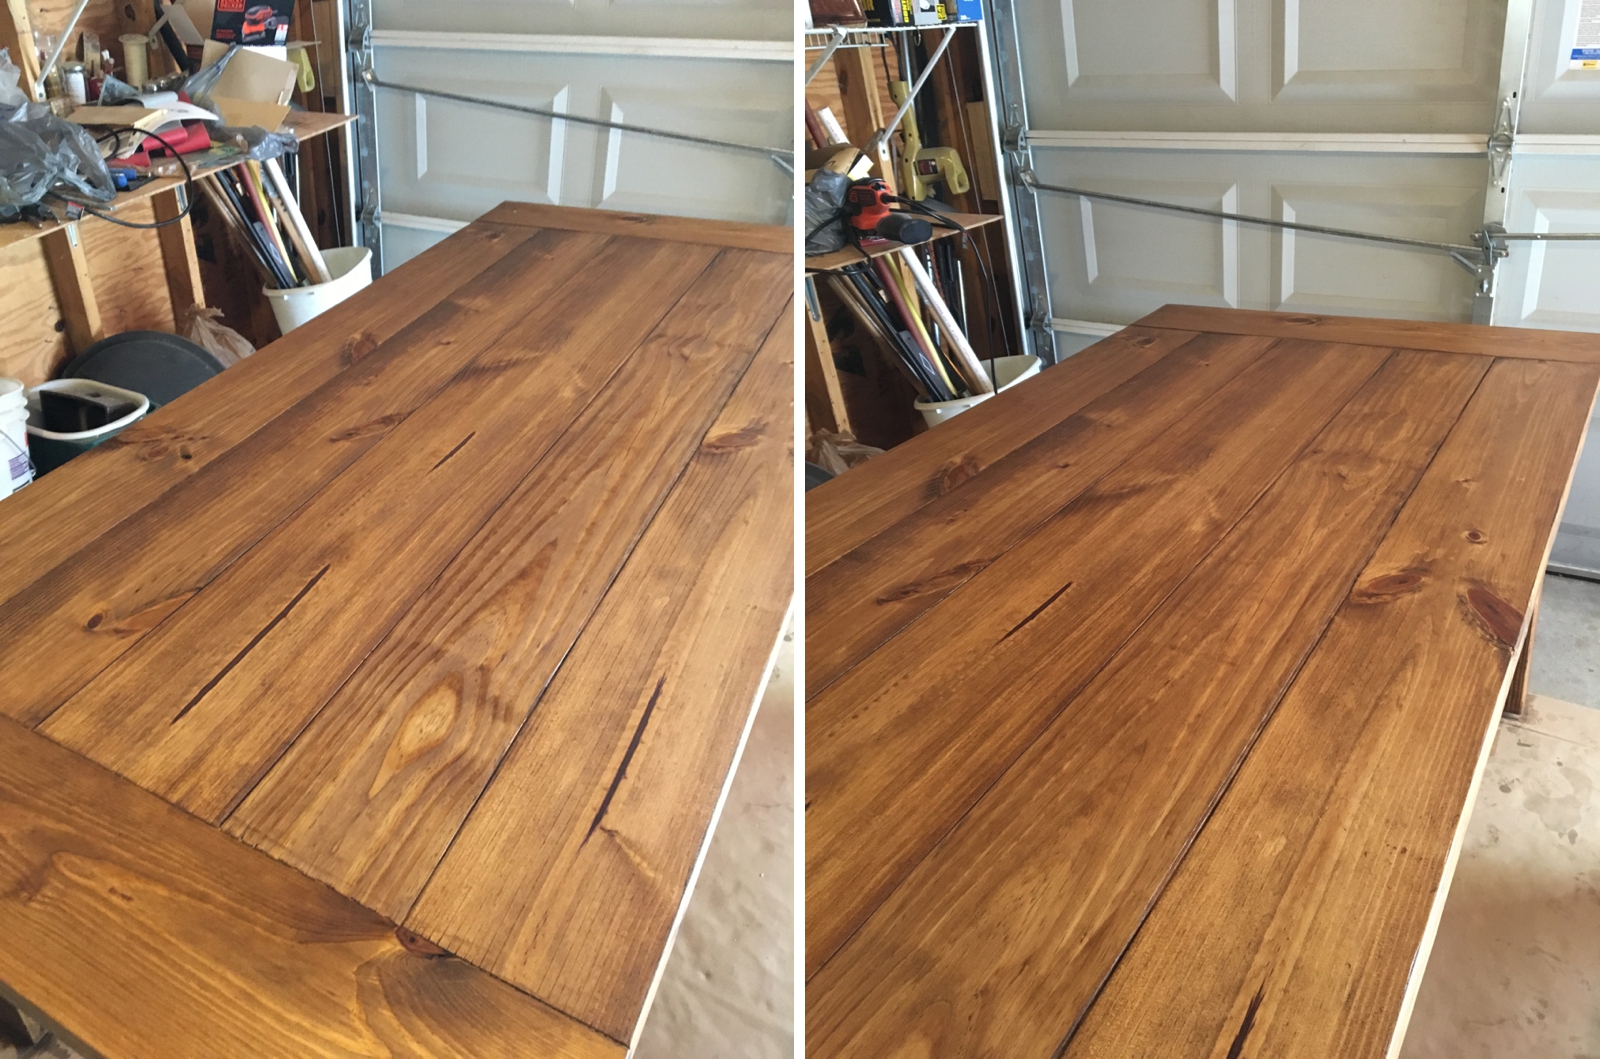
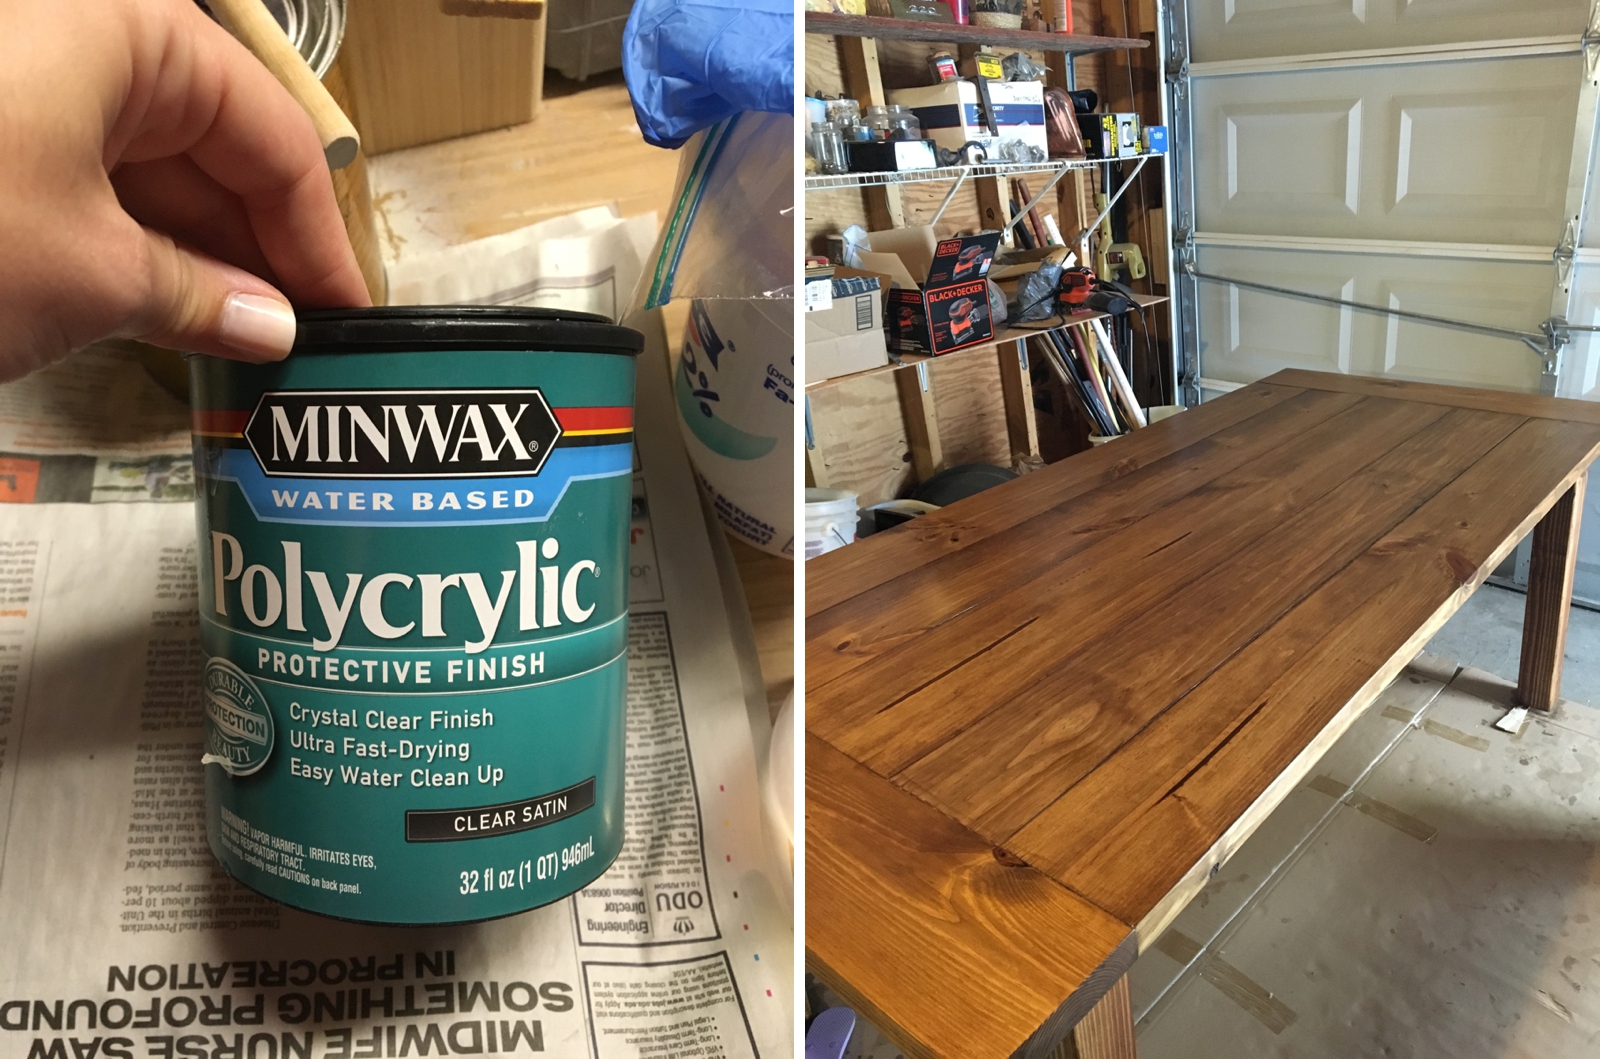
  Here are some phone pics of the table top after the 1st coat (left) and the 2nd (right). The light in the garage gave it much more orange tone than when it was actually in the house.
 After the stain came probably the hardest part of the project- the seal. Oy. This step was definitely the most stressful part for me. I knew that getting the seal just right was the key to making this look and feel like a real piece of furniture and not just a DIY project. I researched all the different seal types and application methods for what seemed like forever. The thing I had the hardest time deciding between was whether or not I wanted to do an oil or water based poly. My first instinct was oil because that seemed to be the most widely used and because I had already done an oil stain. But water based poly had a lot of pros that I couldn’t ignore. The water poly dries clear whereas an oil poly gives the wood a warmer tone and can yellow over time. People also say that an oil poly has toxic chemicals that aren’t totally safe for surfaces that you would eat off of and the oil smell can remain even after the seal has cured. But then with water, it seemed like it was a little more difficult to get a smooth finish and doing a water seal over an oil stain can potentially be a problem. But in the end, I ended up going with the water based polycrylic. I liked how it dried clear and didn’t have all the toxic smelly chemicals. So after letting the stain dry for about 5 days, I applied 4 coats with a brush to the table top and 3 coats everywhere else (1 coat a day). Trying to get the seal smooth and bubble free was quite stressful, especially since this was my first time doing it. I watched countless videos on proper application technique and in the end, I think I did a pretty good job. I’ll always be able to point out the spots that aren’t completely smooth, but we can just call that ‘character’.
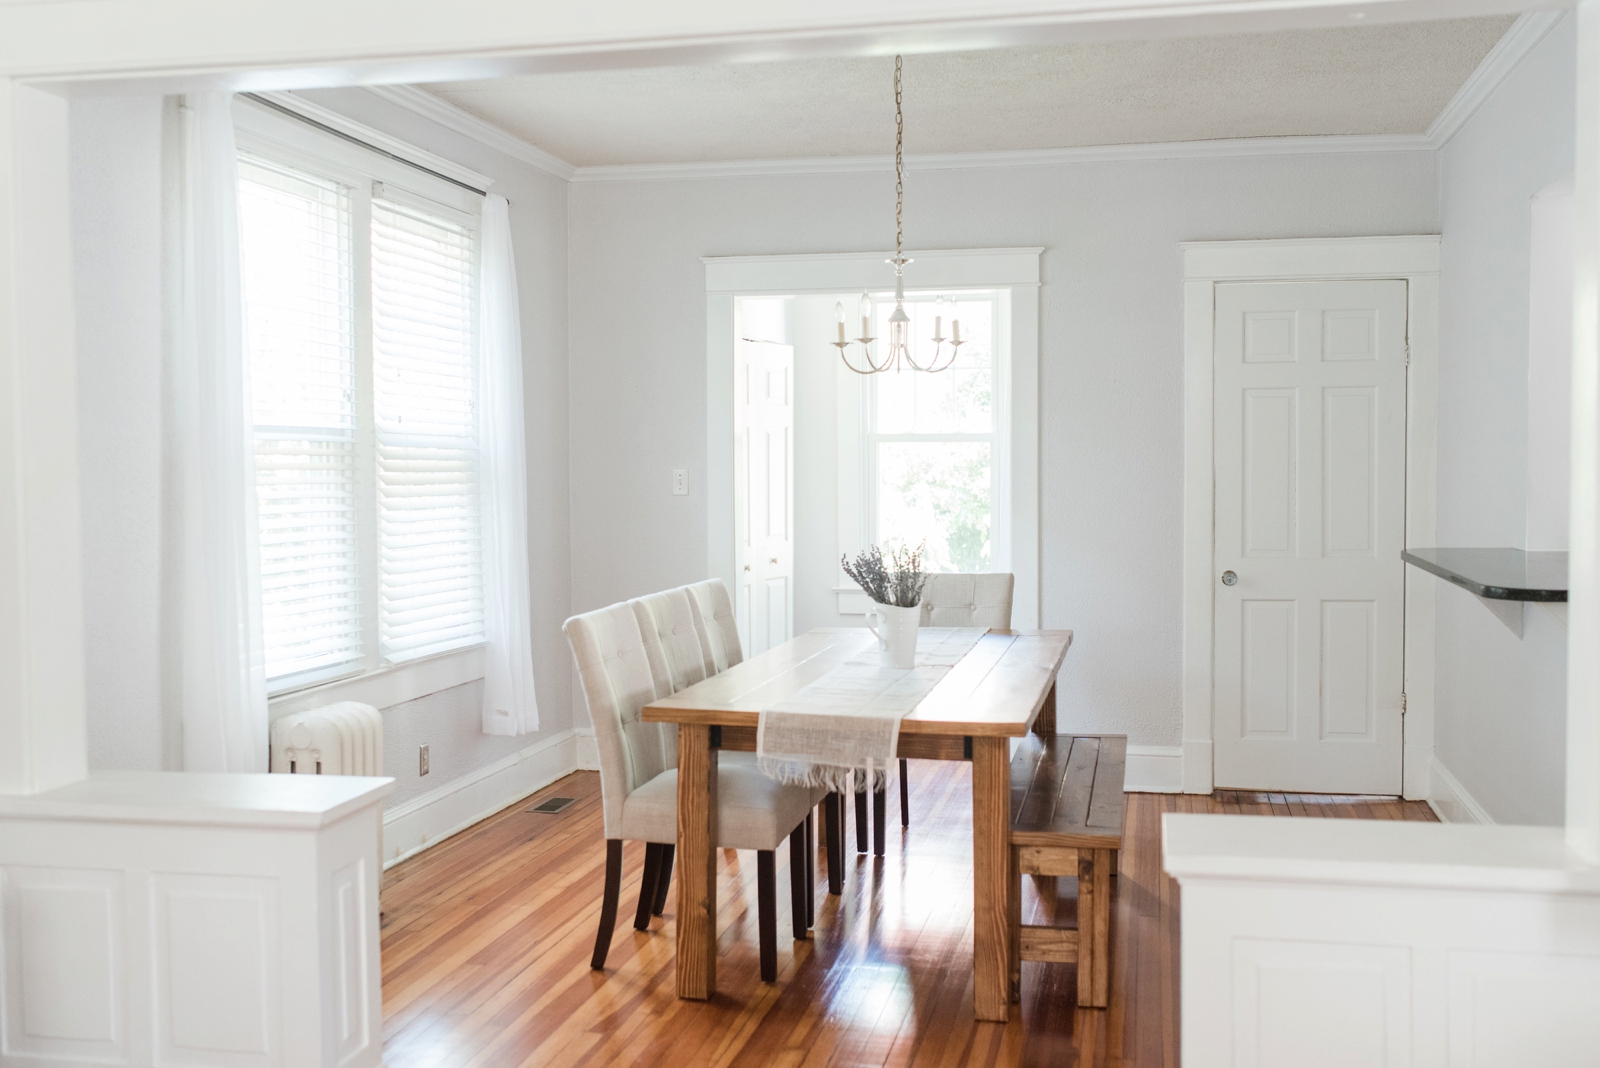
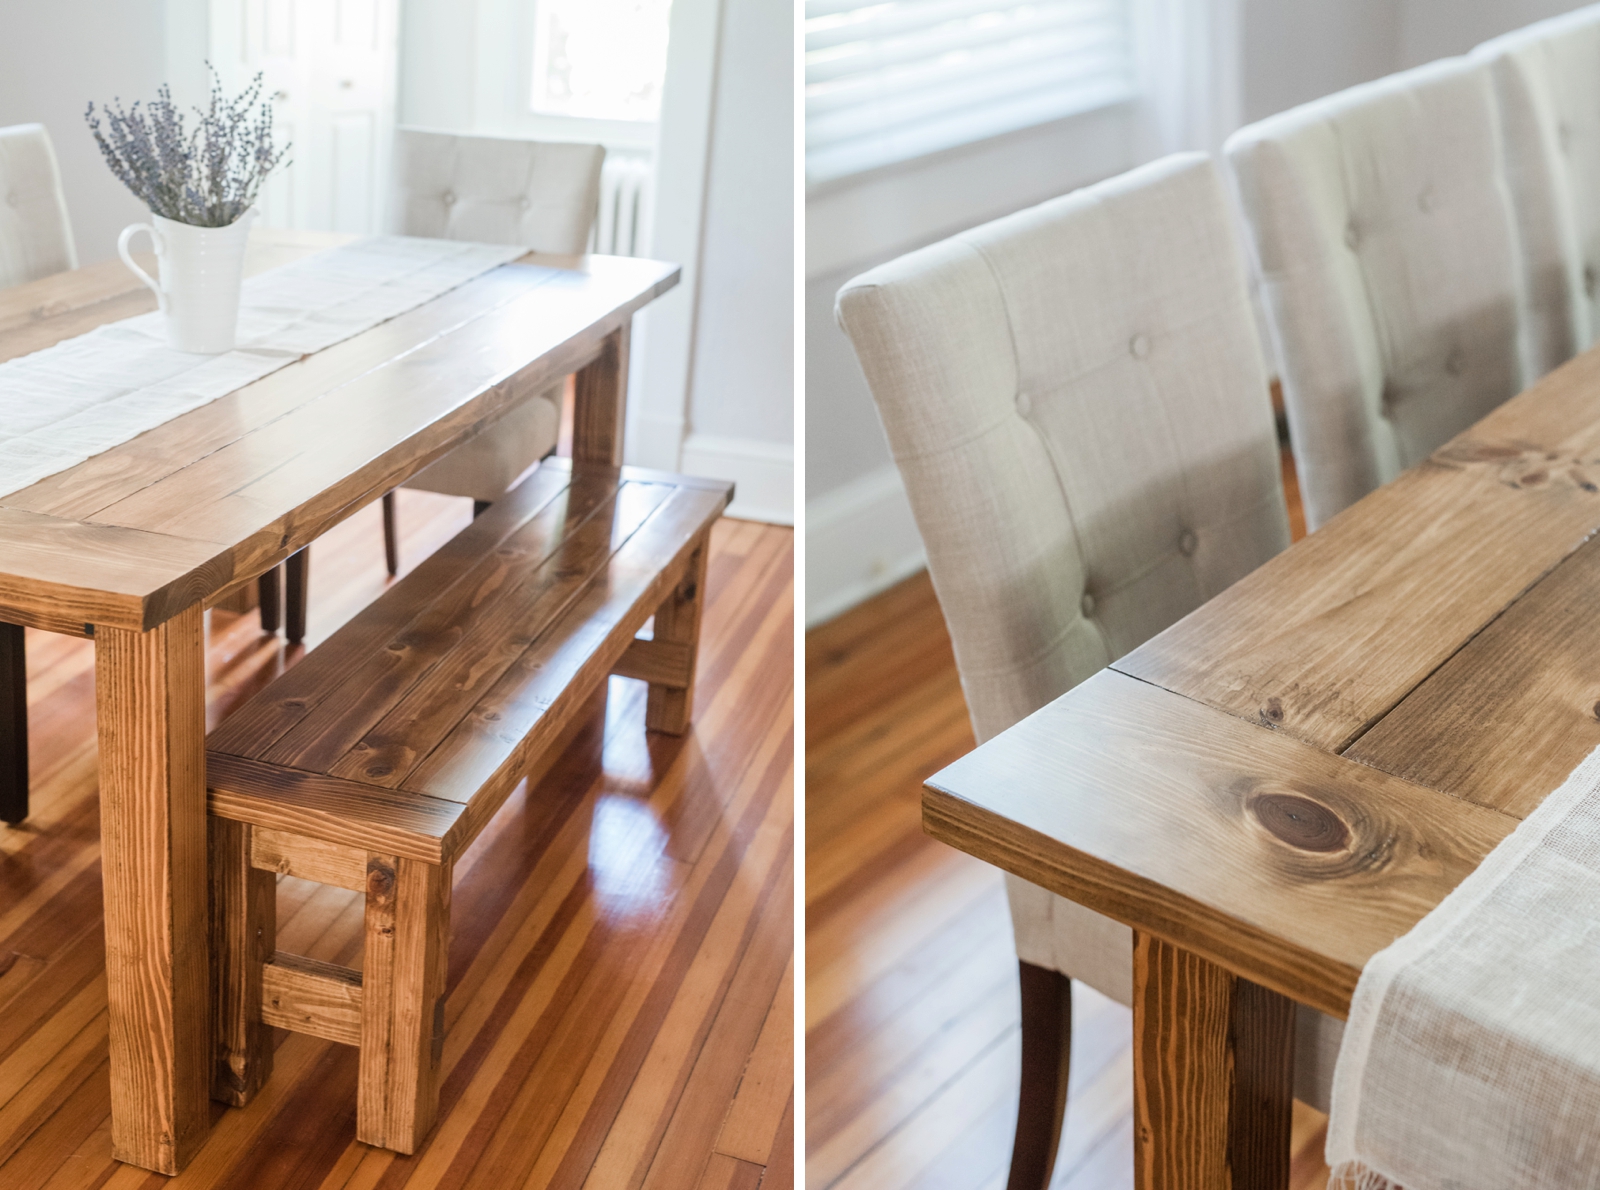
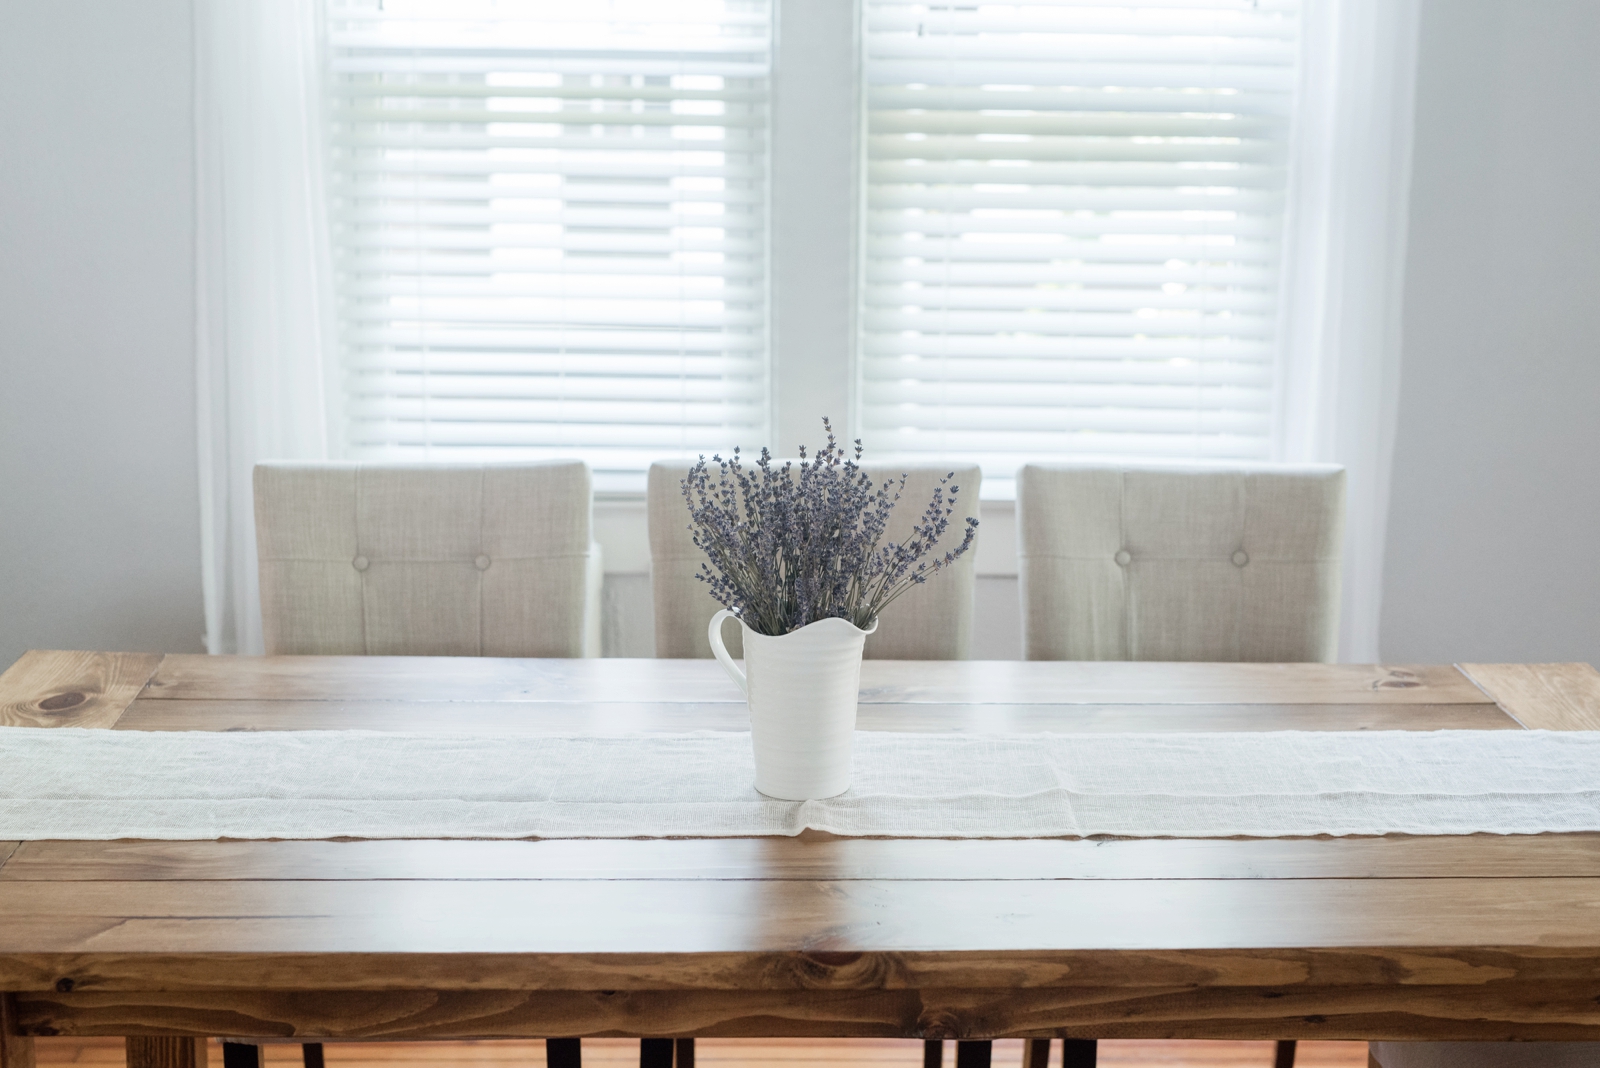
  The day that we were able to FINALLY bring this bad boy inside was like Christmas morning. I had literally spent 4-5 hours every single day for 2 weeks in the garage working on this thing. Sanding, staining, sealing. My butt was bruised after countless hours of sitting on the garage floor and my sanity was a little shaky. But in the end it was so worth it. It is even better than I hoped it would be. And while it is beautiful, my favorite part about it is that we built it with our own two hands. That is just priceless. Fingers crossed this table will stand the test of time!
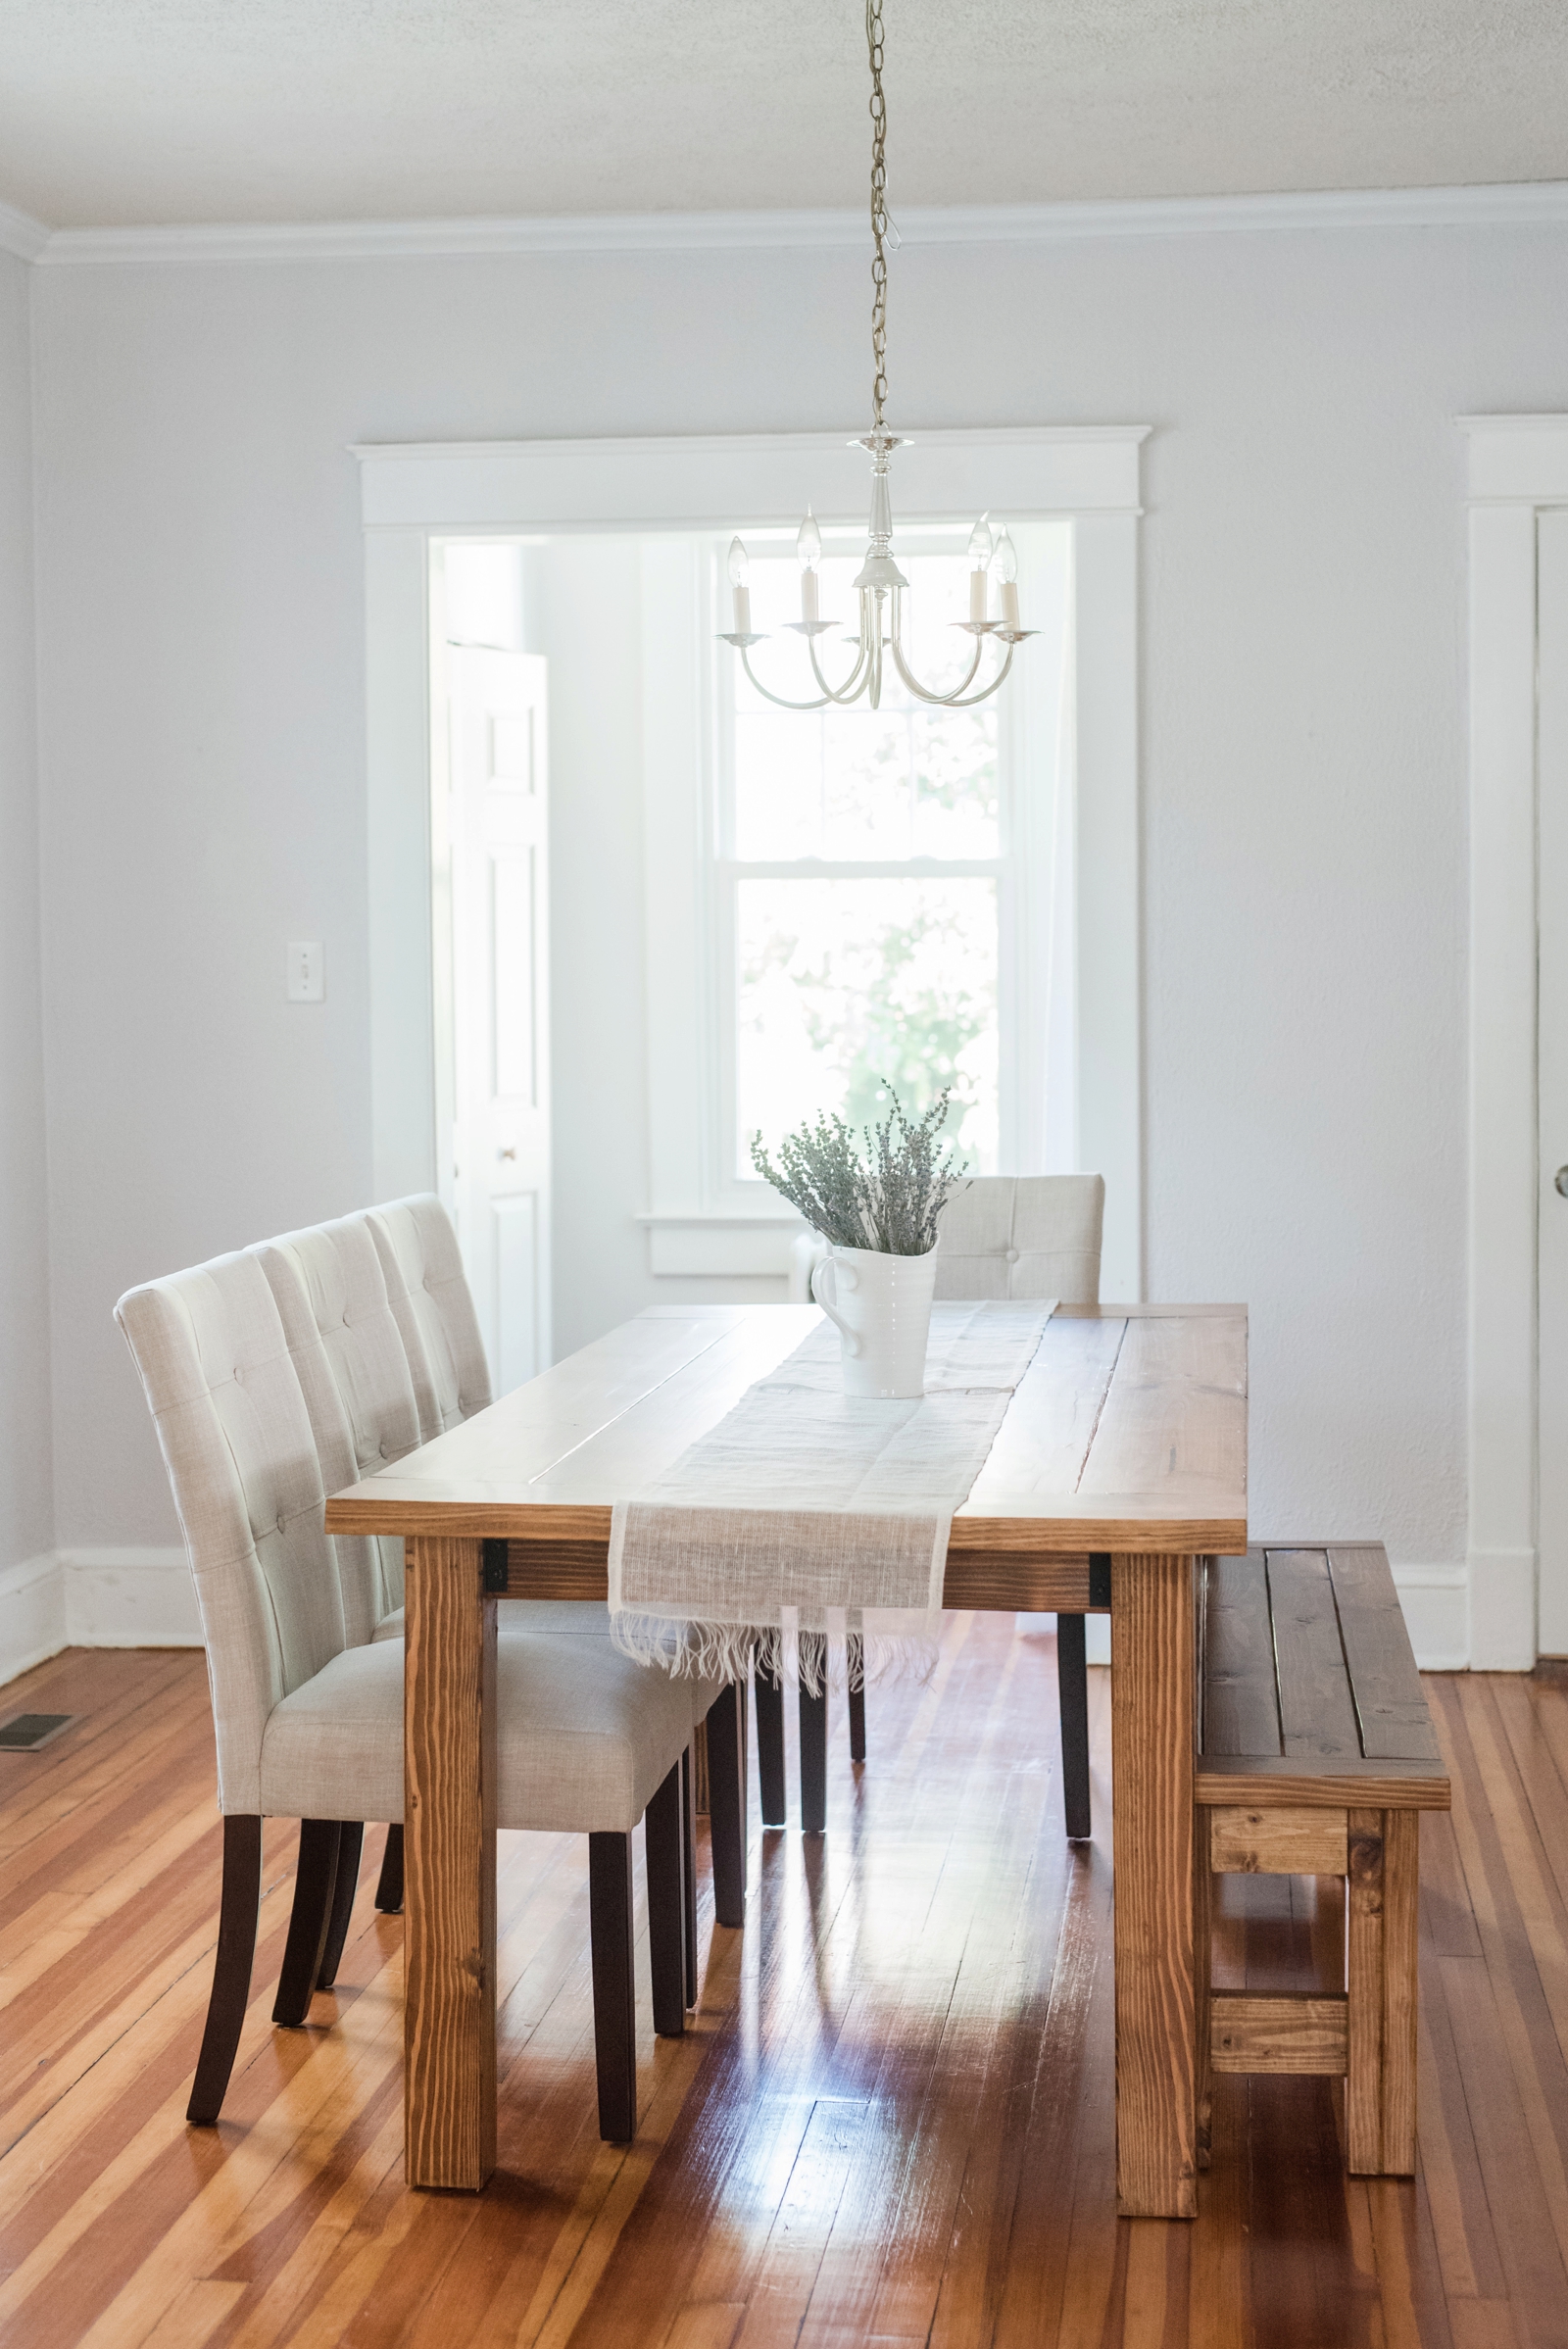
  I can’t wait to host friends and family at this table for years to come!
Now that this project is behind us, we are already onto the next one- building a new back deck! We tore down our current deck this week and are starting work on the new one this weekend! One of these days we’ll just slow down and enjoy the house! And if you want to see our living room makeover, check out this post.
OMG! This is amazing!! I’ve wanted a farm table for so long!!!
[…] mind my very amateur watercolor work! haha! I love any opportunity to host a fancy meal on our dining room table! I was pretty proud of how this flower arrangement turned out! Putting the skills I learned at […]
Since you took out the beam in the middle of the legs from the original design, is the table wobbly?Or is it secure?
It’s been pretty secure thus far. The table wobbles just slightly, but that’s because our house is 100 years old so the floors aren’t even! haha!