February 12, 2015
How To Get Creamy Bokeh | Ask Anything
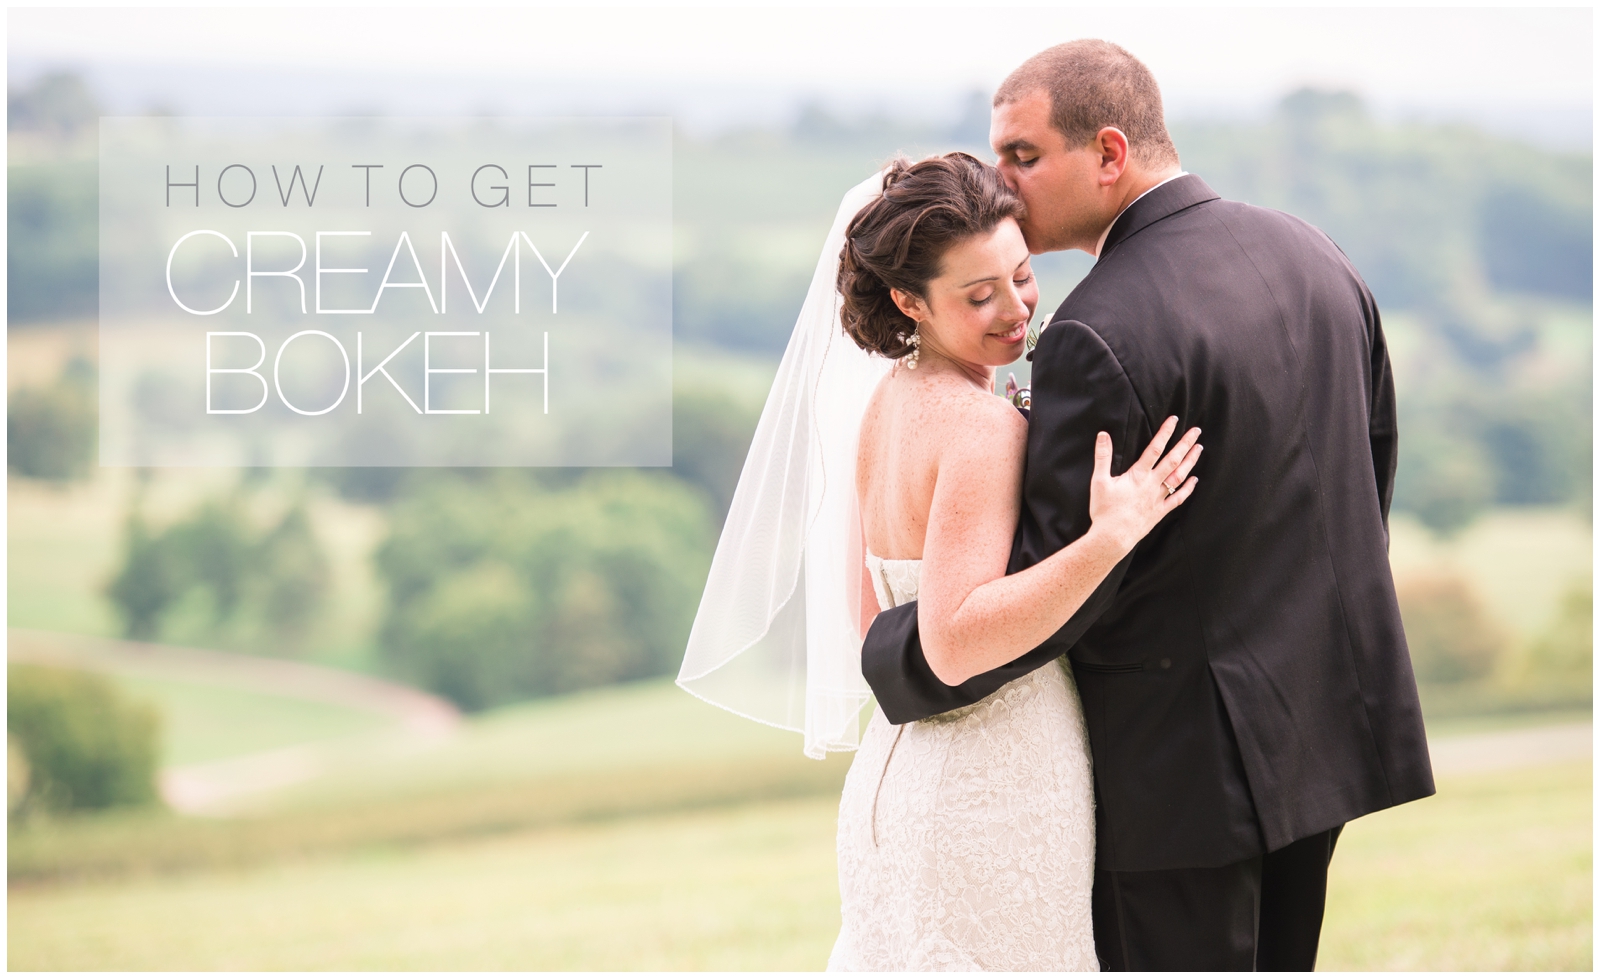
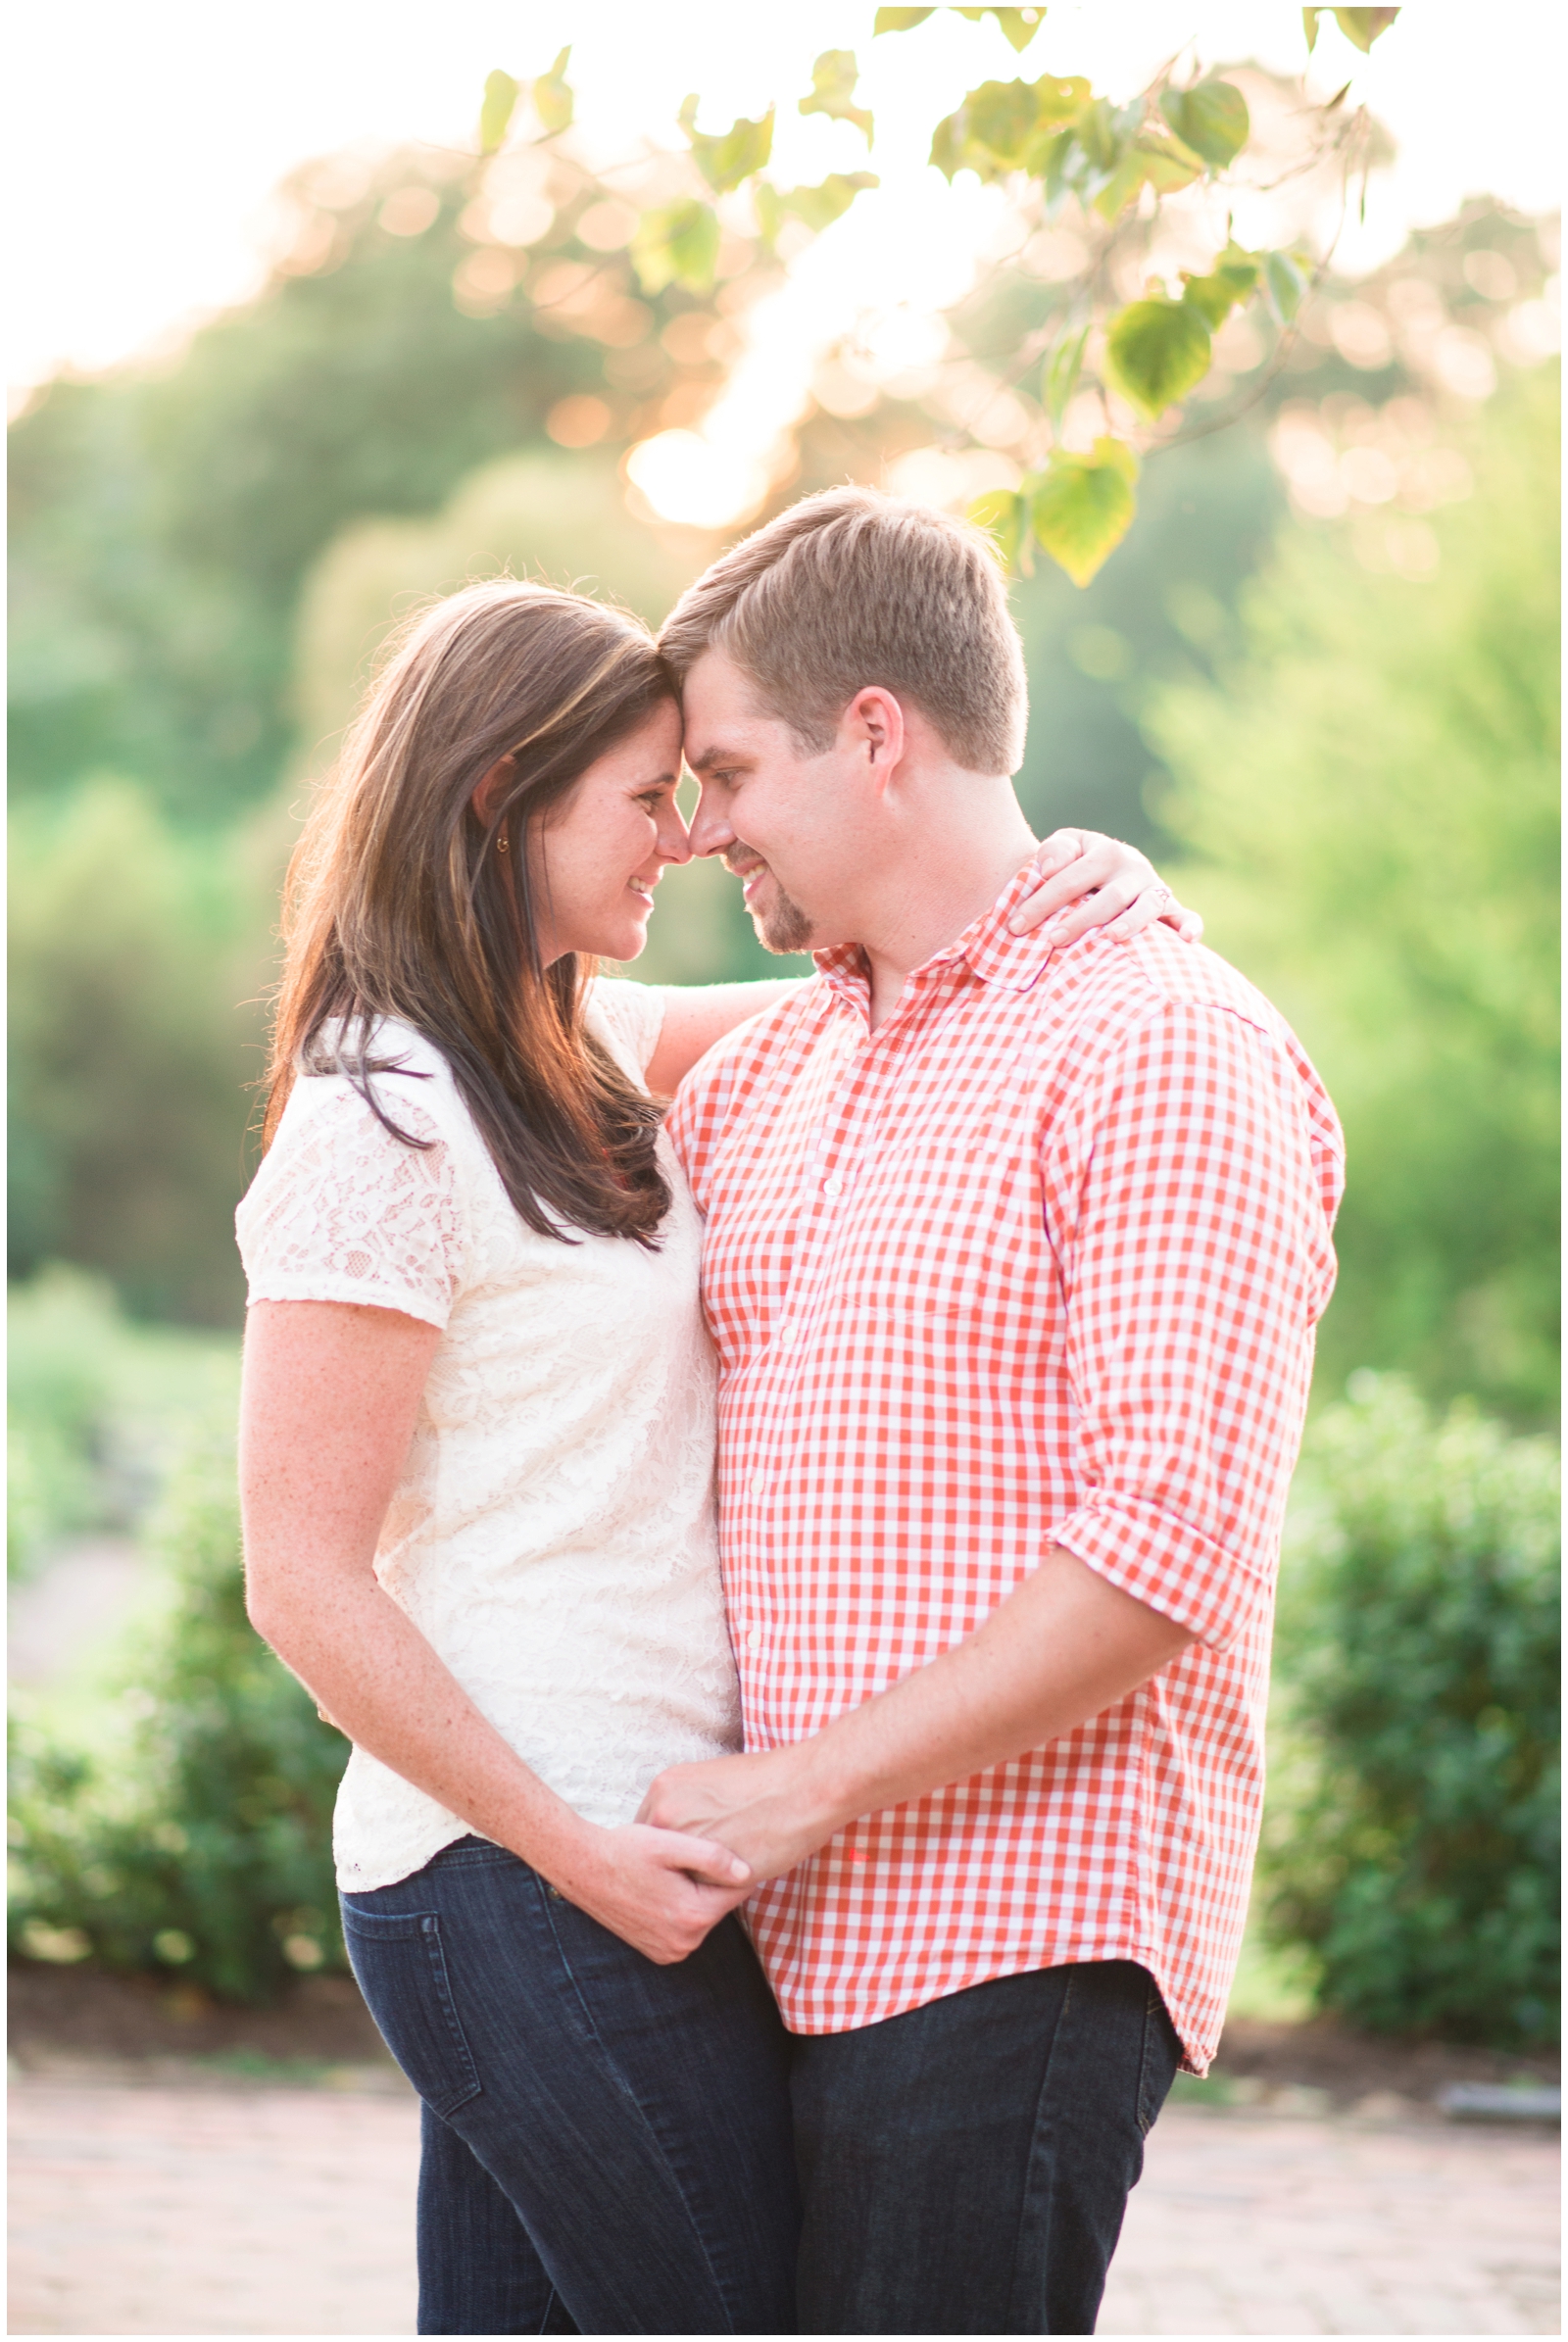
Oh boy, do I love me some bokeh! All the photographers out there know what I’m talking about, but the rest of you are probably way confused! What is bokeh?? You know those pictures where the subject is in focus and then the background is all blurry? That blurry background is called bokeh! It can create a beautiful artistic effect in images that makes for a very dramatic look! I’m not always going for this dramatic look though. Sometimes I want the background to be more in focus if I’m trying to highlight the setting and surroundings. But I love to add some variety by having a few images that have that dramatic bokeh that really makes the subjects pop off the background! So how do we get this look? There a few different factors that contribute to the bokeh in an image. And you don’t need a super fancy lens to do it! You can achieve this look with a simple kit lens once you know how it works! Here are a few tips on how to get bokeh!
Wide aperture. The aperture setting will control the depth of field of an image. The depth of field determines how much of the image is in focus. The smaller the f-stop (aperture value), the shallower the depth of field will be and vice versa. So the smaller the f-stop, the more dramatic and prominent the bokeh will be! With a shallow depth of field, the background will be more out of focus creating that blurry look that is bokeh! For portraits, I tend to have an aperture around 2.0.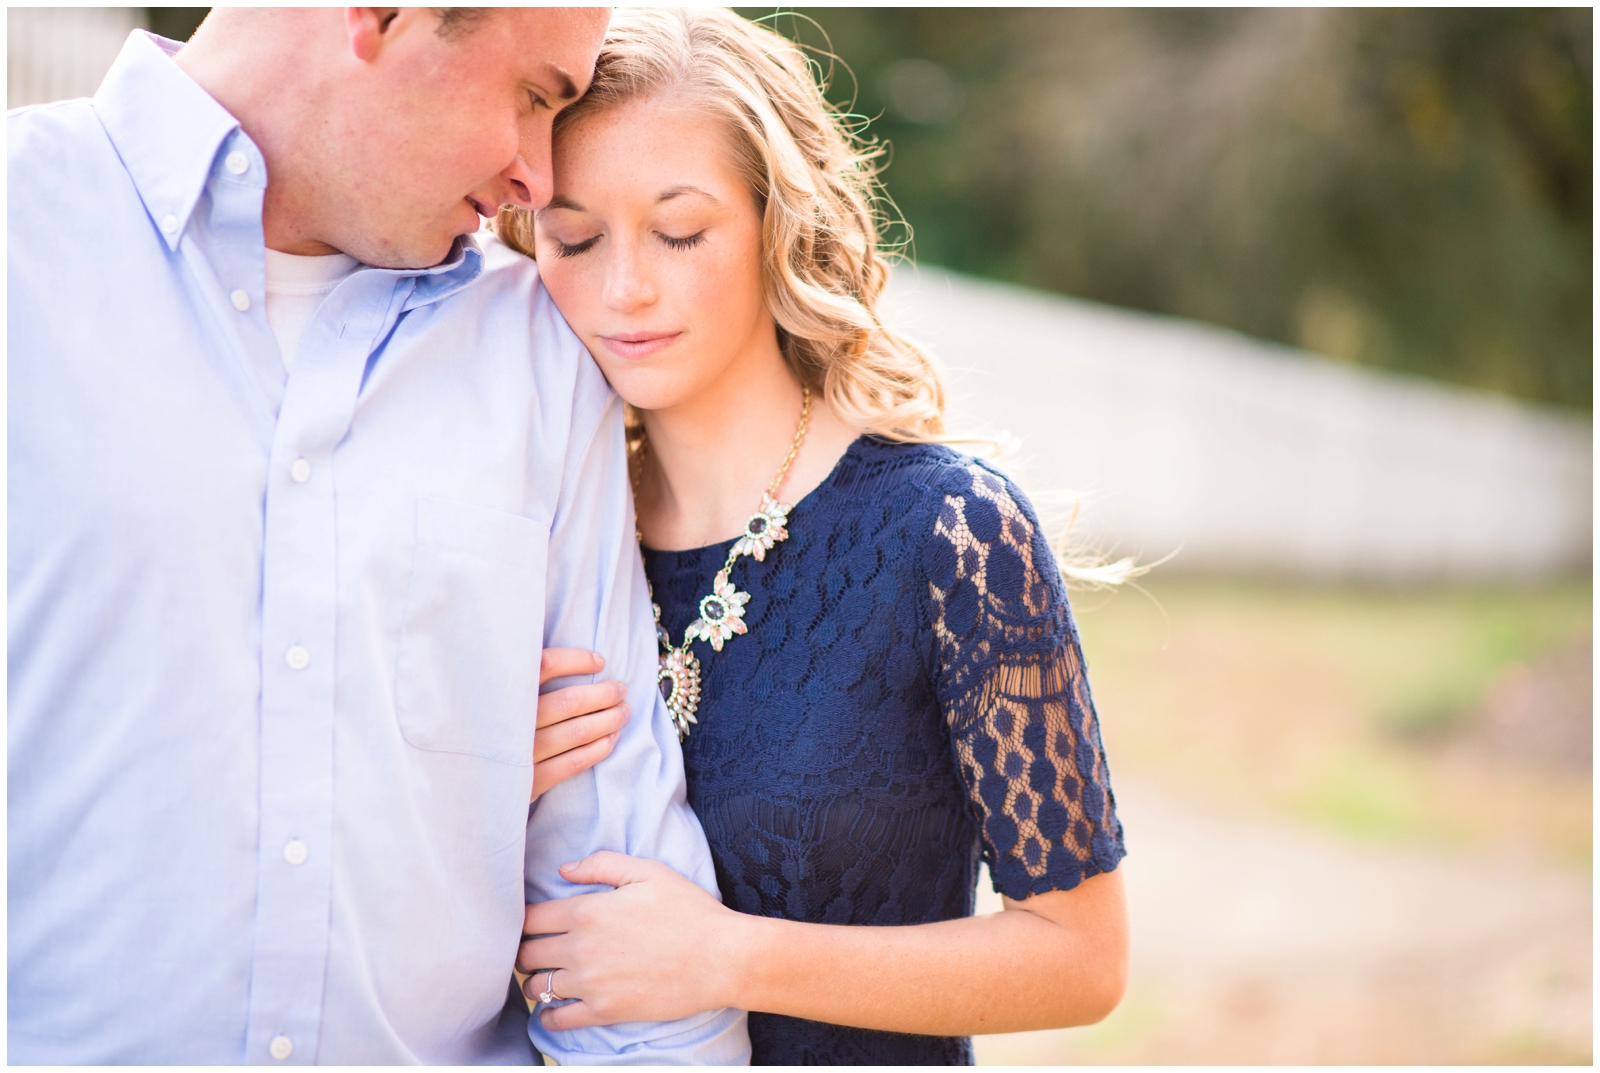
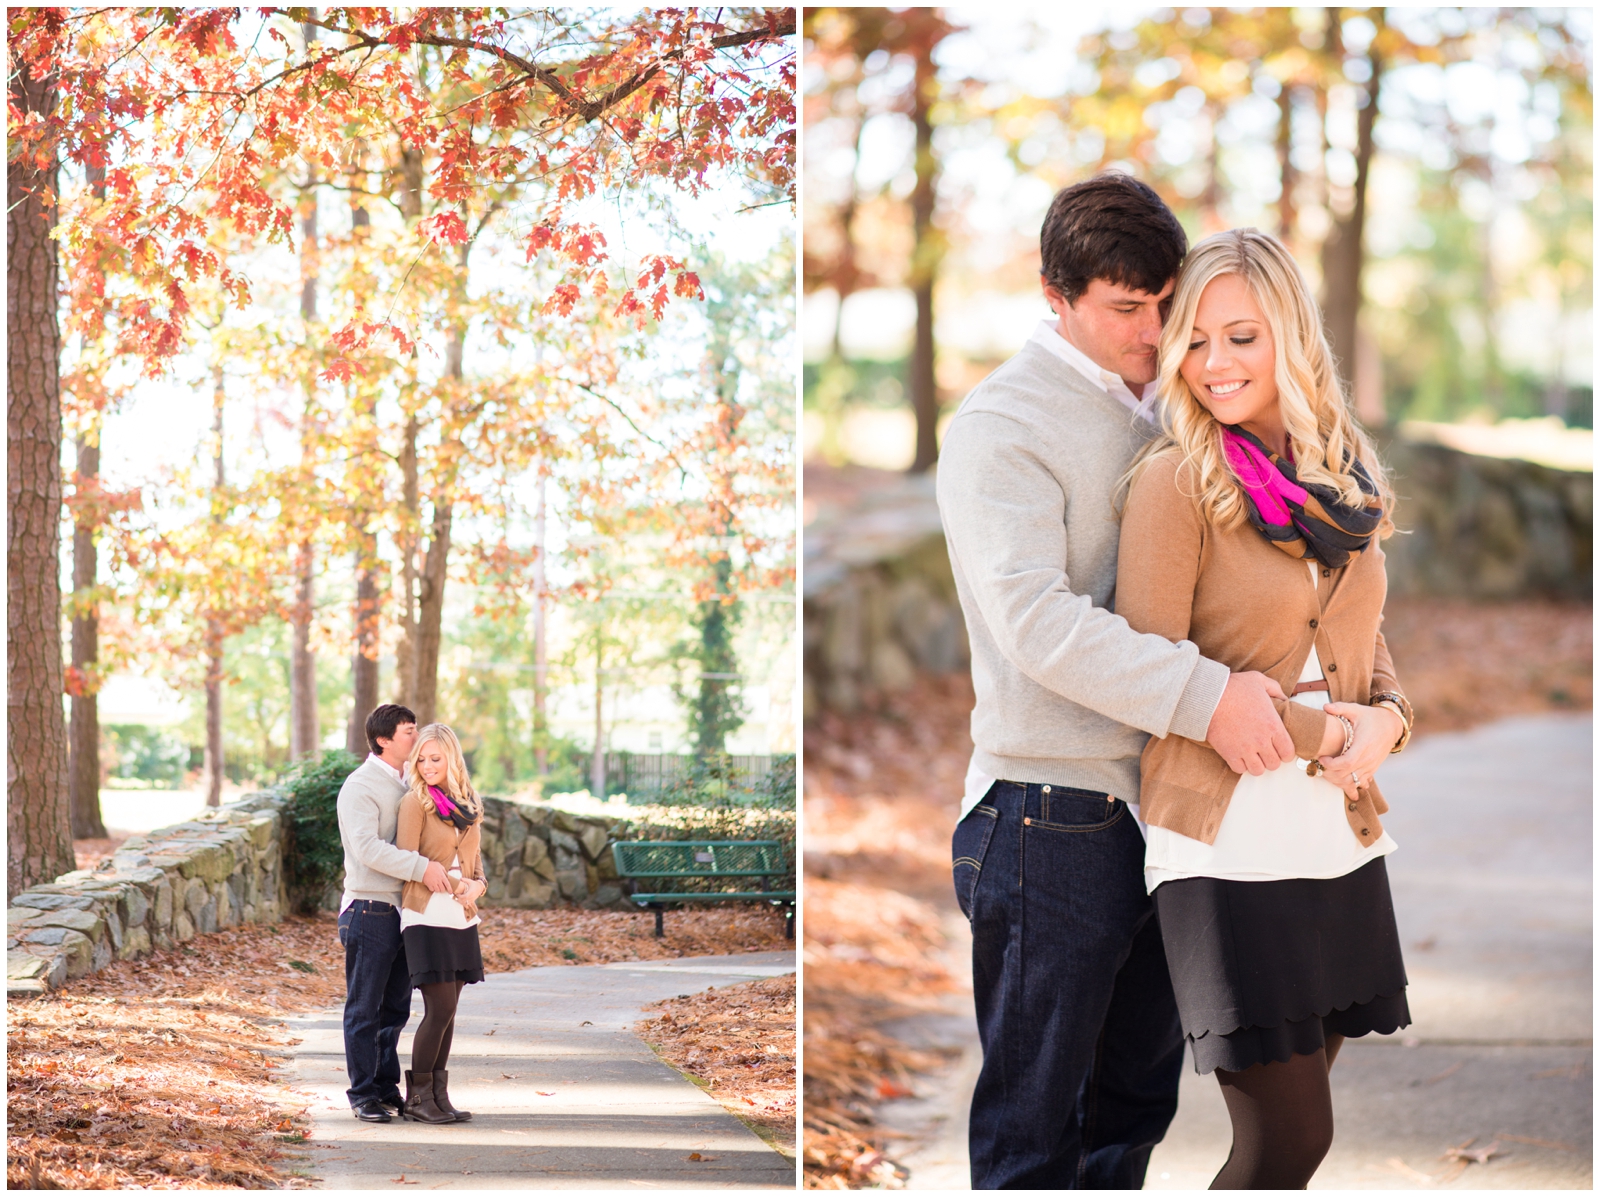
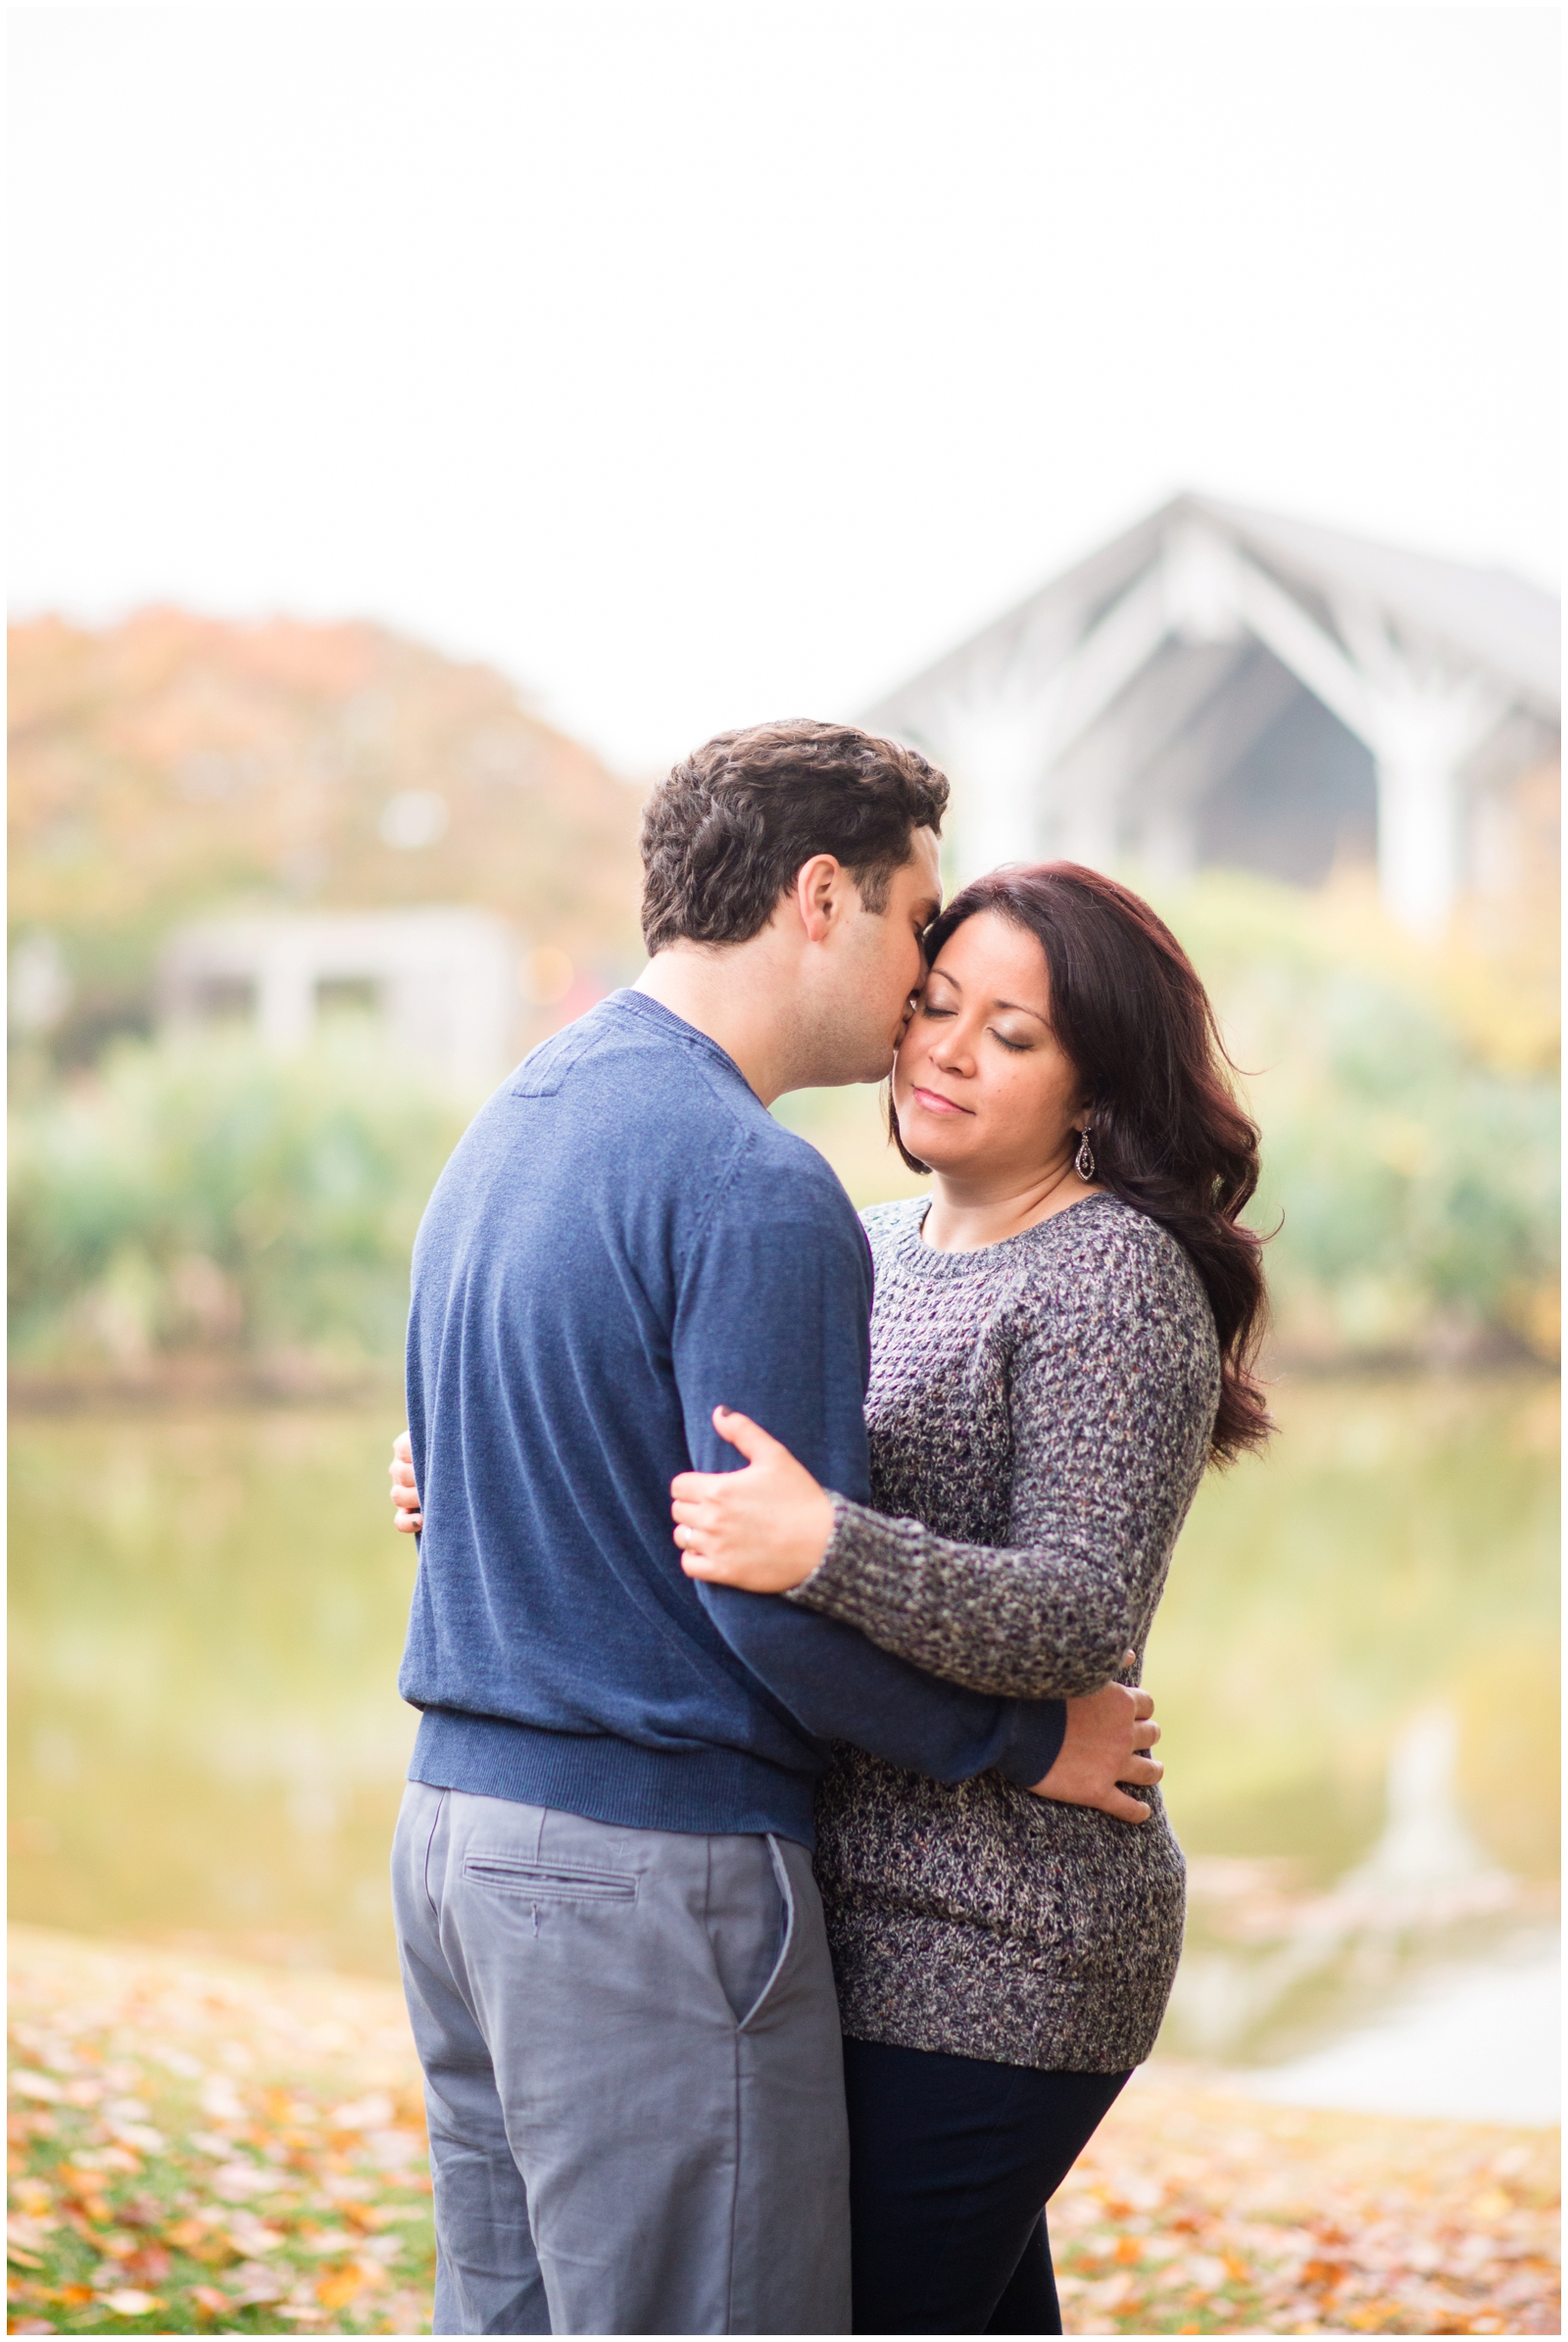 Long focal length. The focal length of the lens probably plays the biggest role in getting creamy bokeh. The longer the focal length, the more dramatic the bokeh. Long lenses have a compression effect where they pull in the background and make it appear magnified and closer to the subject. So it is essentially “compressing” the subject and background together. When this happens, you are also magnifying the bokeh effect! My favorite lens for portraits in the 85mm. This creates a beautiful creamy bokeh, but is still a pretty flexible focal length so I can still use it for wide shots. When I have Branden shooting with me, I like to have him use the 70-200 keeping it around 200mm. That will give his images a lot of compression and in return a lot of bokeh! This makes for a nice variety of images between his shots and mine! In the pictures below, I was using the 85 on the left and Branden was using the 70-200 on the right.
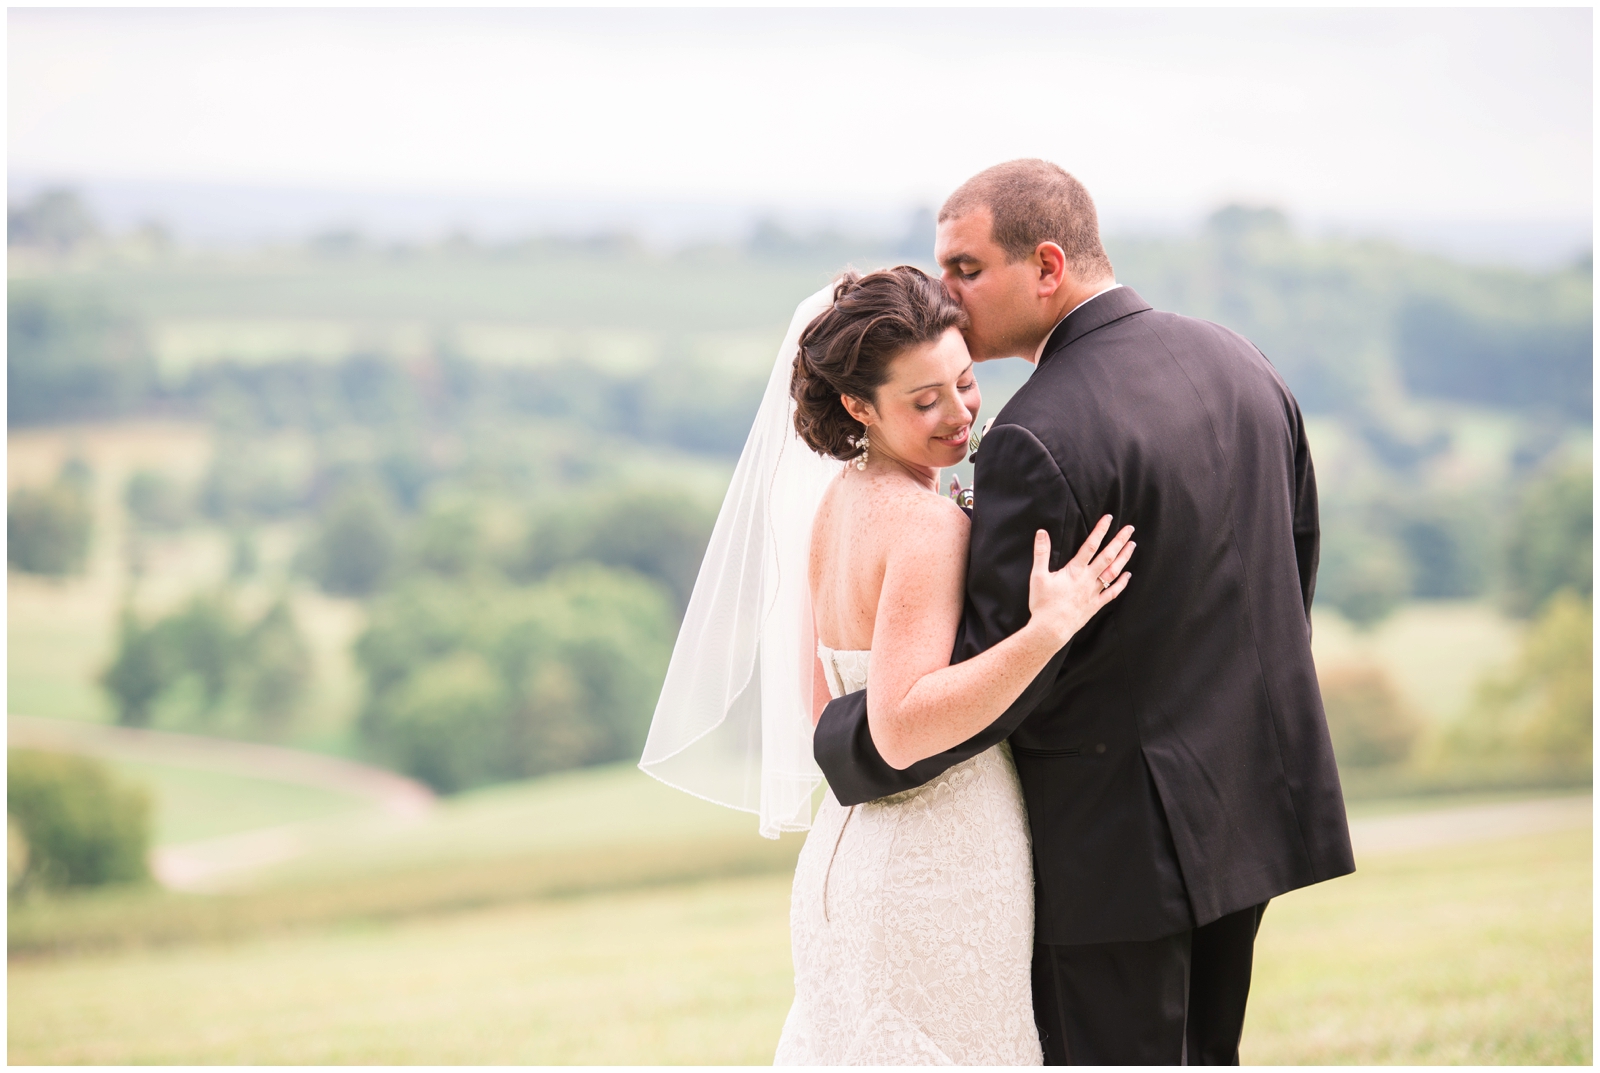
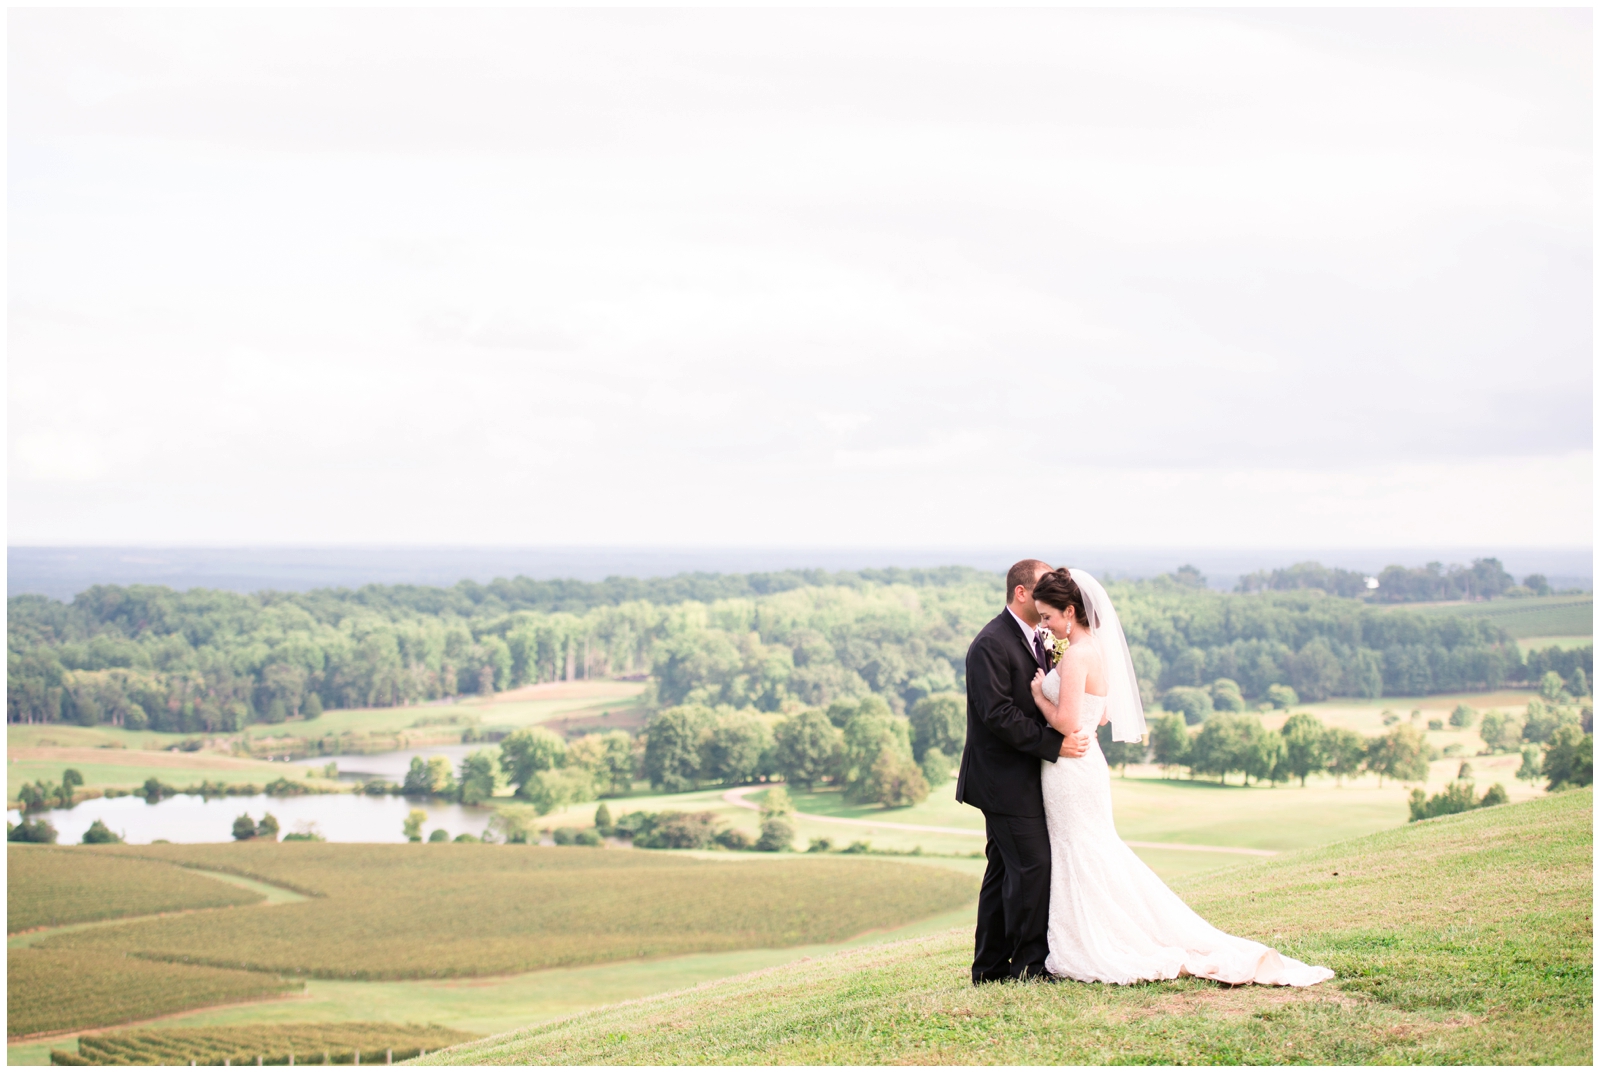
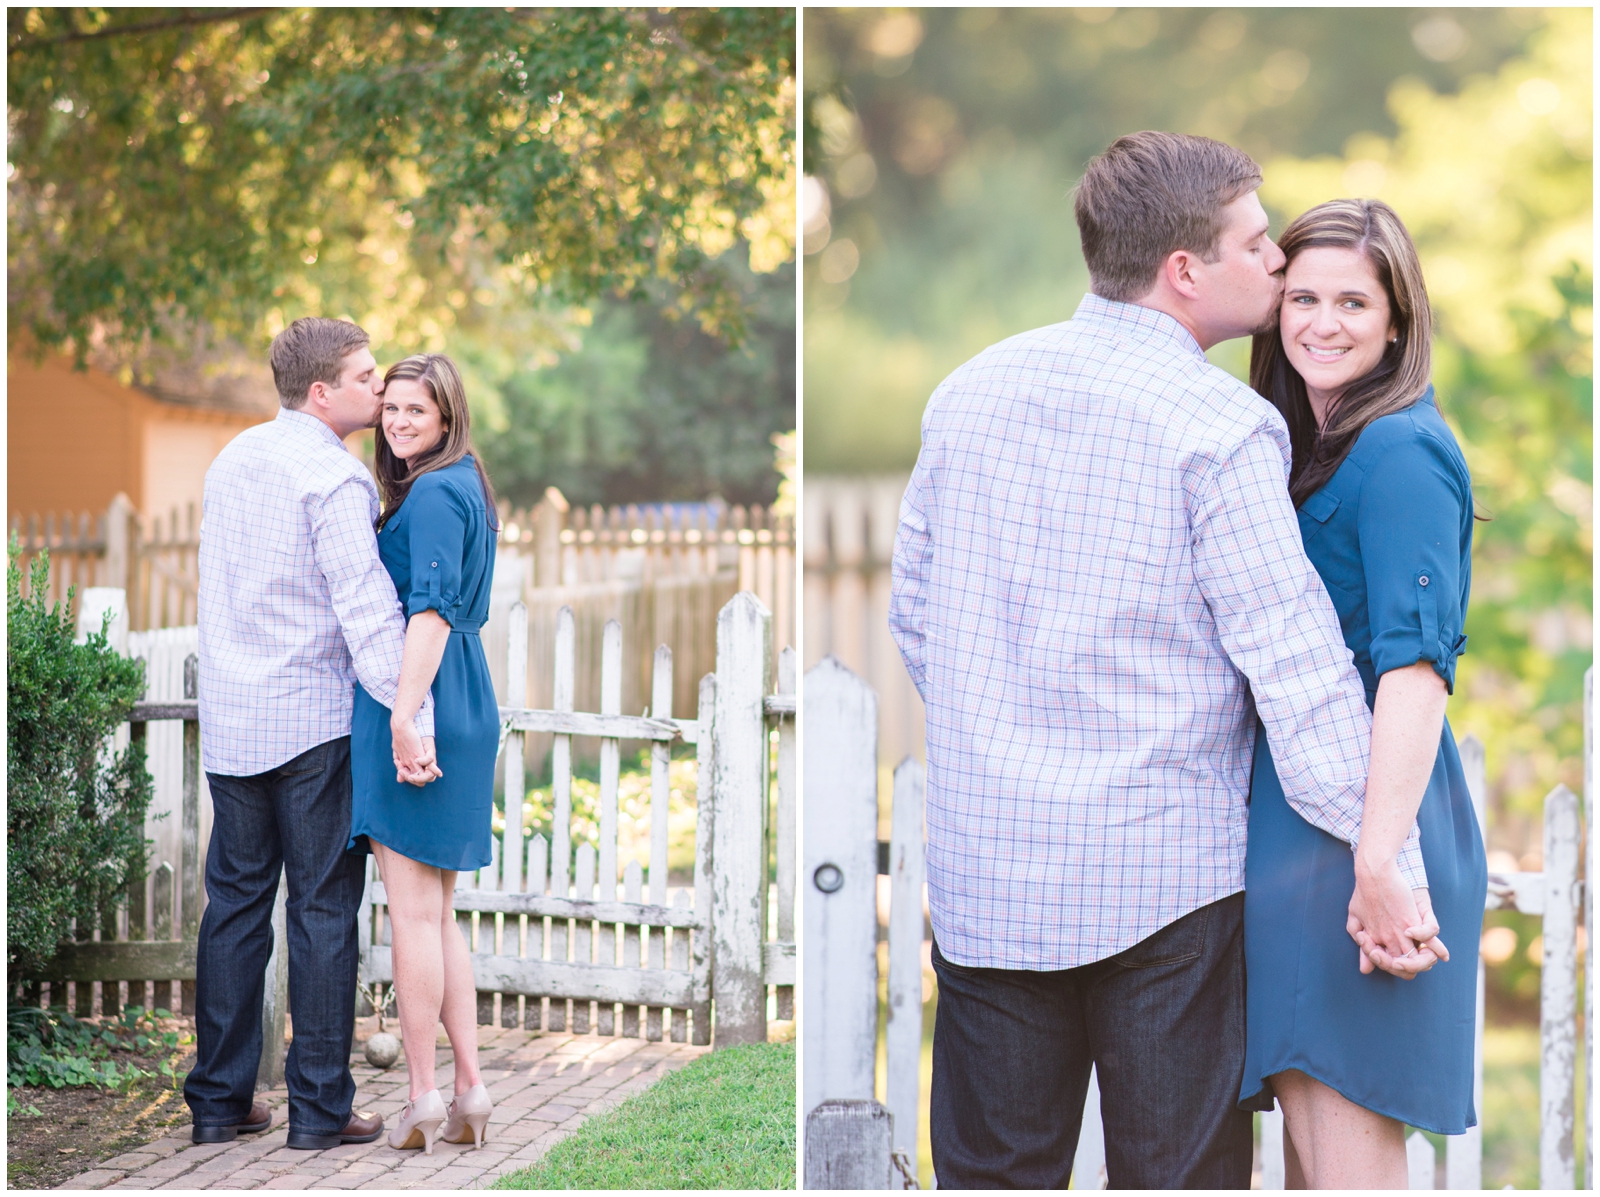 Get close to the subject. The distant between you (the camera) and the subject will affect the amount of bokeh. The closer you are to what you are focusing on, the shallower the depth of field. And the shallower the depth of field, the more bokeh there is! The images below demonstrate this effect. These shots are using the same lens with the same settings. The only difference is my distance from the couple.
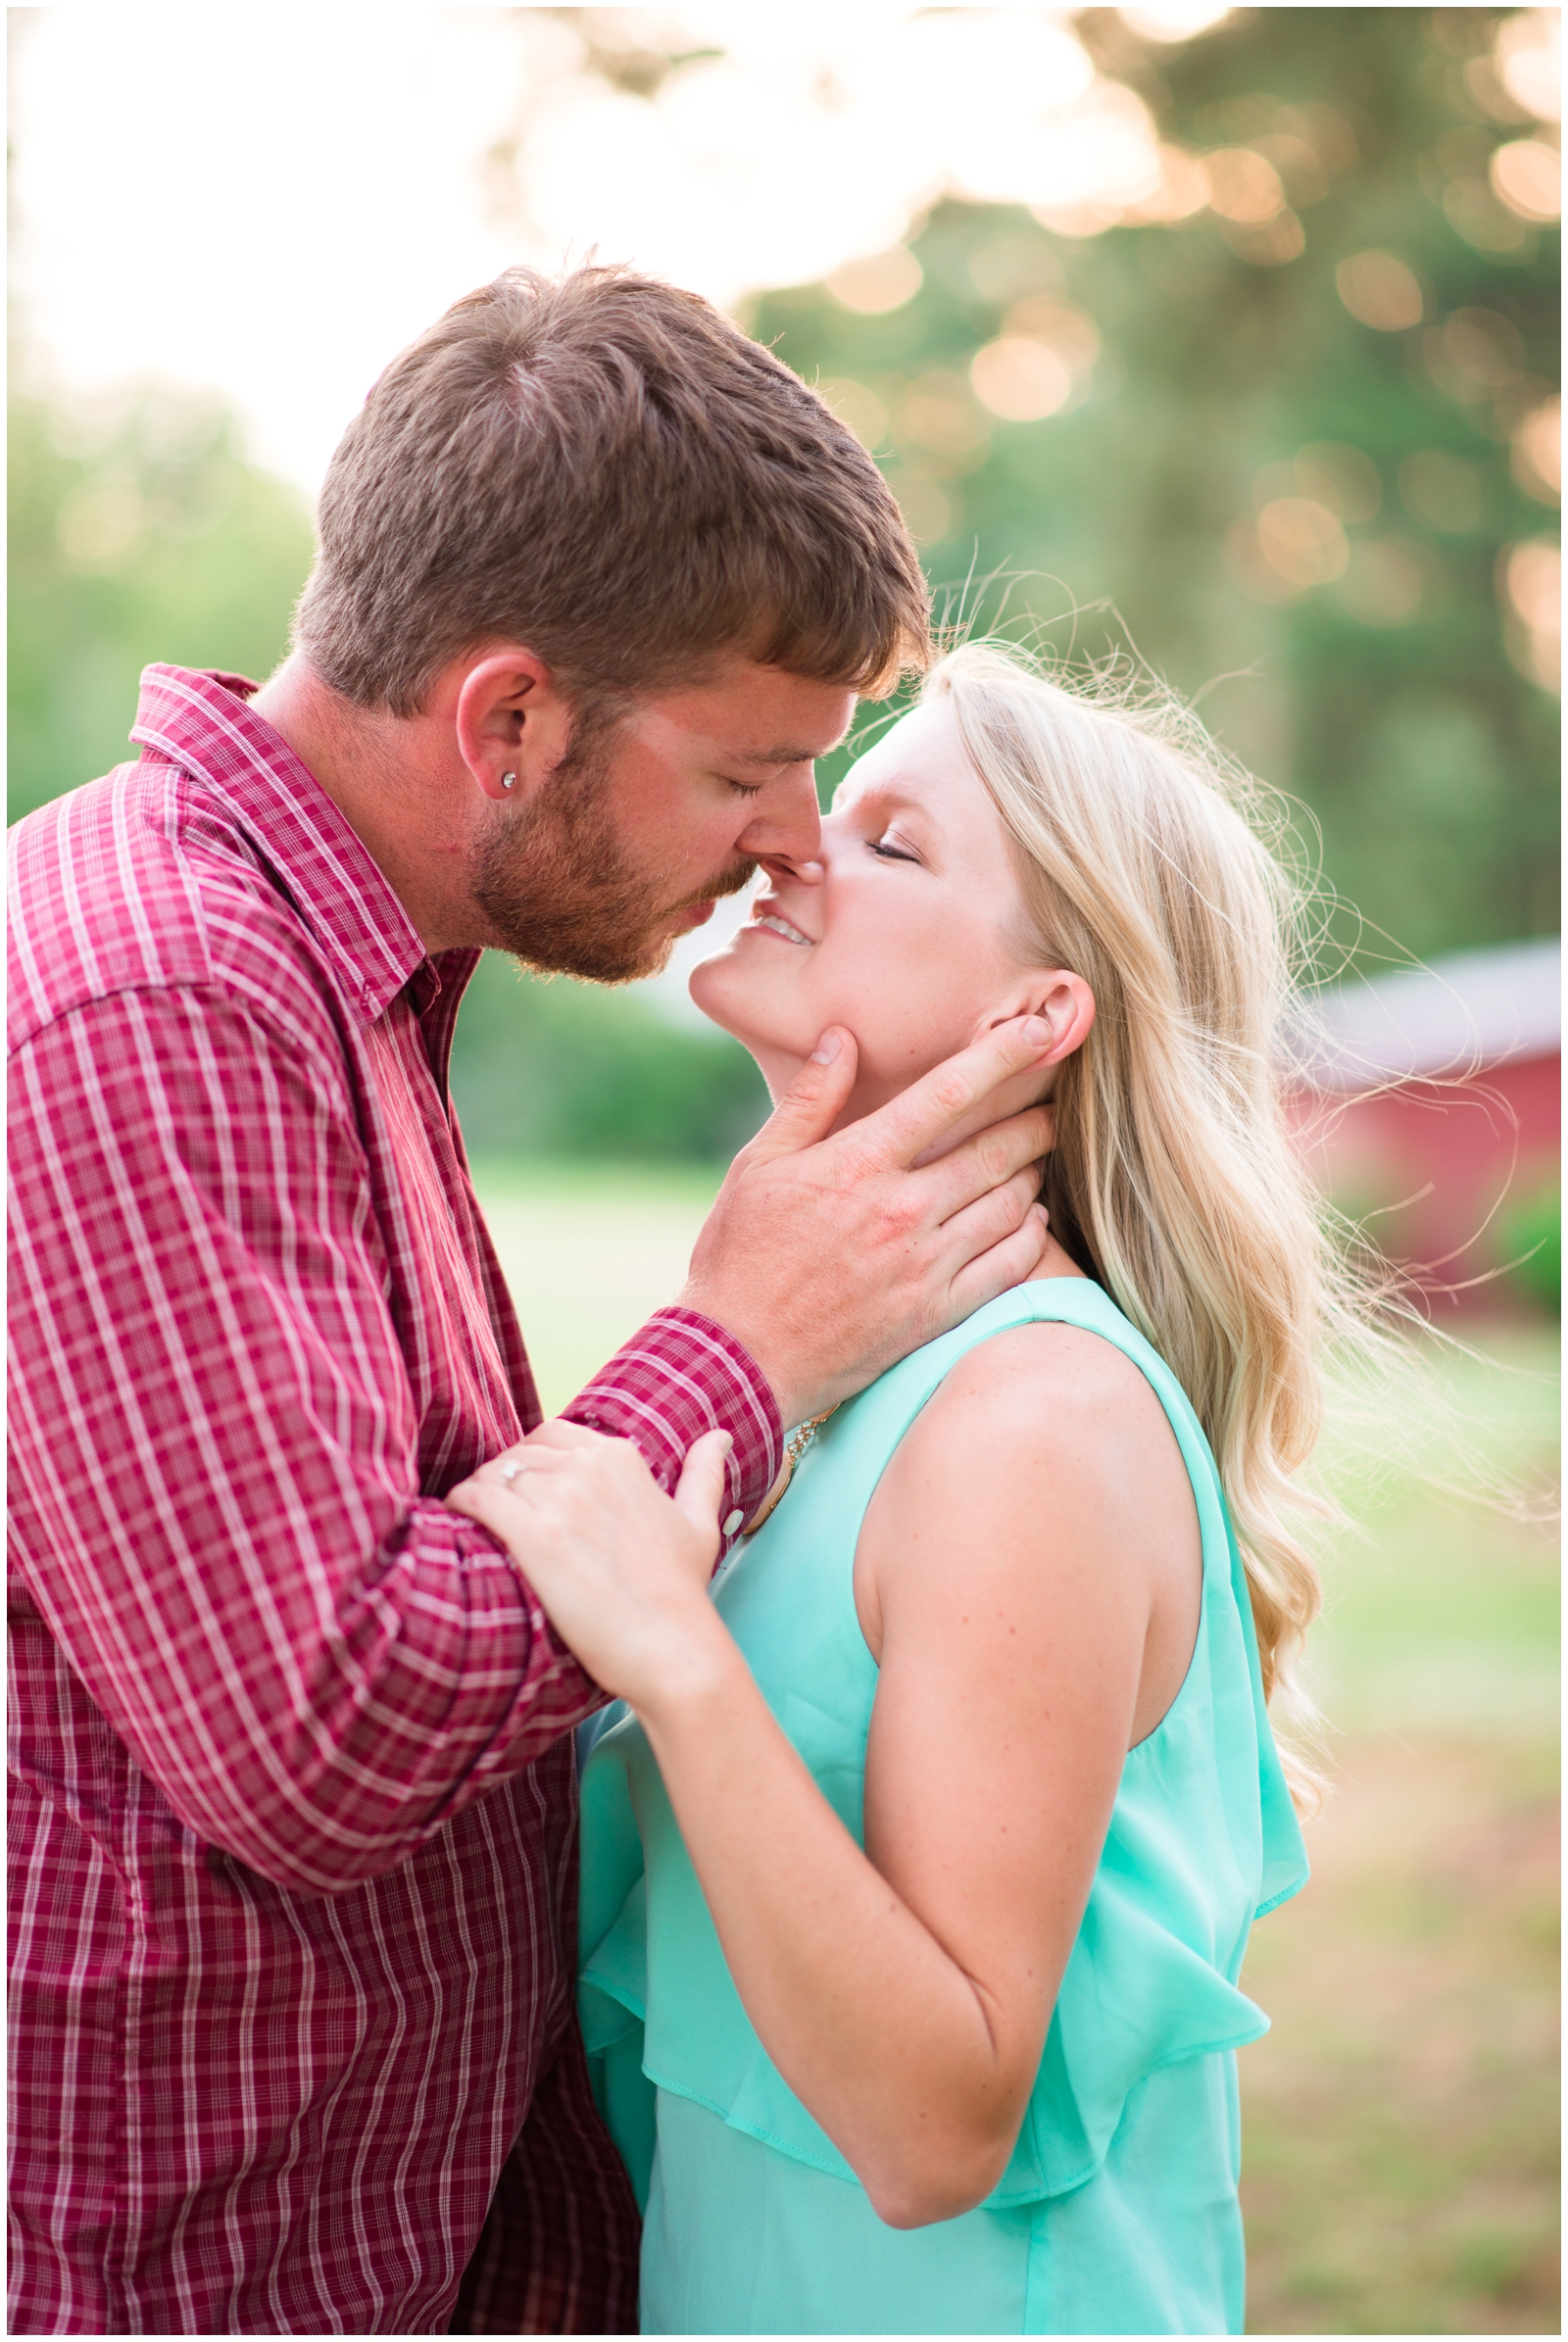 Distance between subject and background. The farther behind (or in front) an object is from the subject, more out of focus it will be. So the farther away the subject is from the background (trees, building, etc.), the more blurry the background will be. So the simplest way to add a little extra creamy bokeh to your shot is by pulling your subject a little farther away from what’s behind them. Instant bokeh!
Want to see more from the ‘Ask Anything’ series? Click the links below!
How to do a Same-Day Slideshow
5 Tips for Shooting in Natural Light
Planning Ahead Using the Sun Seeker App